BRAD KATZ
PROJECT / DESIGN
LA-BASED home improvement & project management WITH AN EYE on DESIGN.
Thank you for your interest in Brad Katz Project/Design. Please take a moment to look below at some of the projects I’ve designed and taken through completion. I would love to have the opportunity to do the same for you! No matter how big or how small your job - from hanging a picture frame to crafting the kitchen of your dreams - my team and I are here to help!
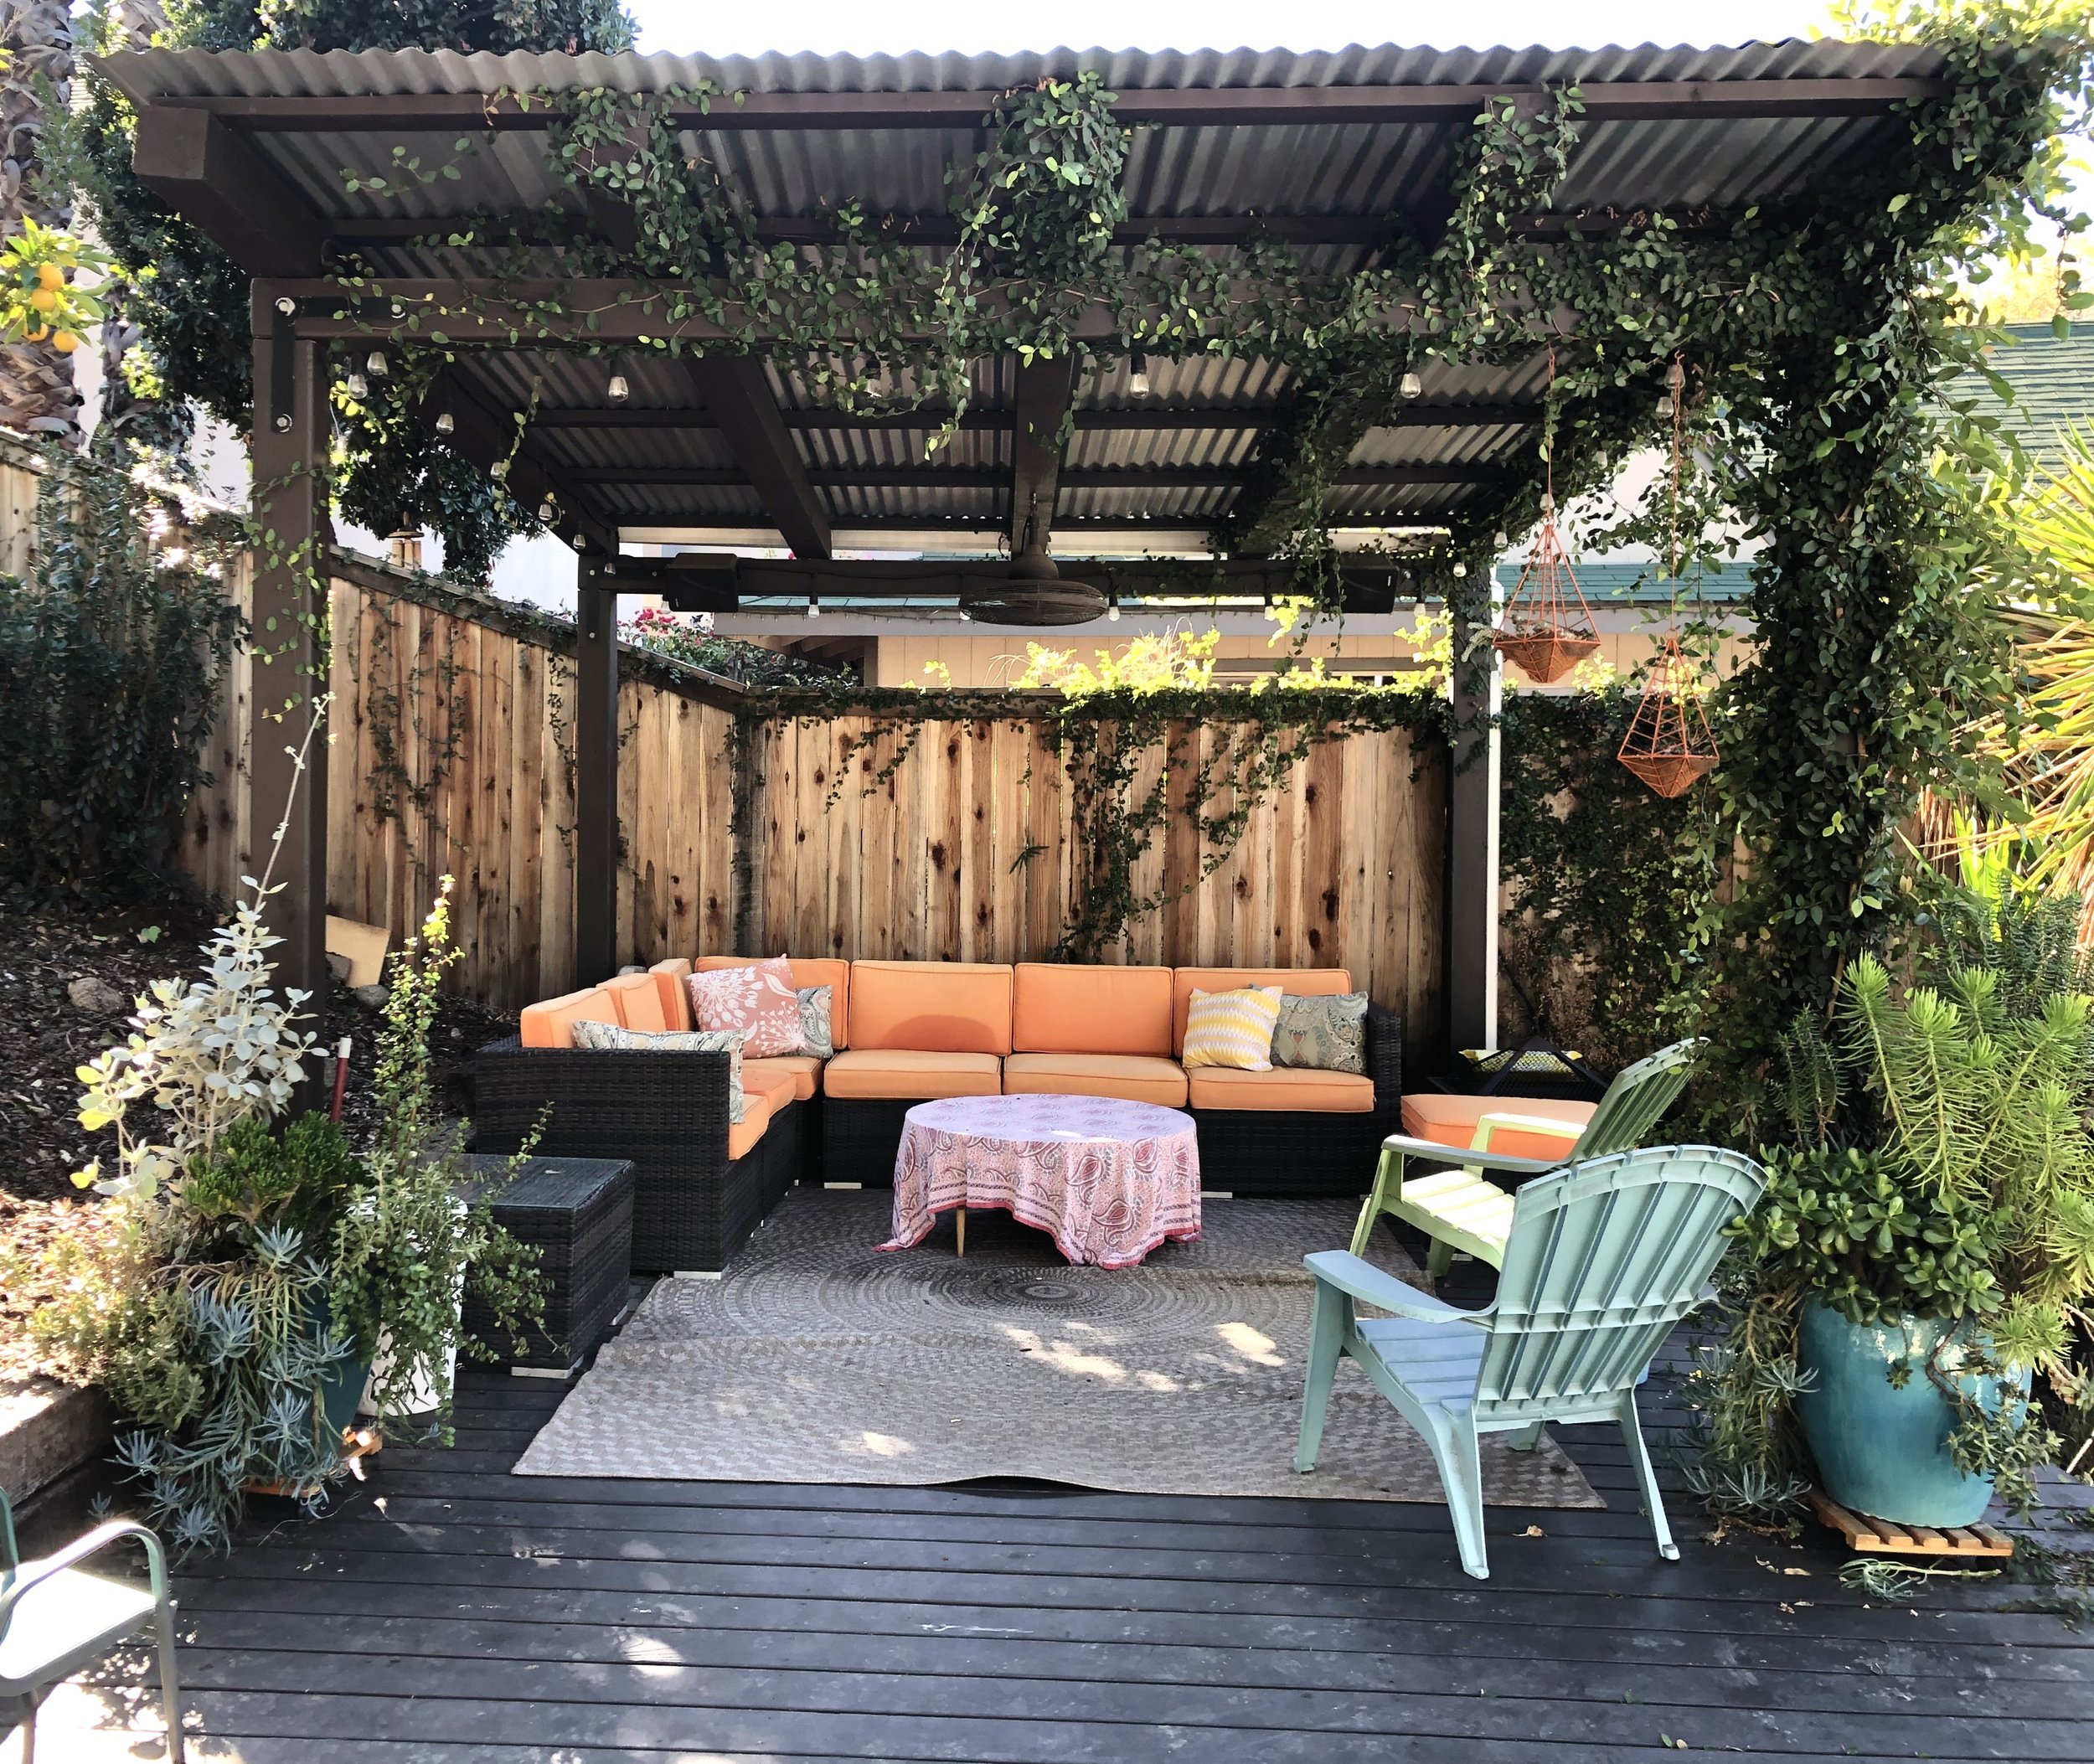
We are experienced in all areas of construction, home improvement, home theater and tech. We can help you with your electrical, plumbing, roofing, landscaping and hardscaping needs. I have designed and built kitchens, bathrooms, banquets and built-ins. I’ve created and implemented plans for pergolas, patios, ponds and water features, and the list goes on!
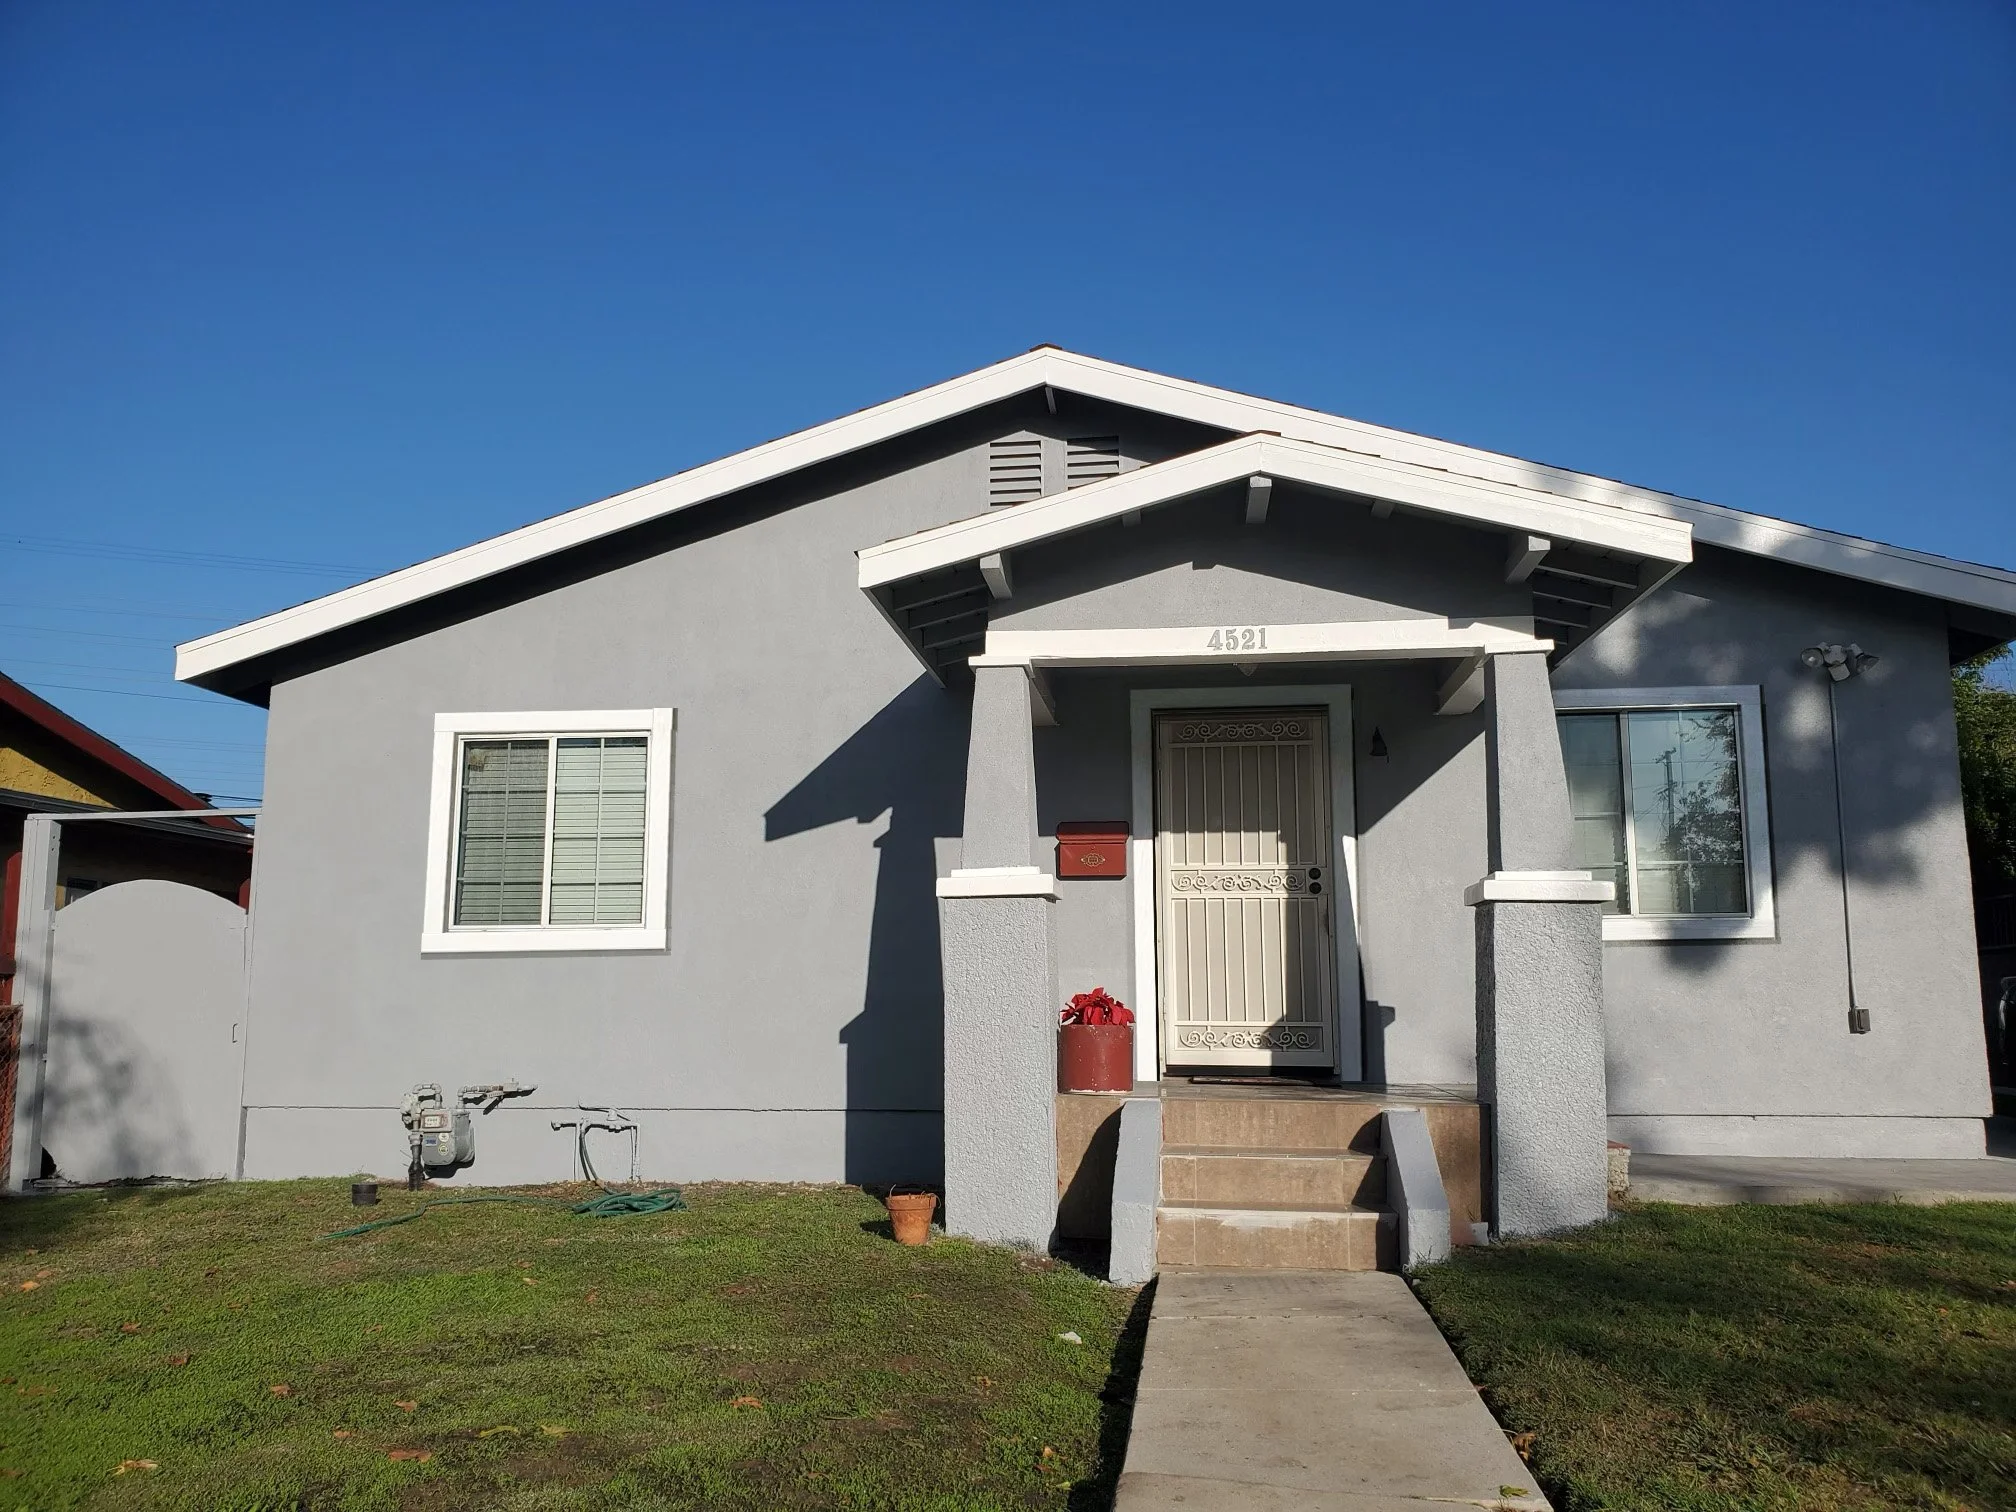
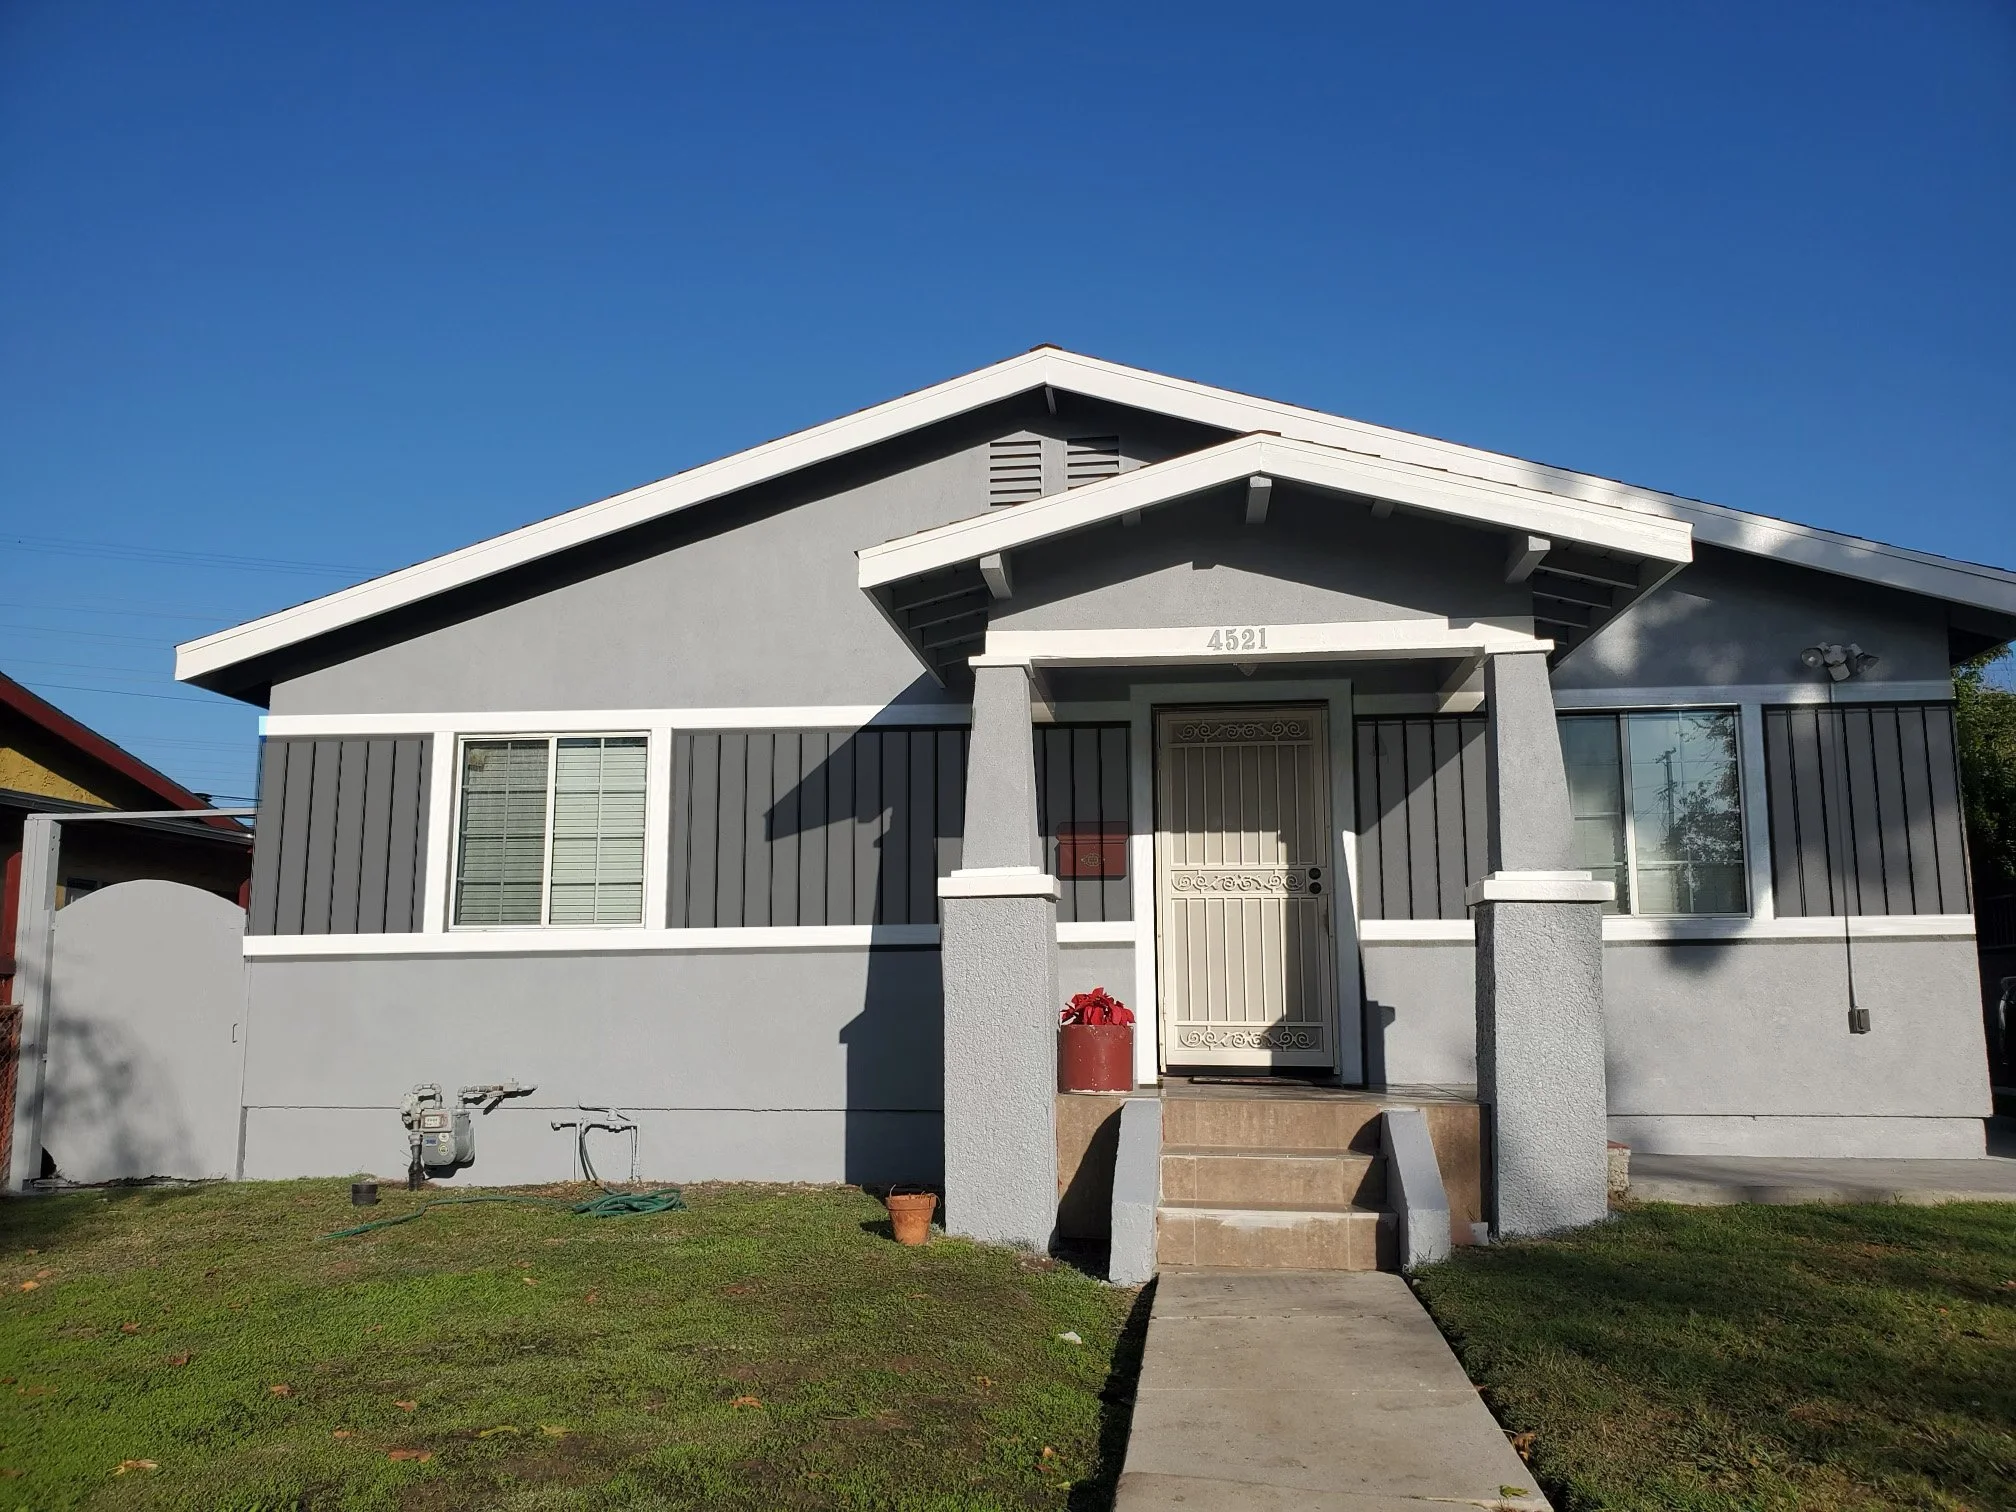
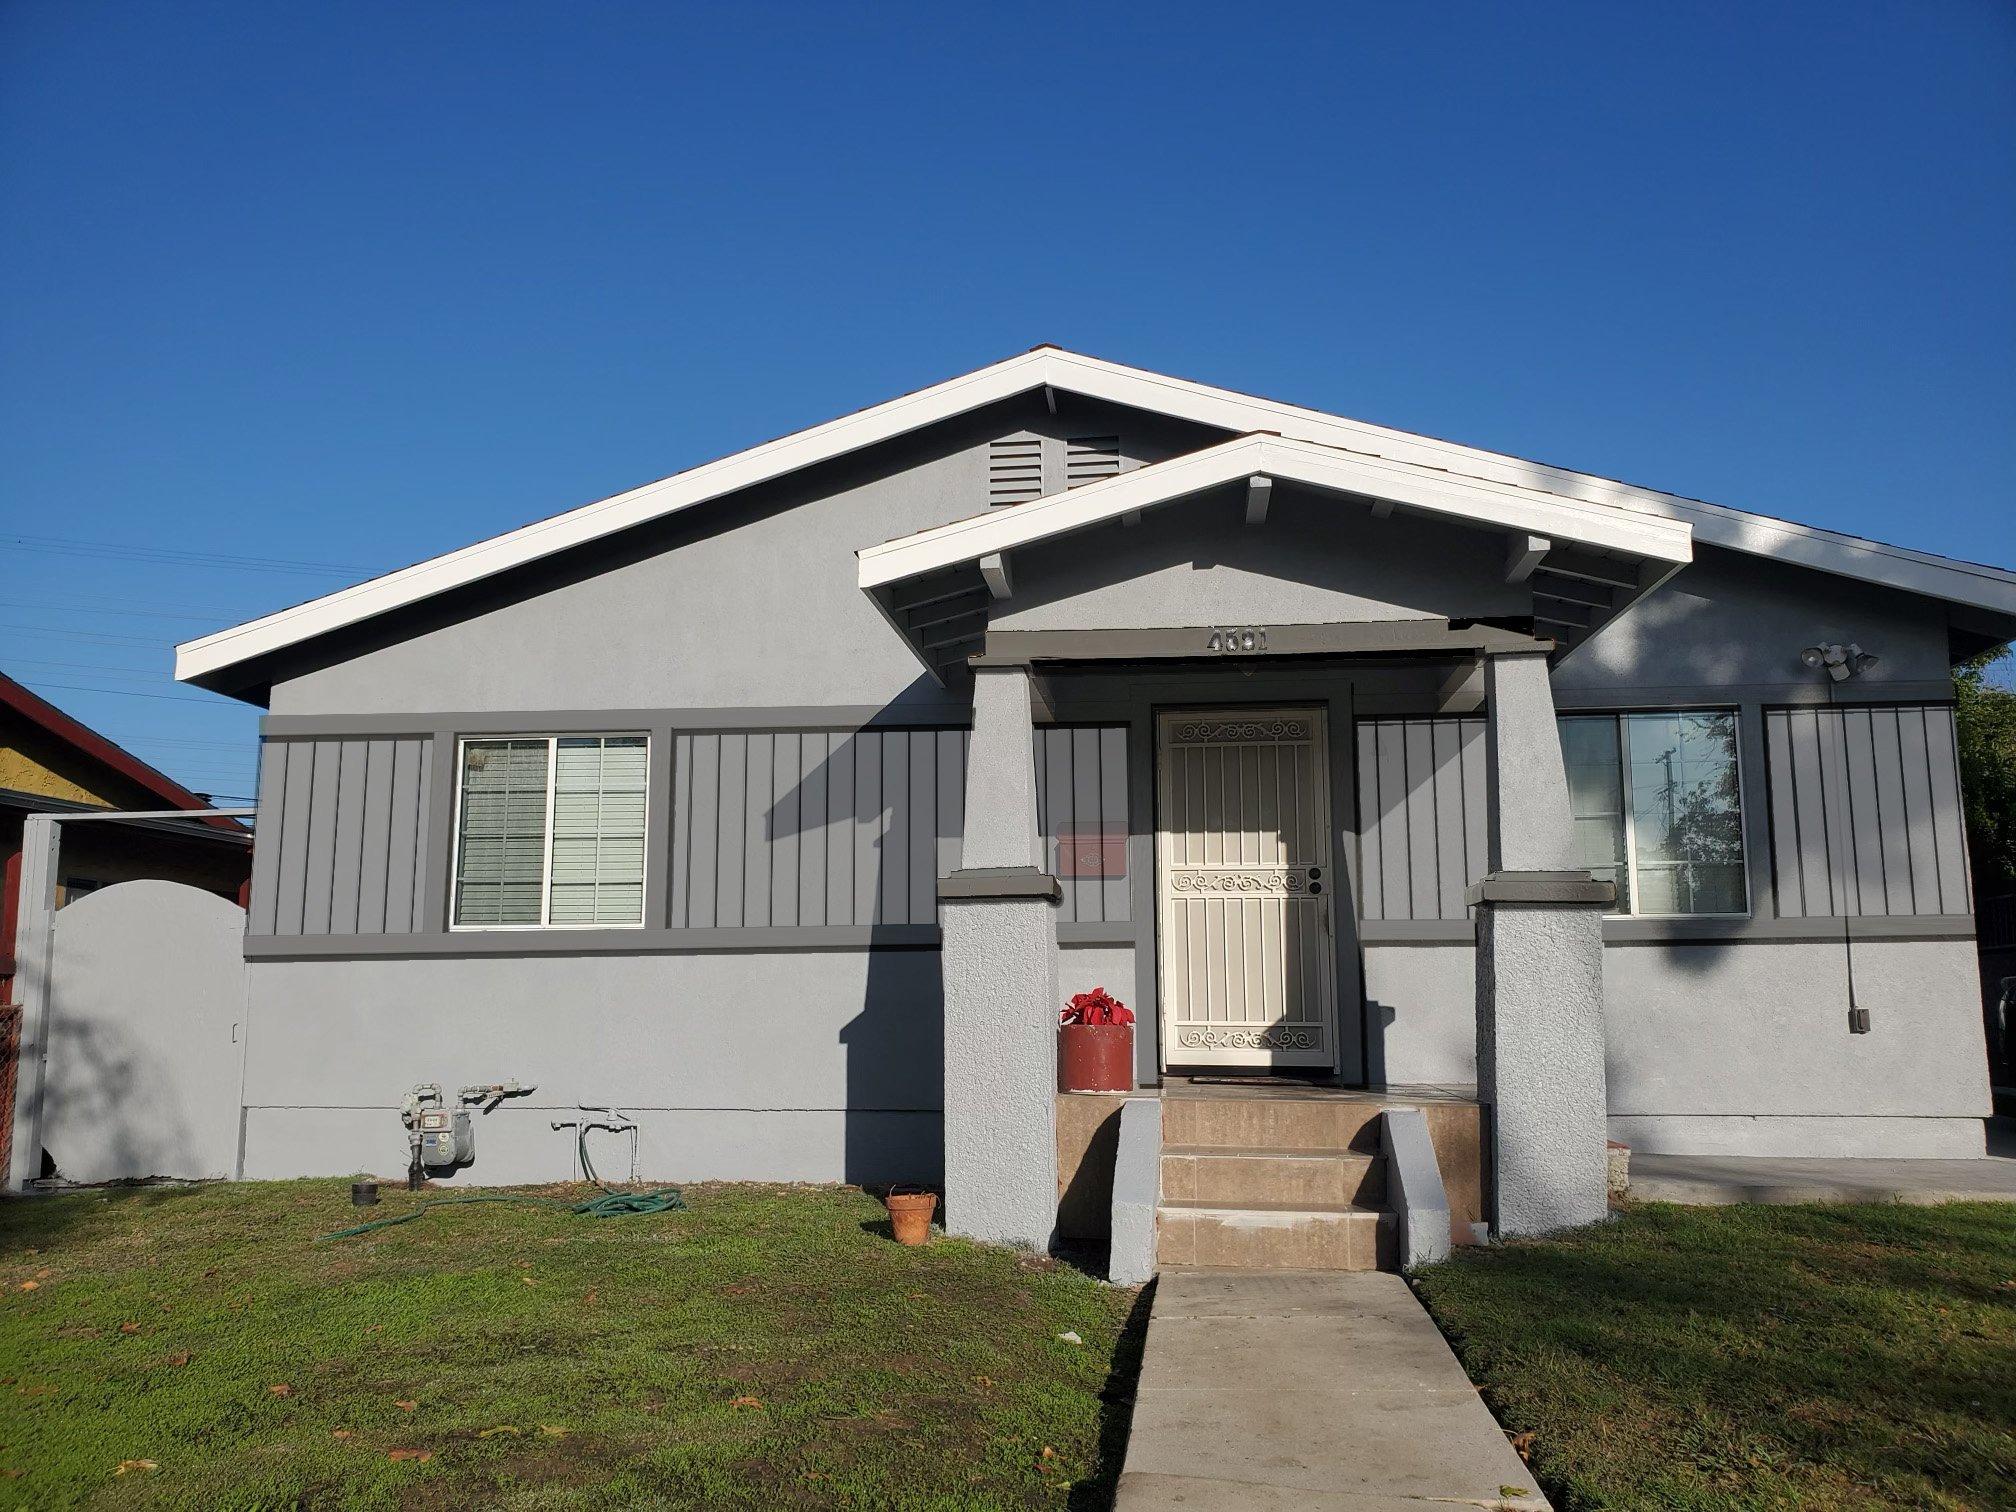
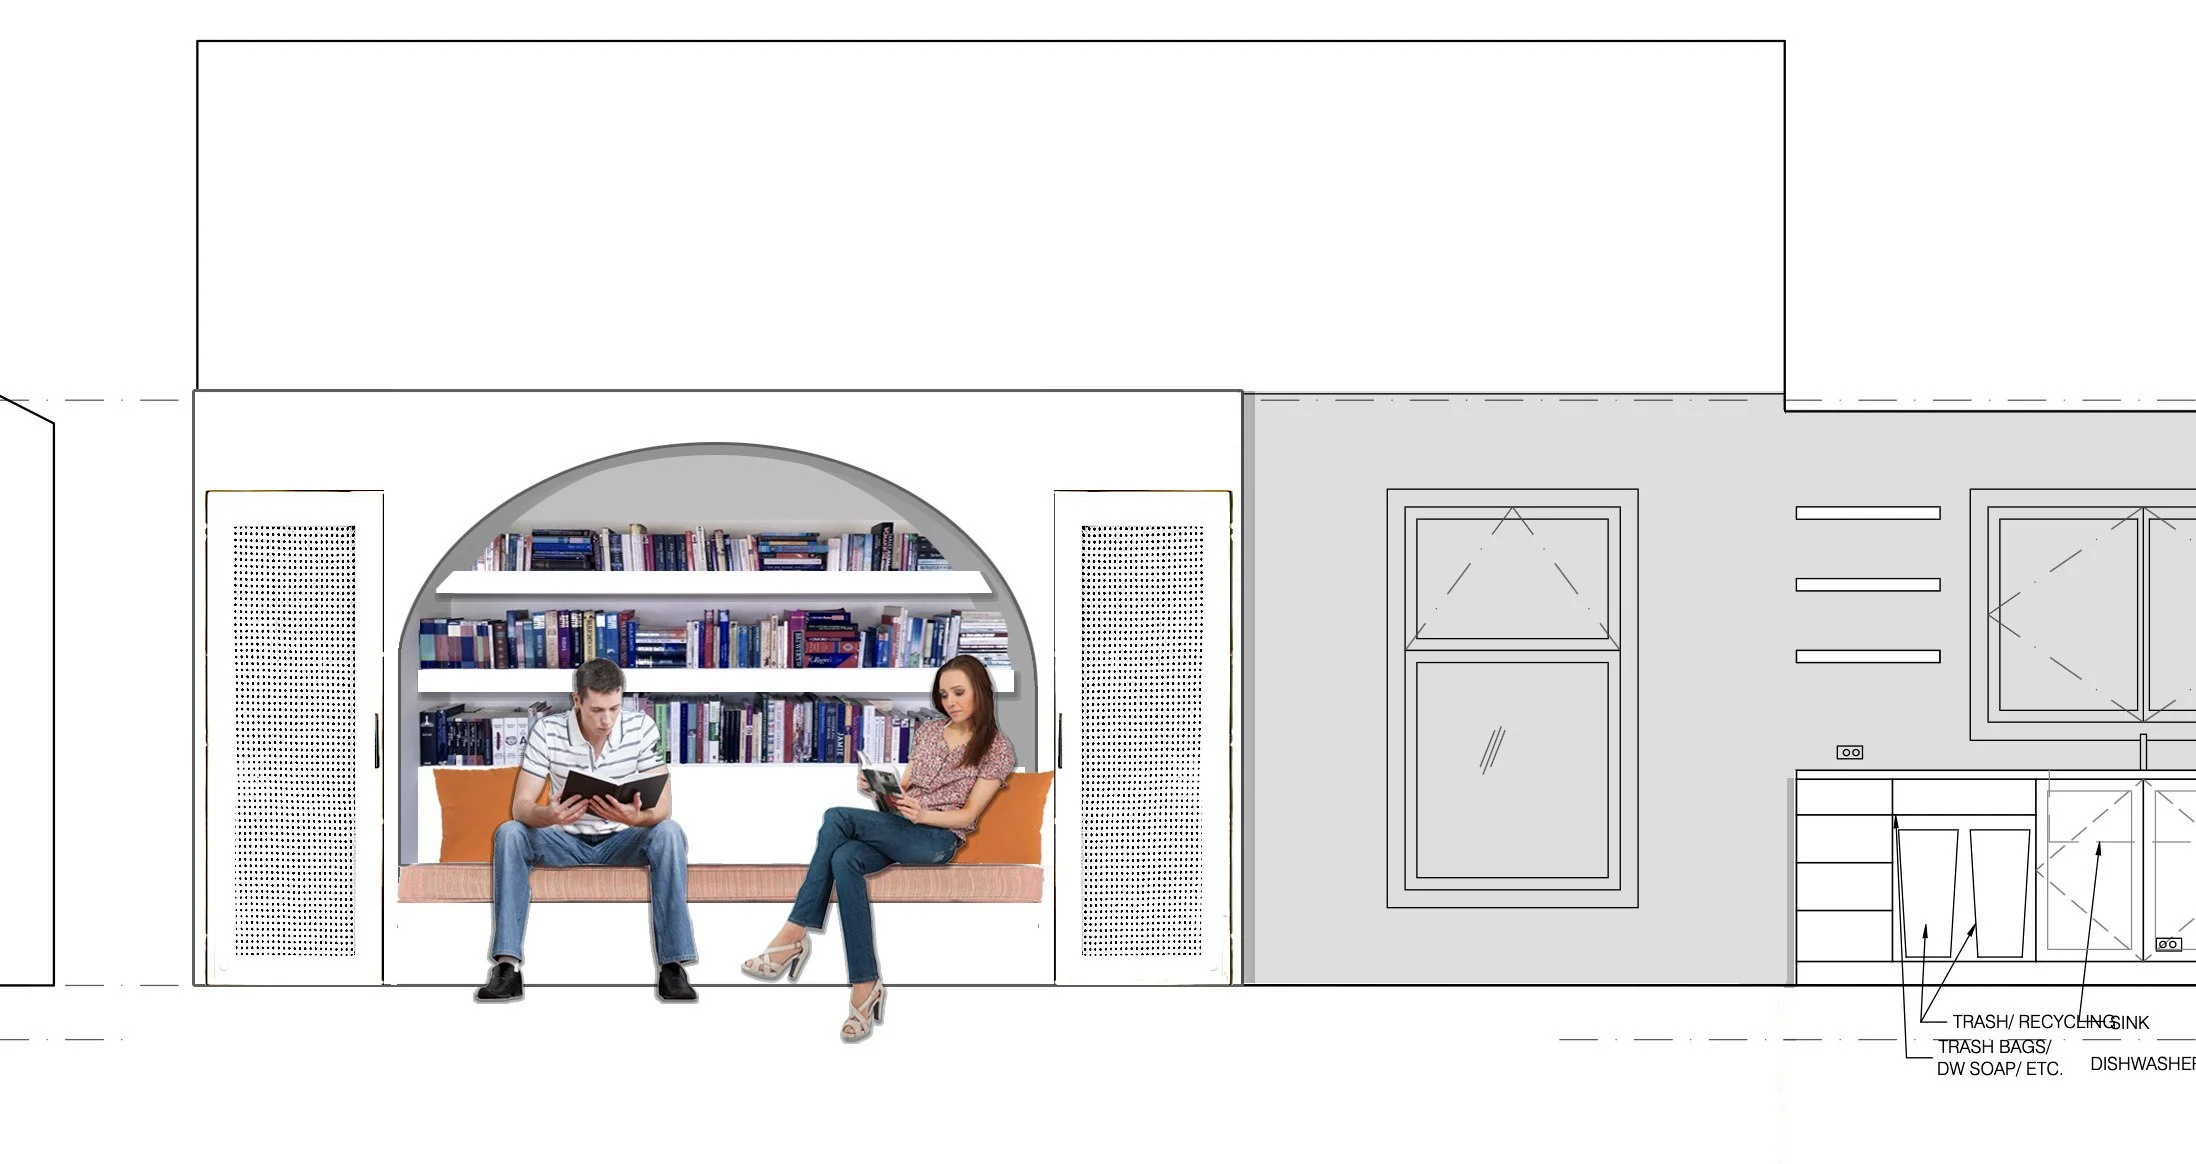
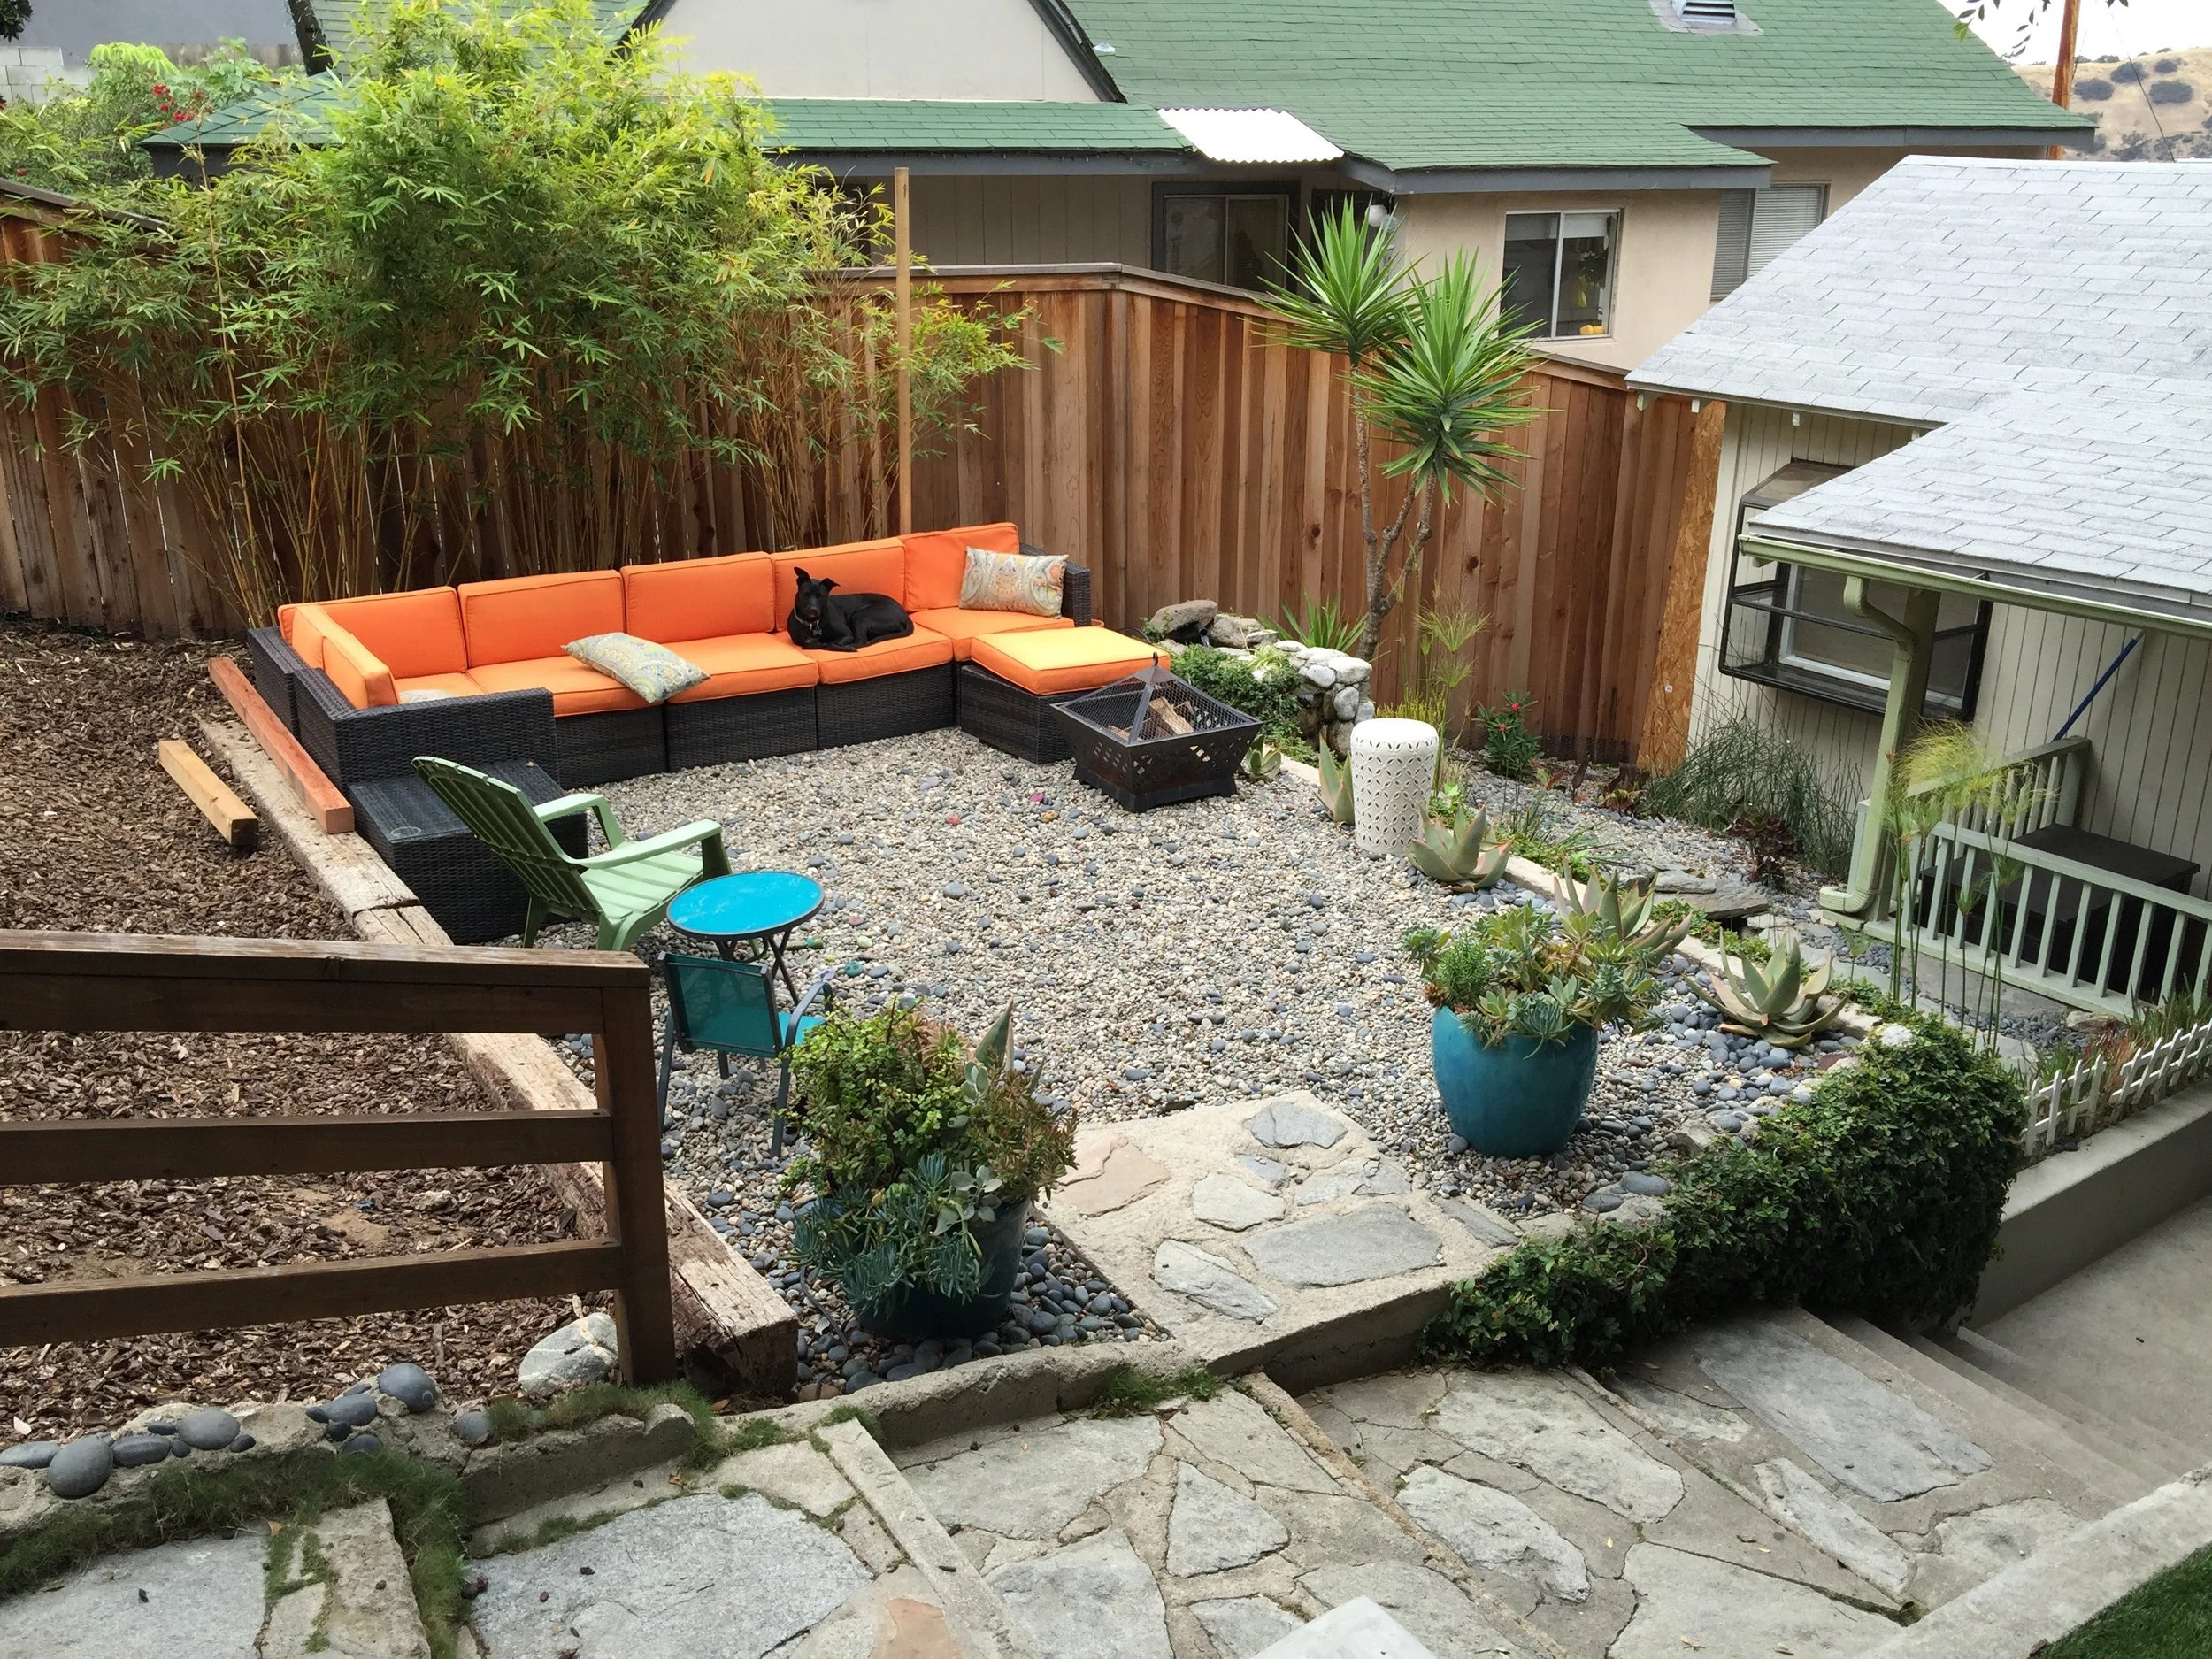
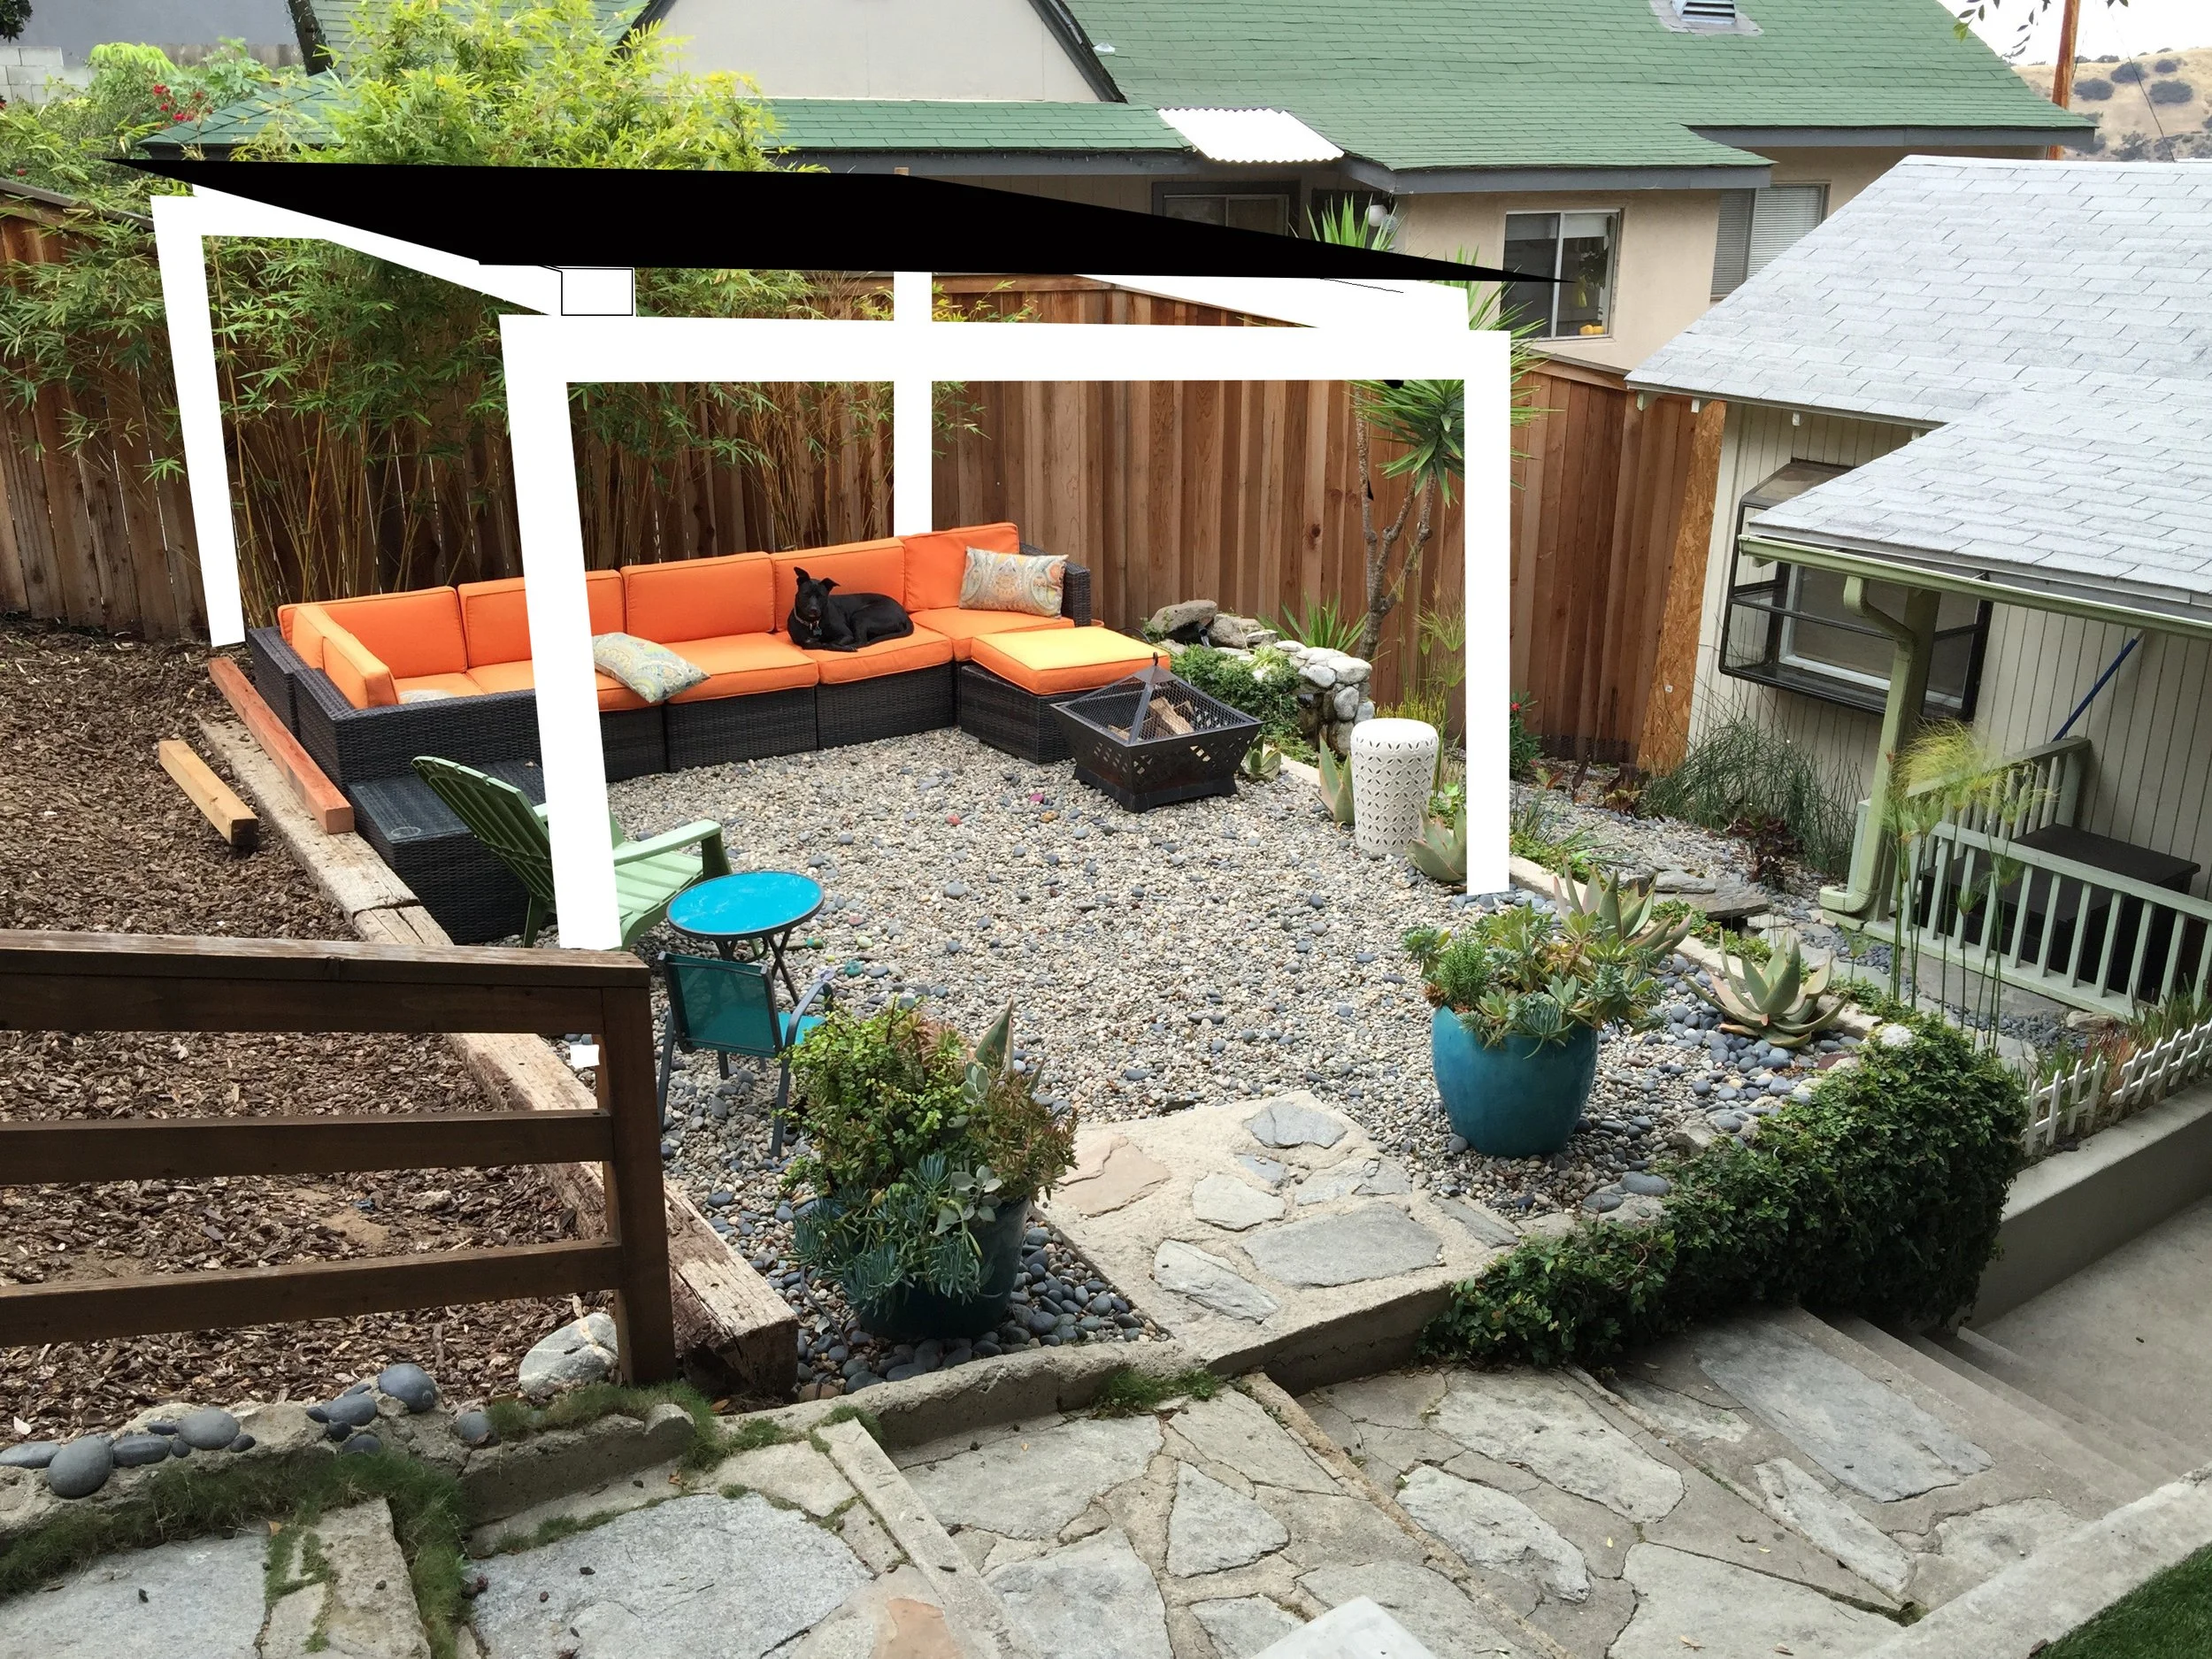
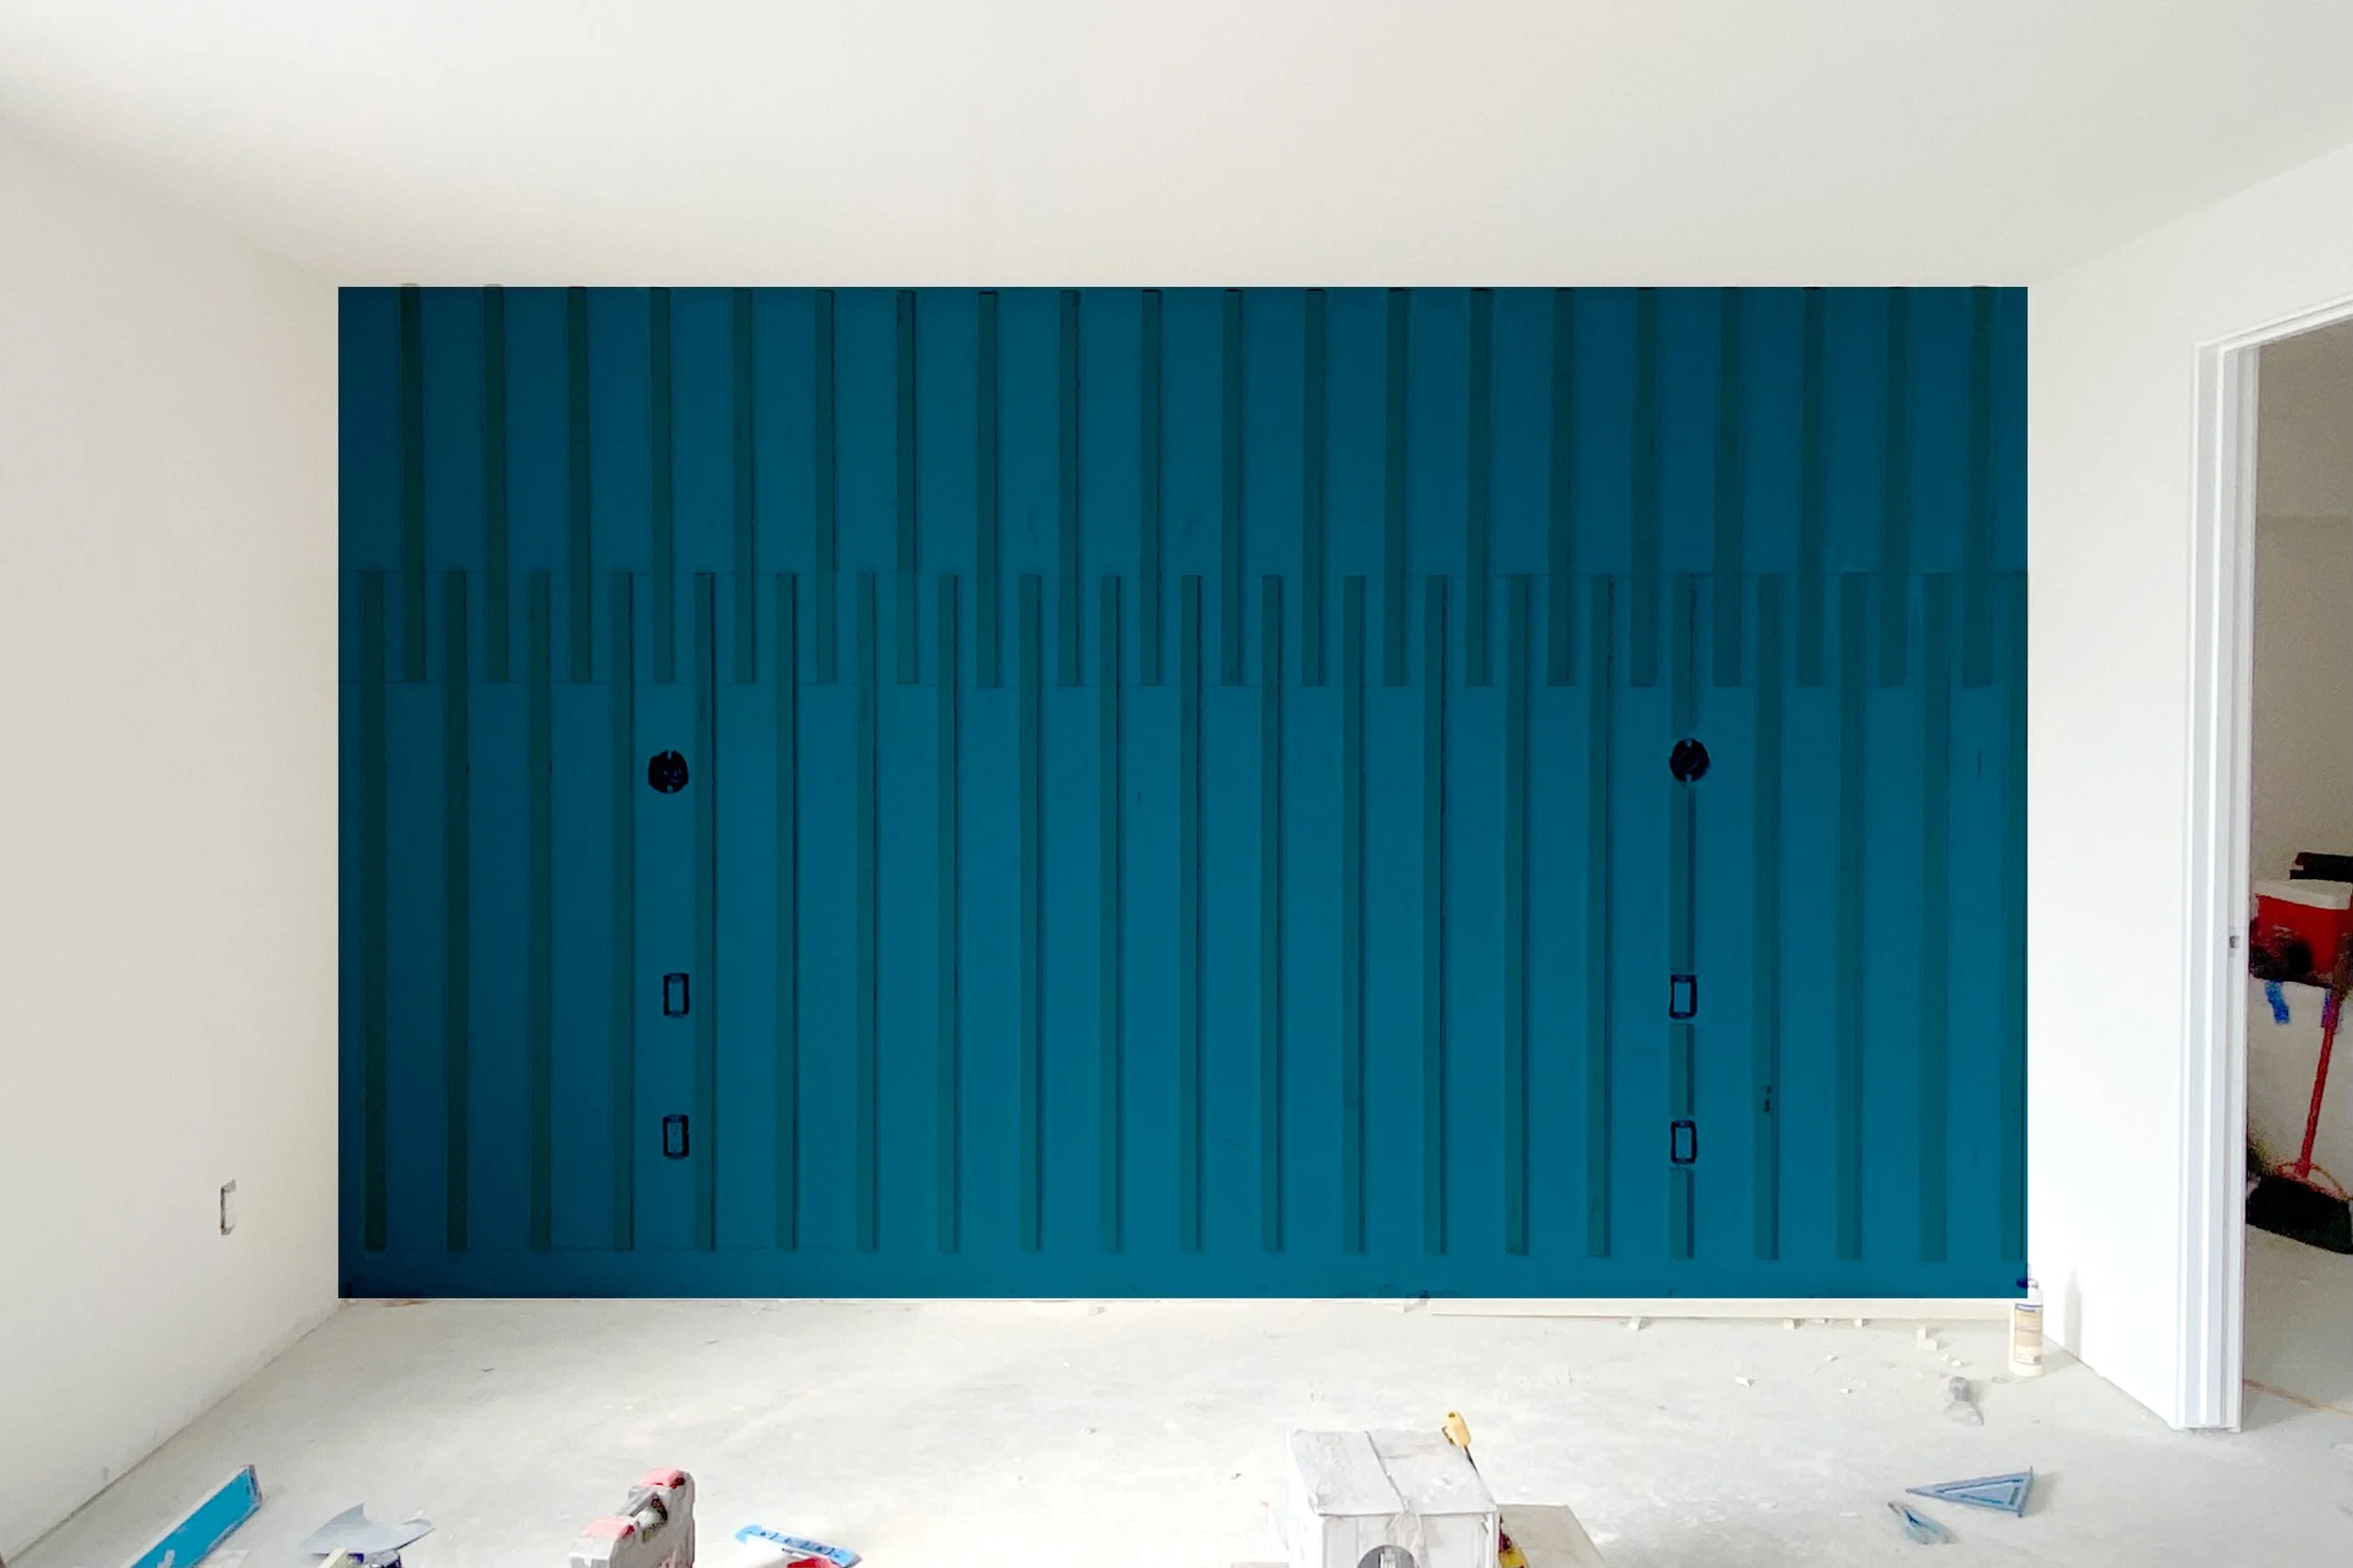
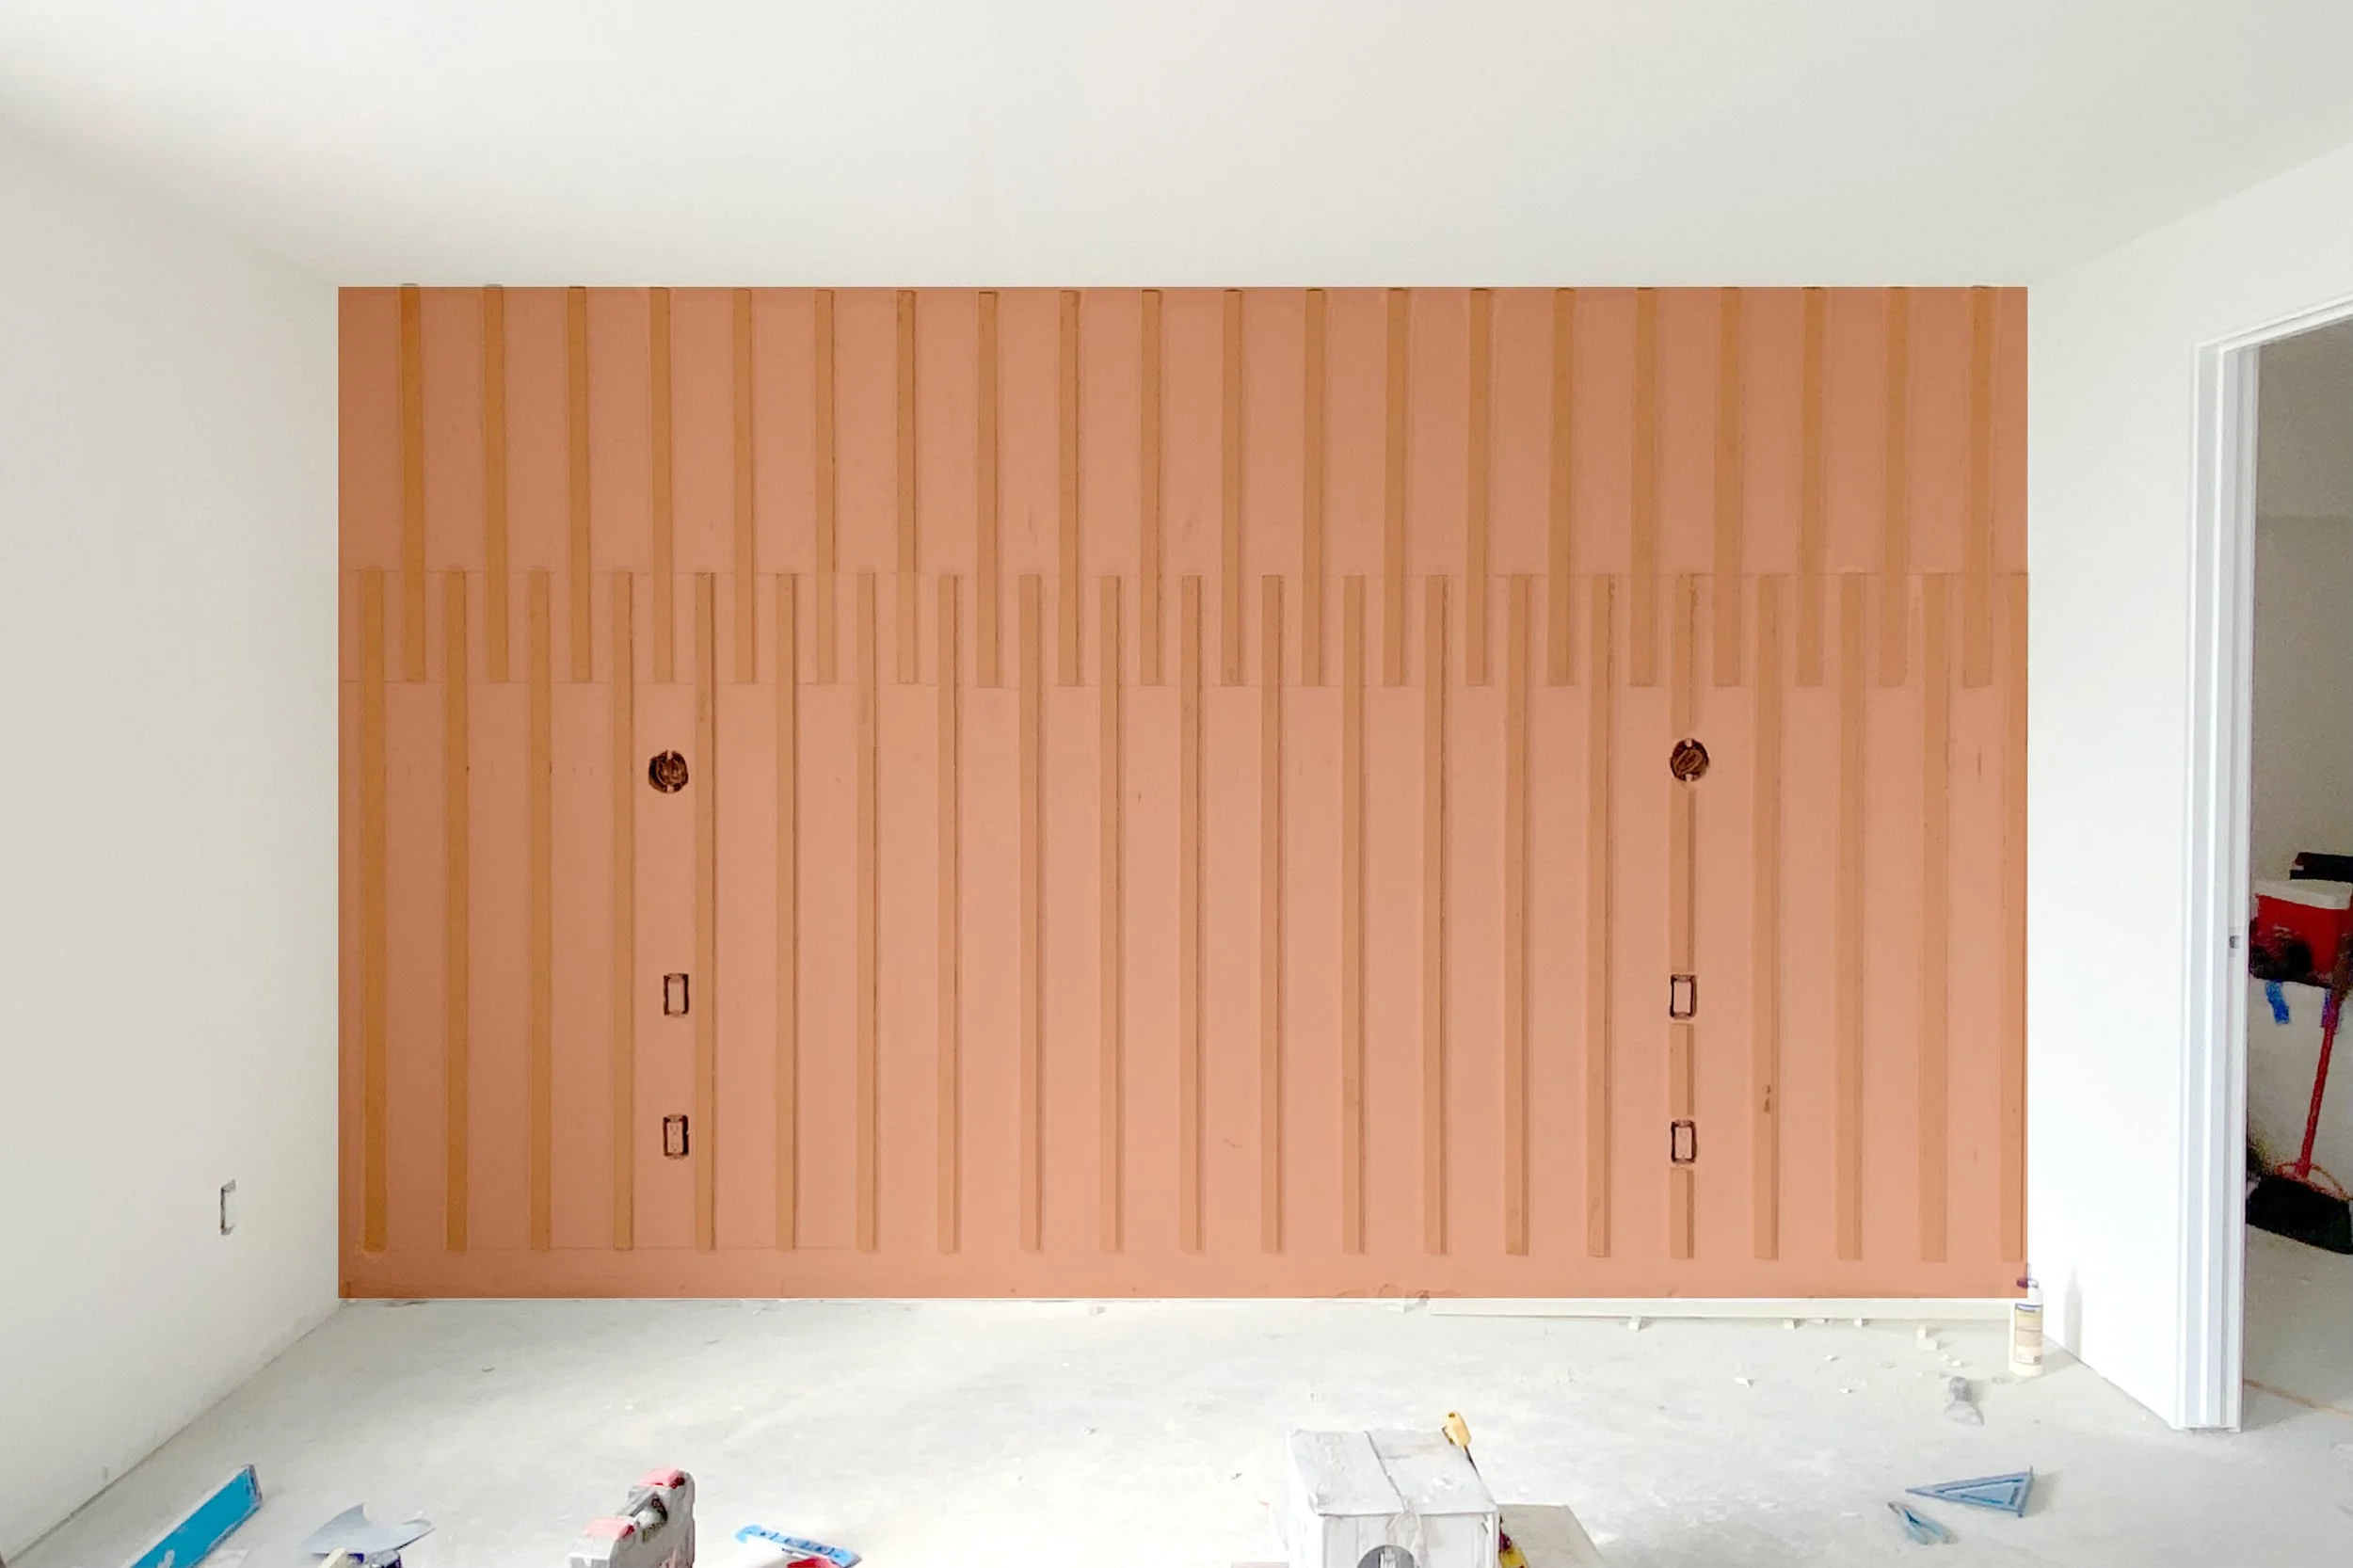
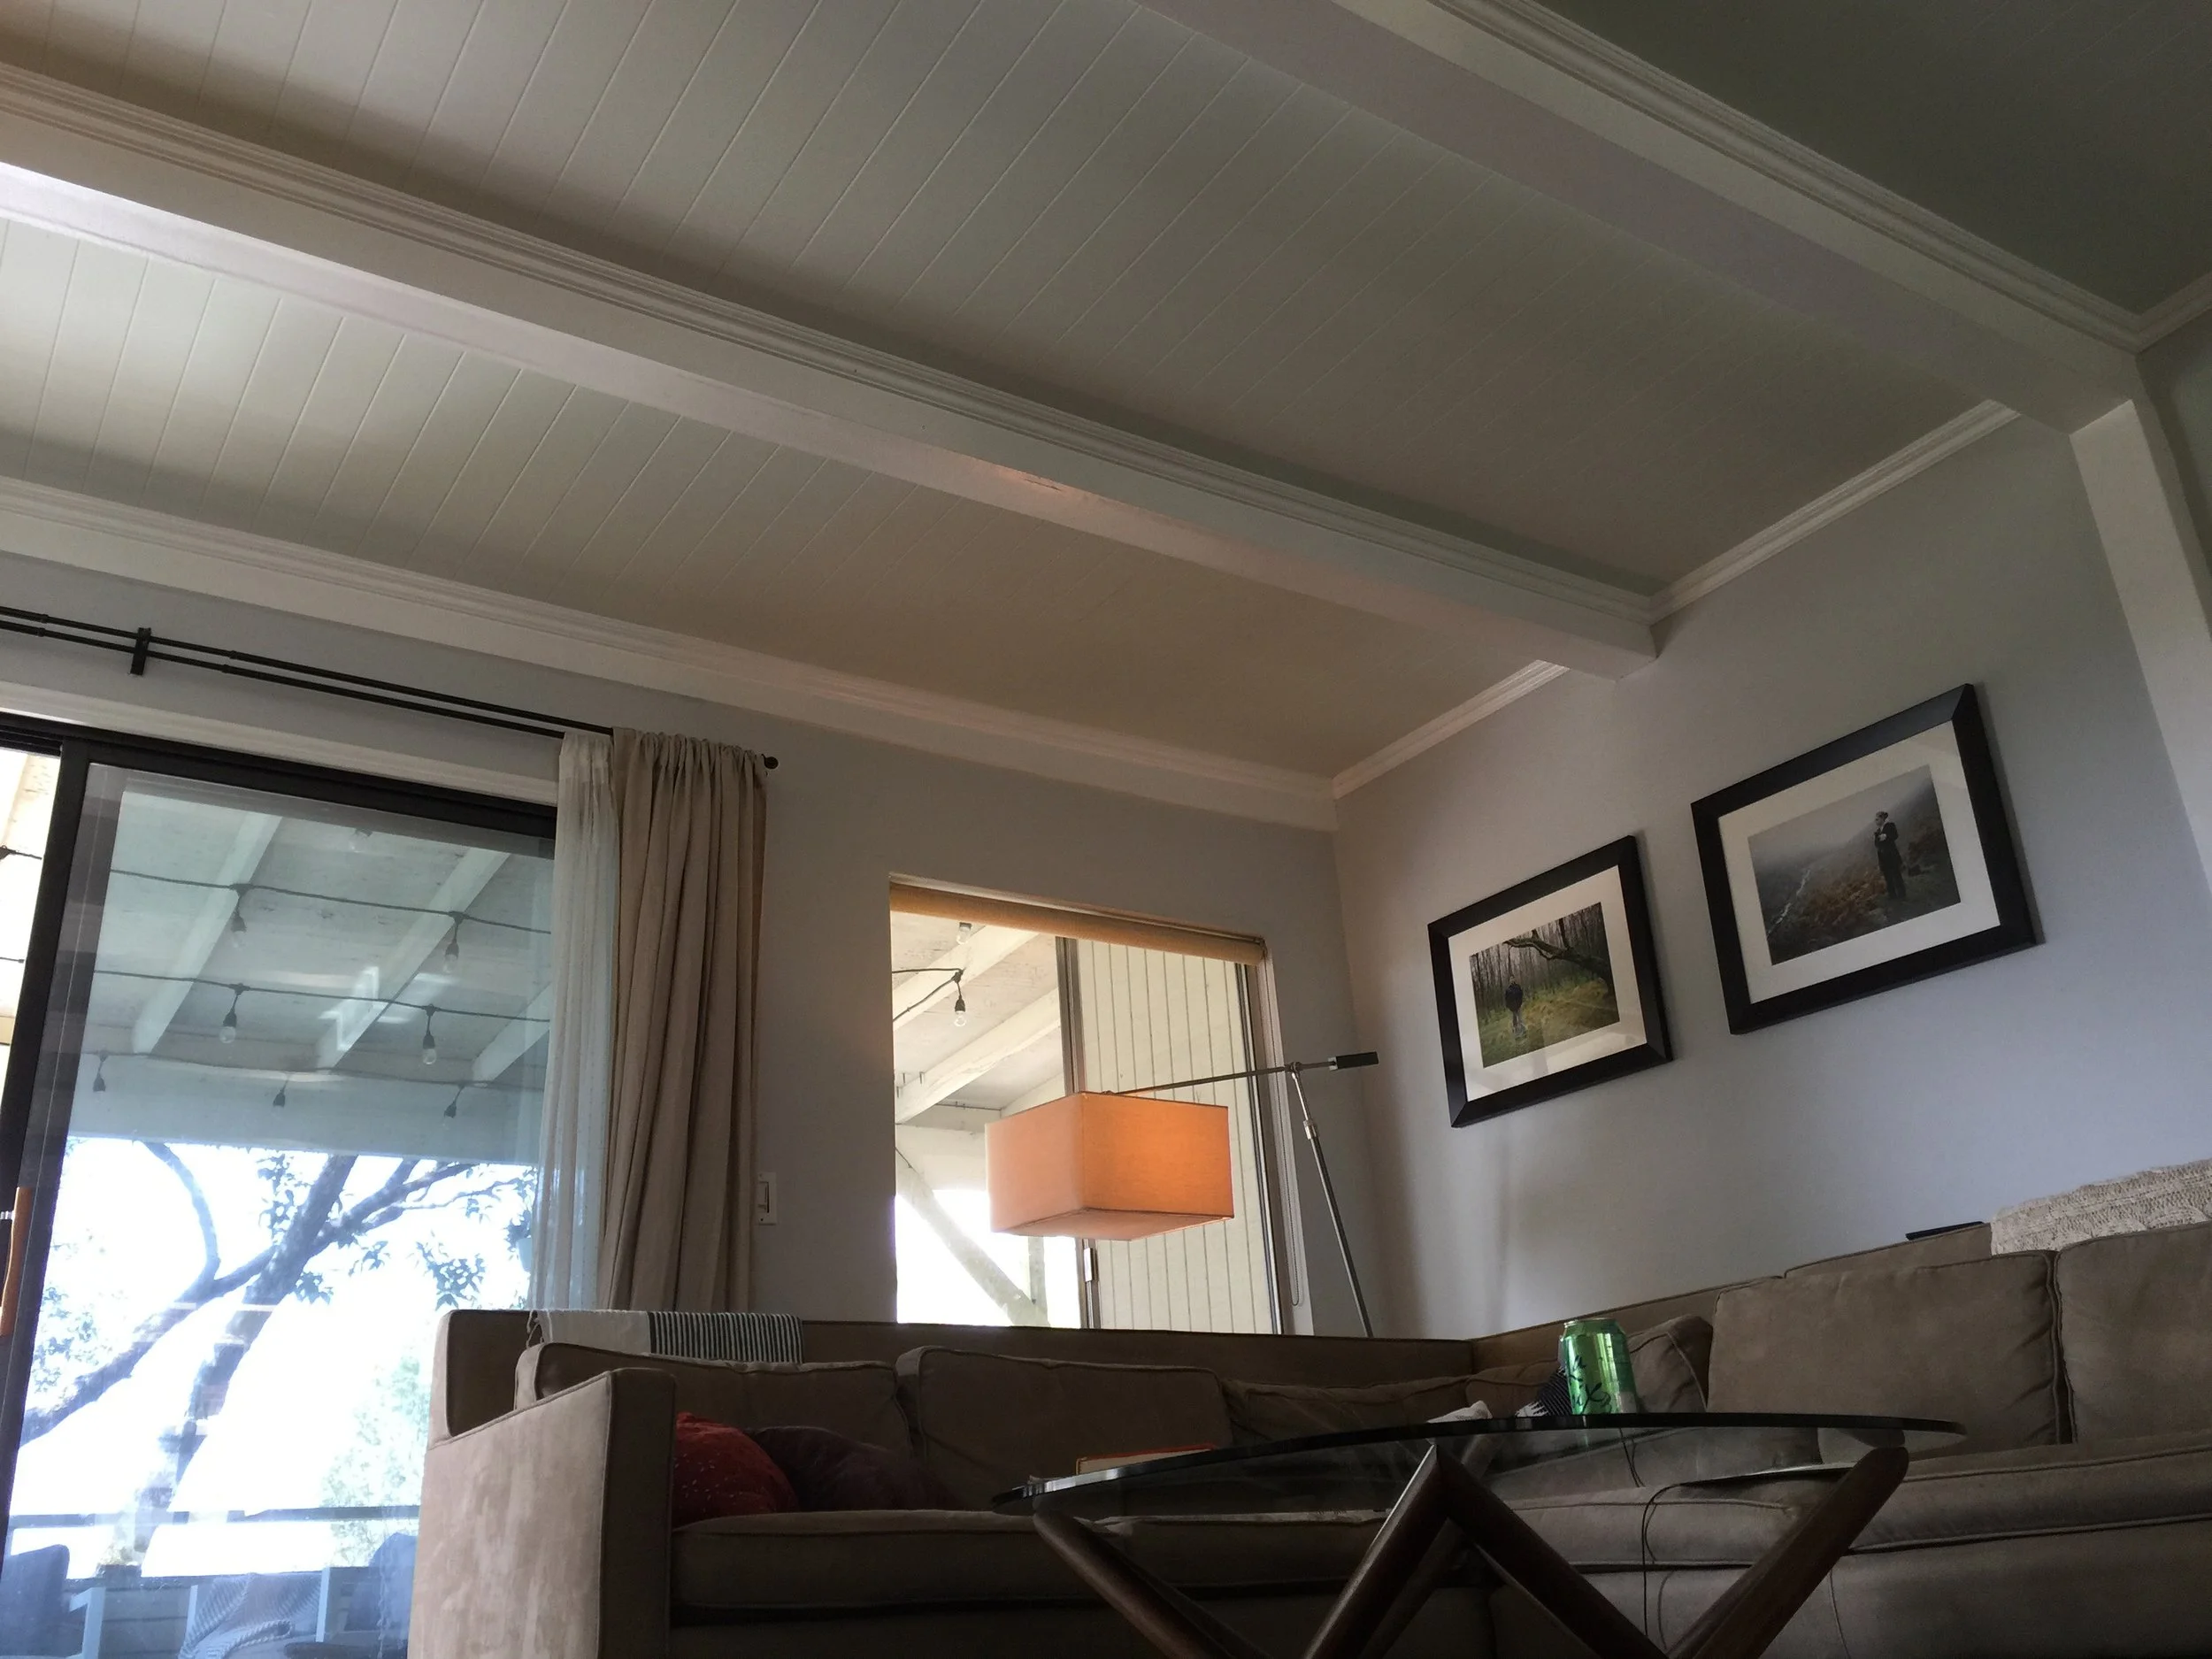
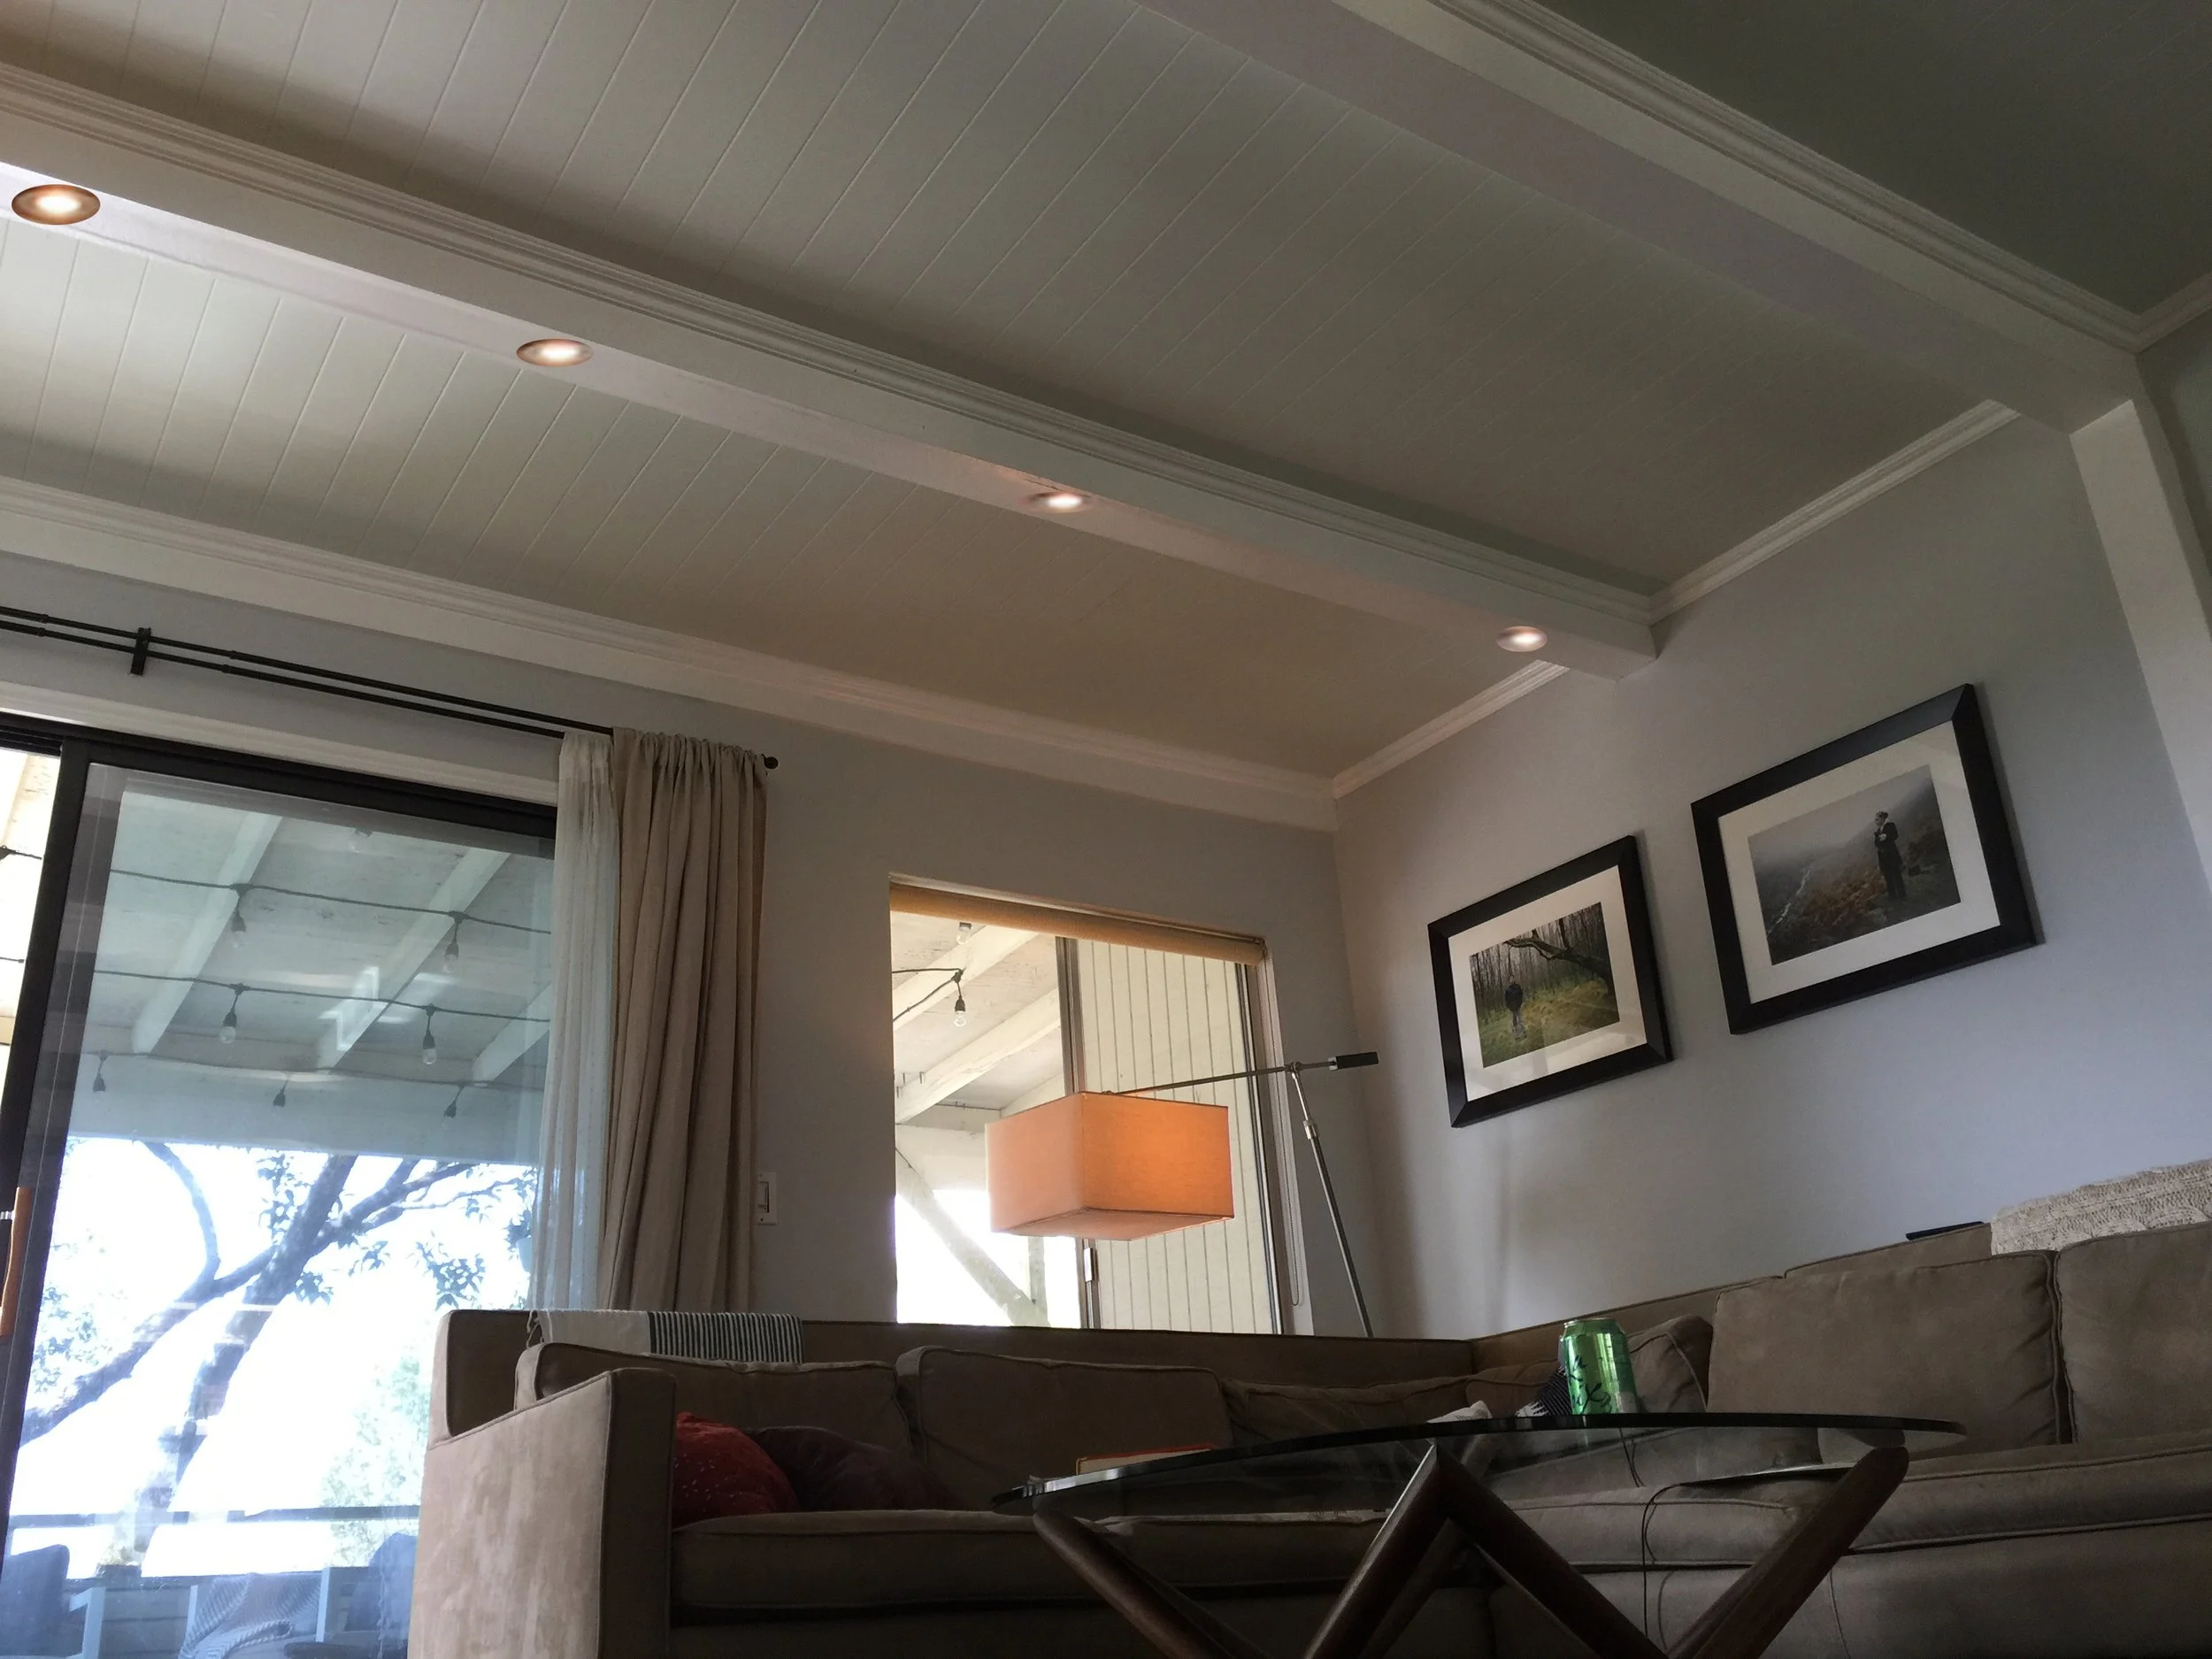
Or maybe you’re not exactly sure what it is you want or where to even begin? Well, that’s the perfect time to call! I am happy to help you figure anything out. I can even provide you with images of how different ideas and designs might look in your very own home. Check out some examples in the “Visualize” section below.
So whether you need help getting that project out of your head and into your home or you’re in search of someone to perfectly execute your plans, shoot me a call, text, or email! And thanks so much for considering us, we look forward to hearing from you 🙏
Brad Katz 818-653-3521
projects / designs

WE CAN VISUALIZE your project!
SEE IT BEFORE WE DO IT!!!
PROJECT/DESIGN/bloG
Stuff that I’ve done. Things I can do for you. Other stuff and things.
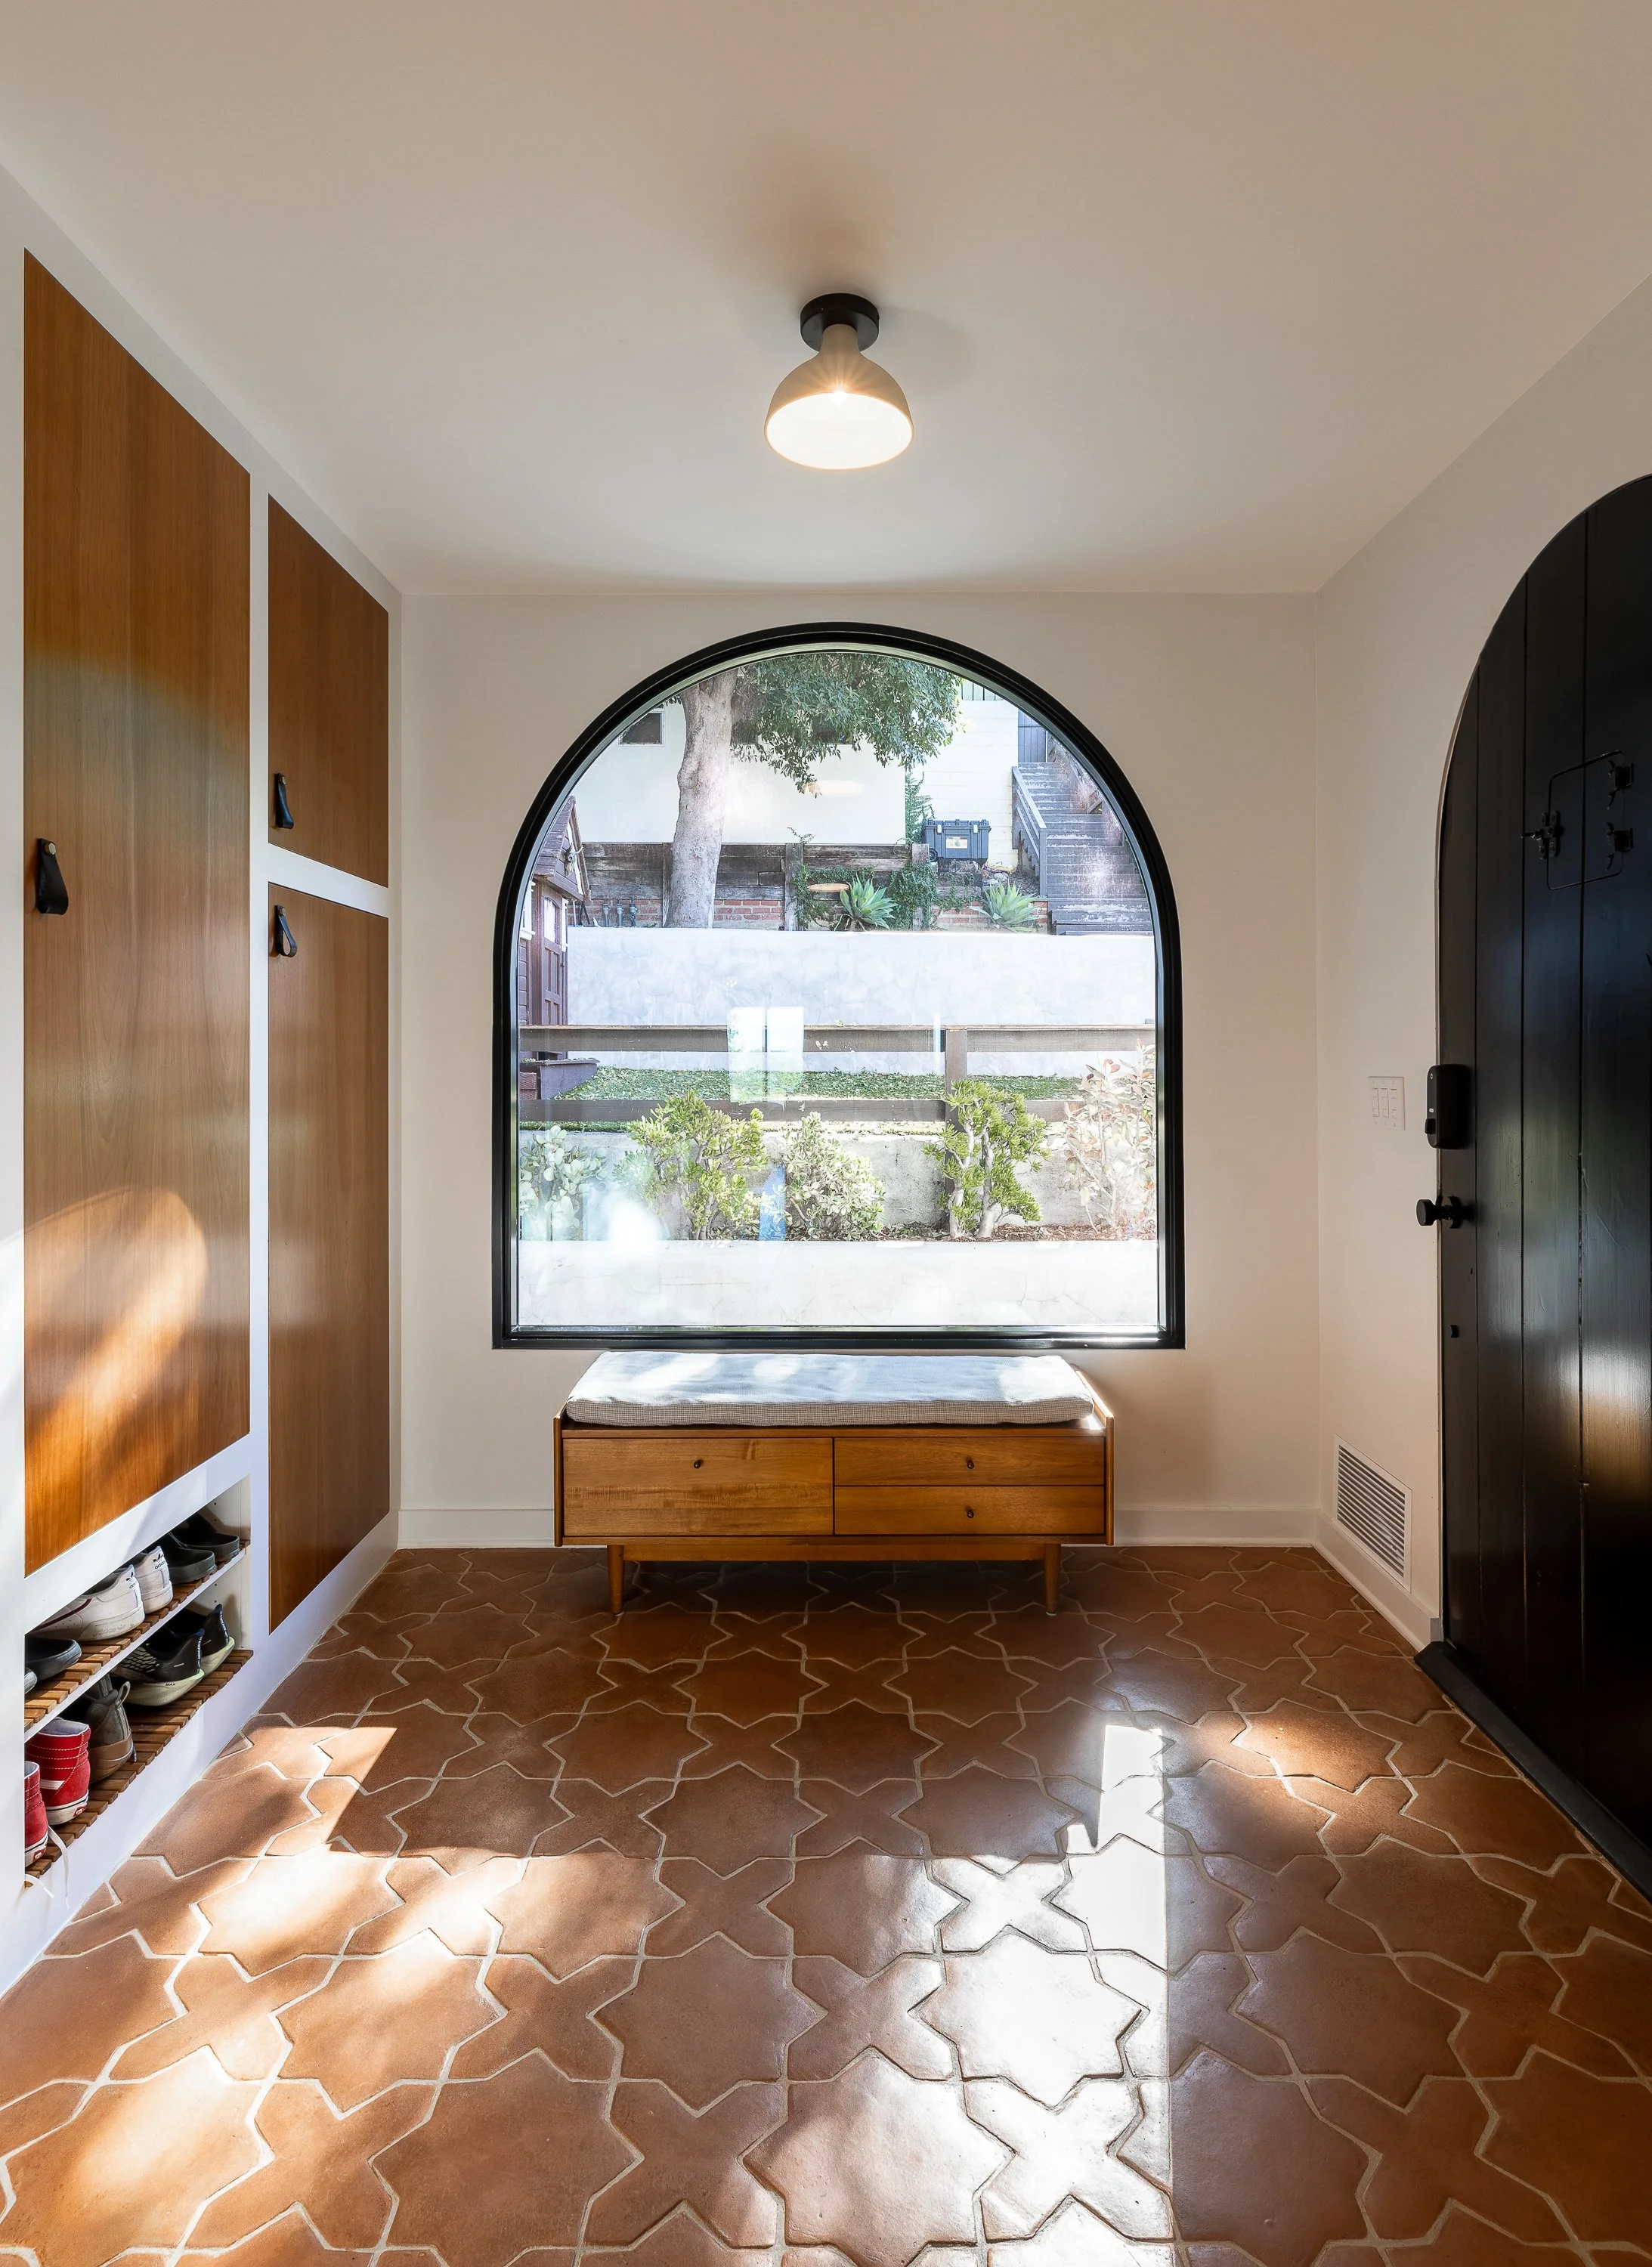
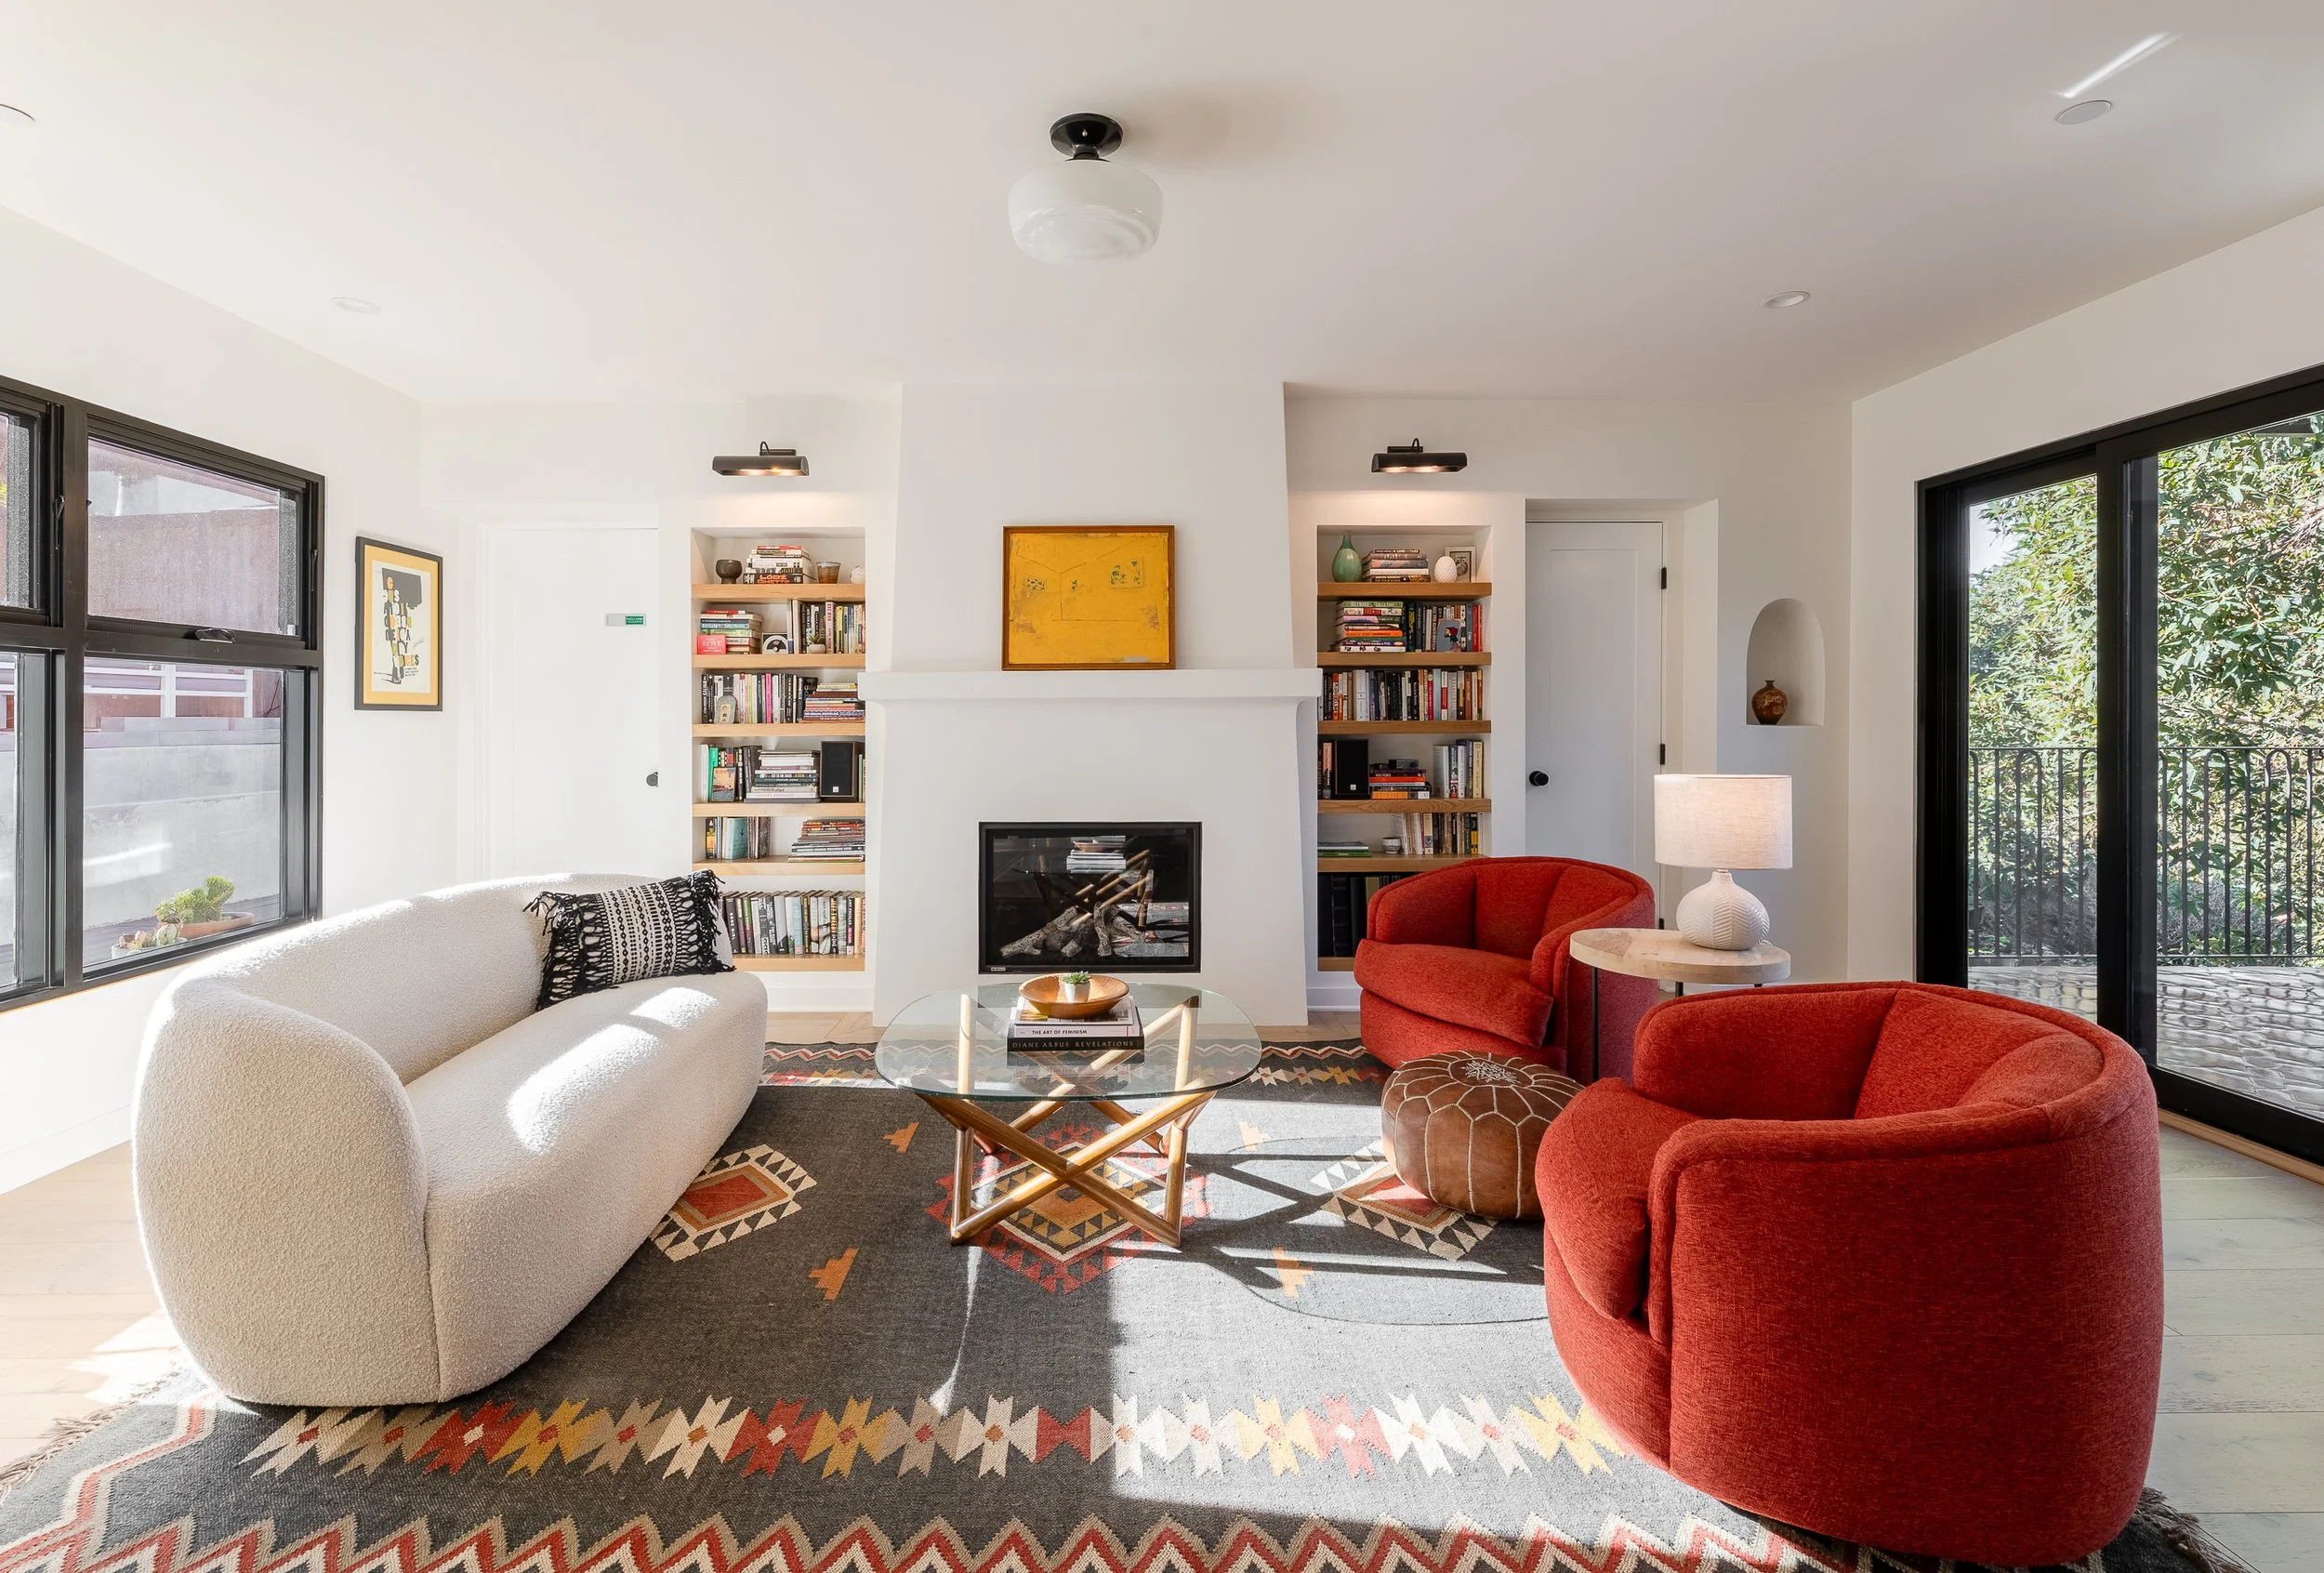
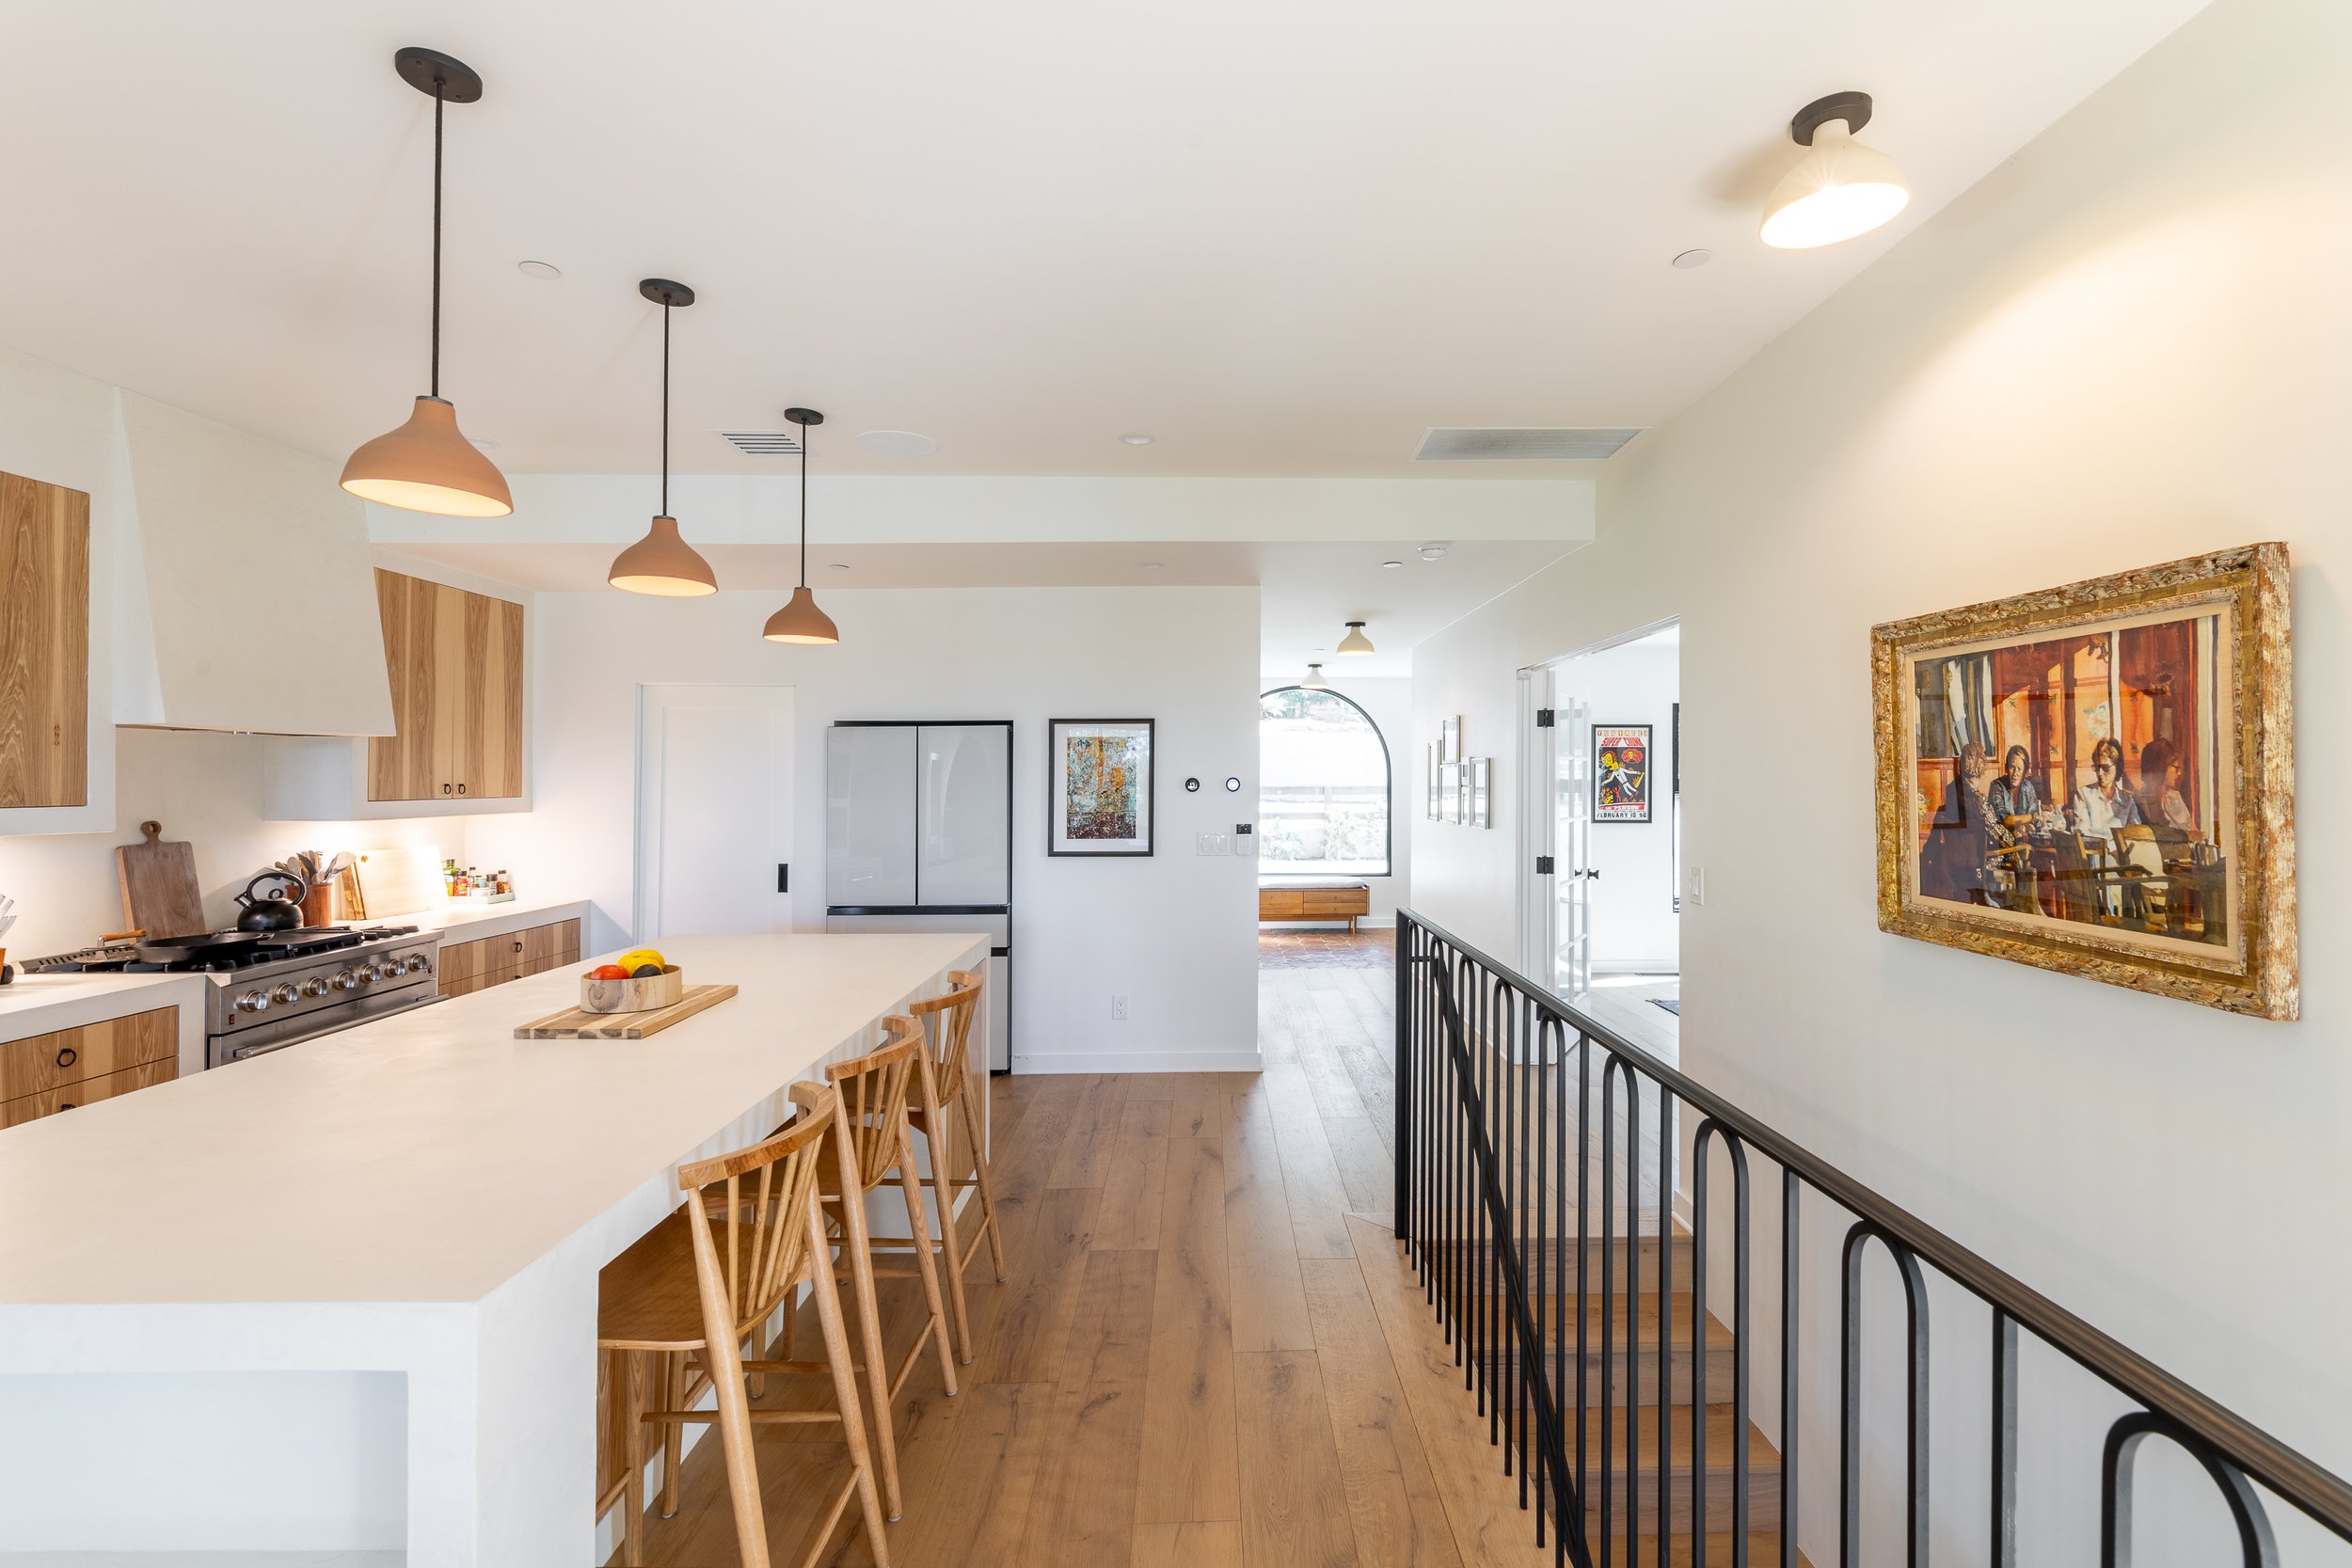
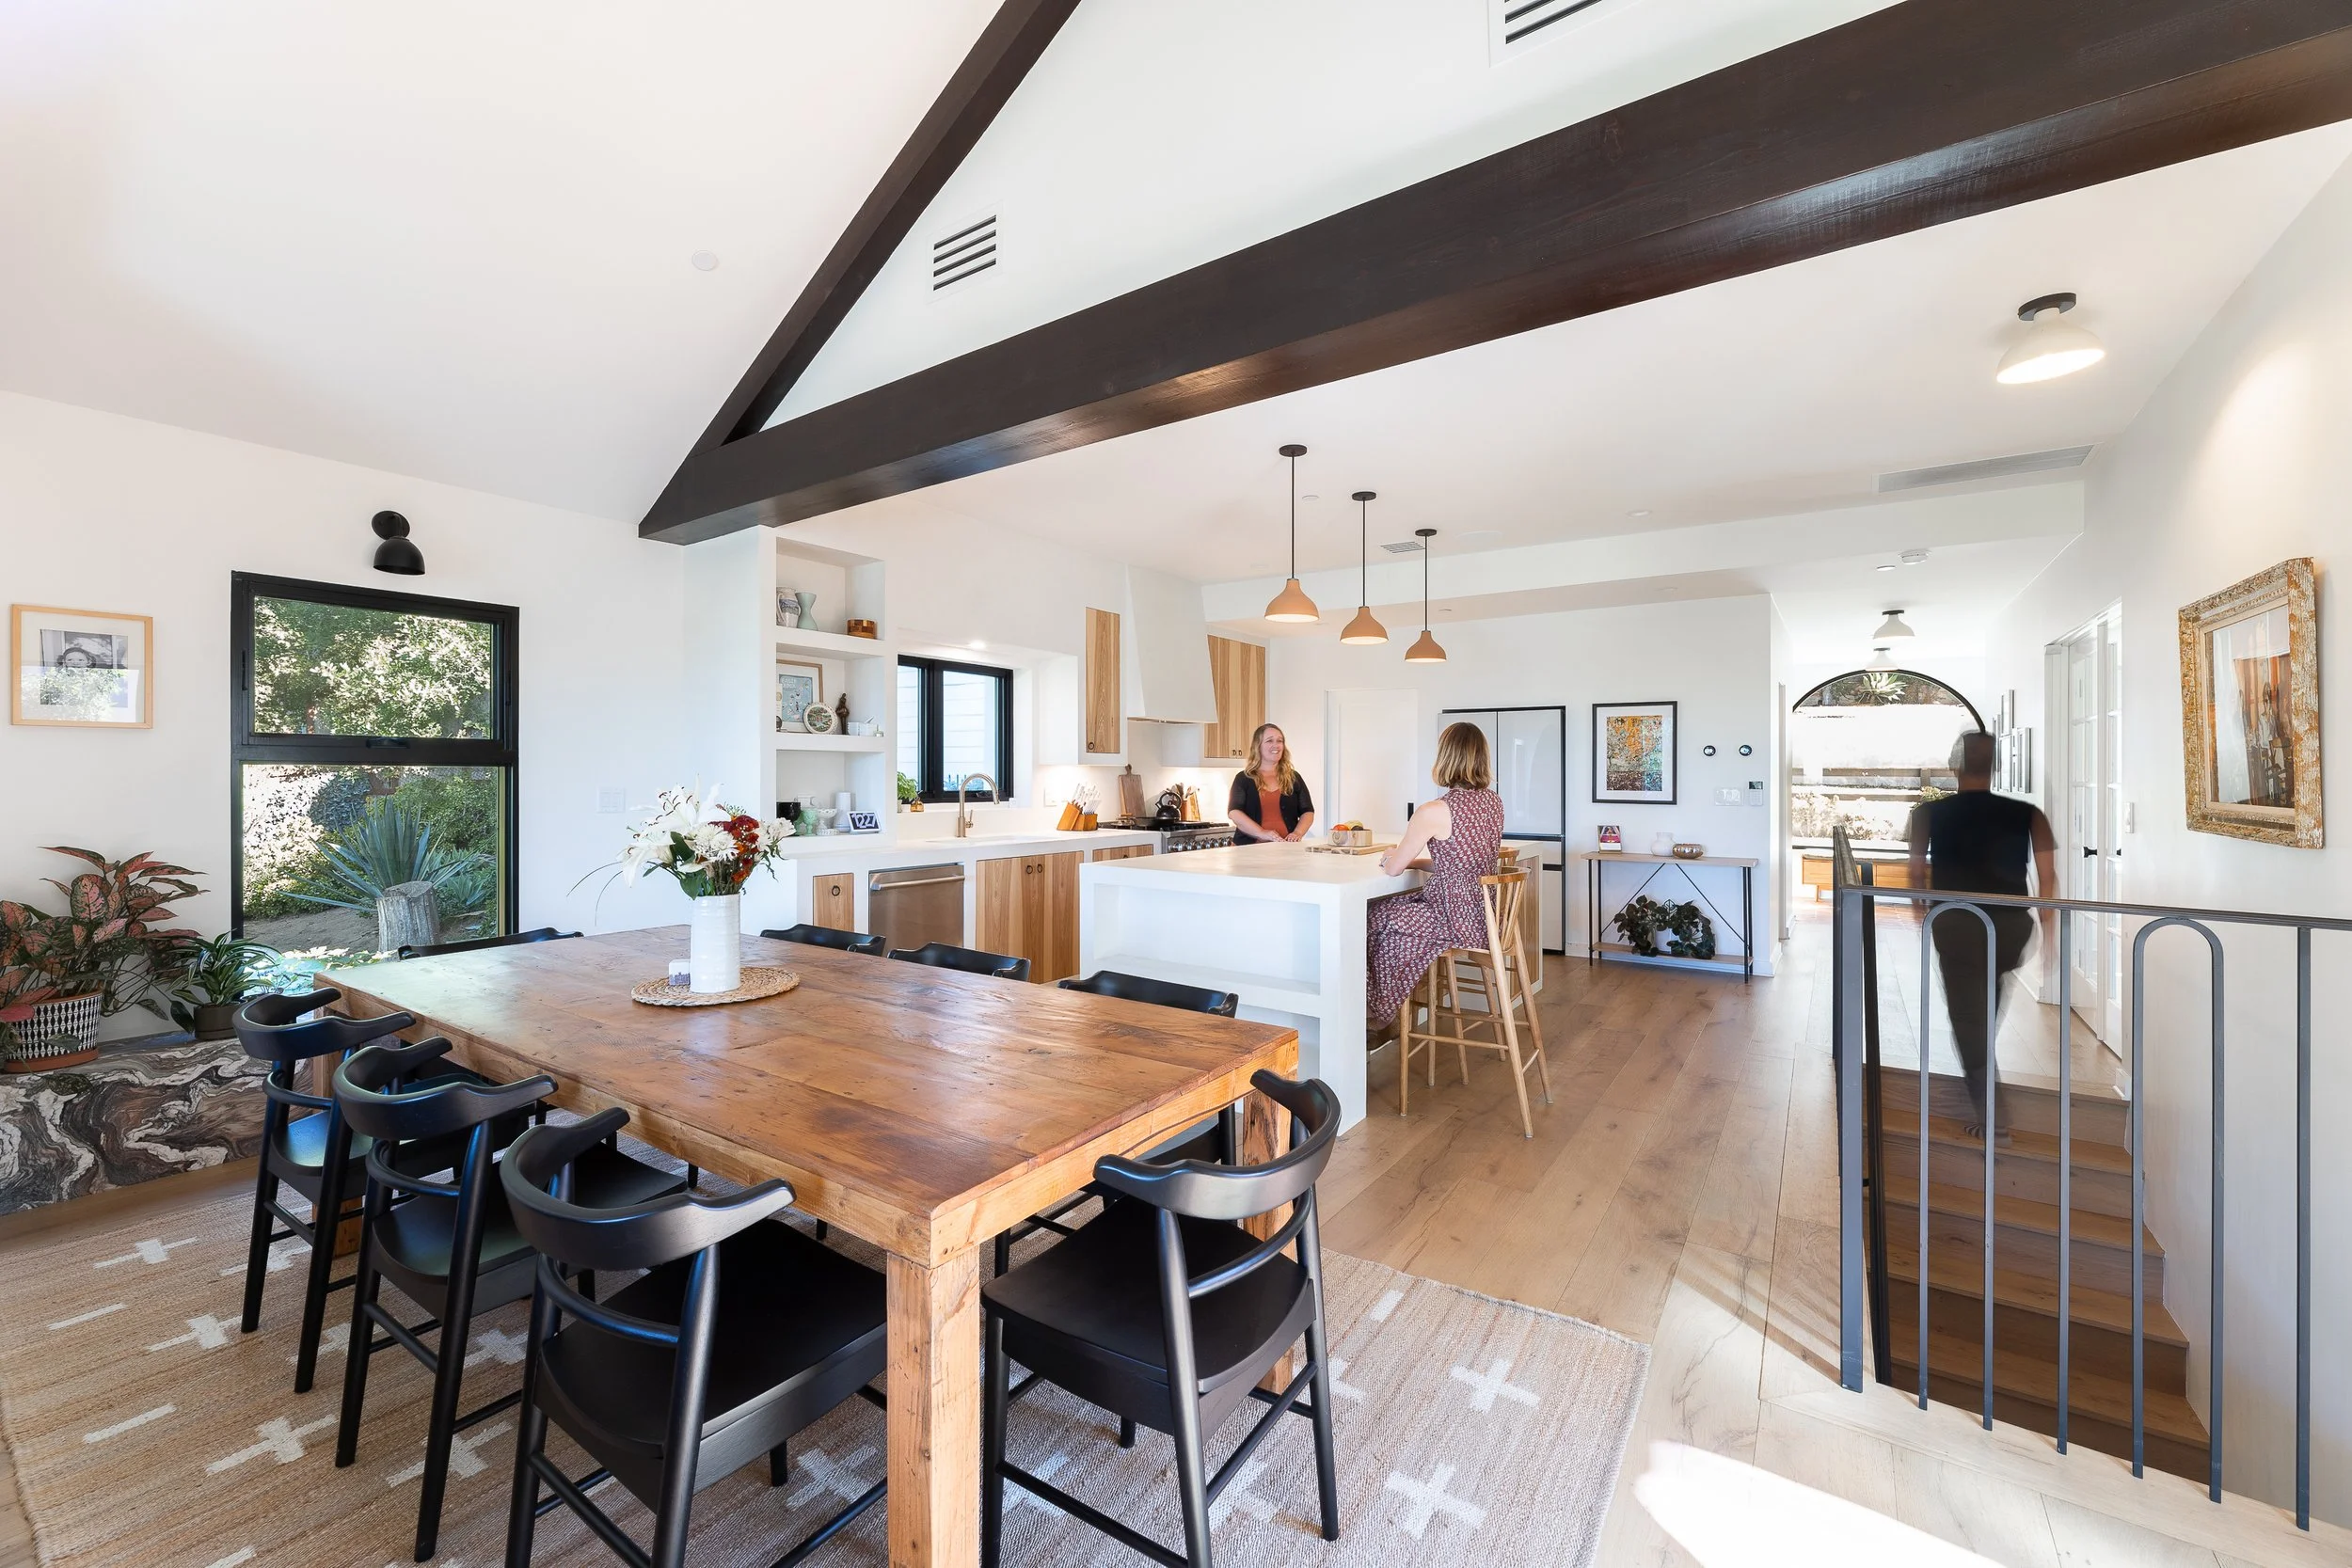
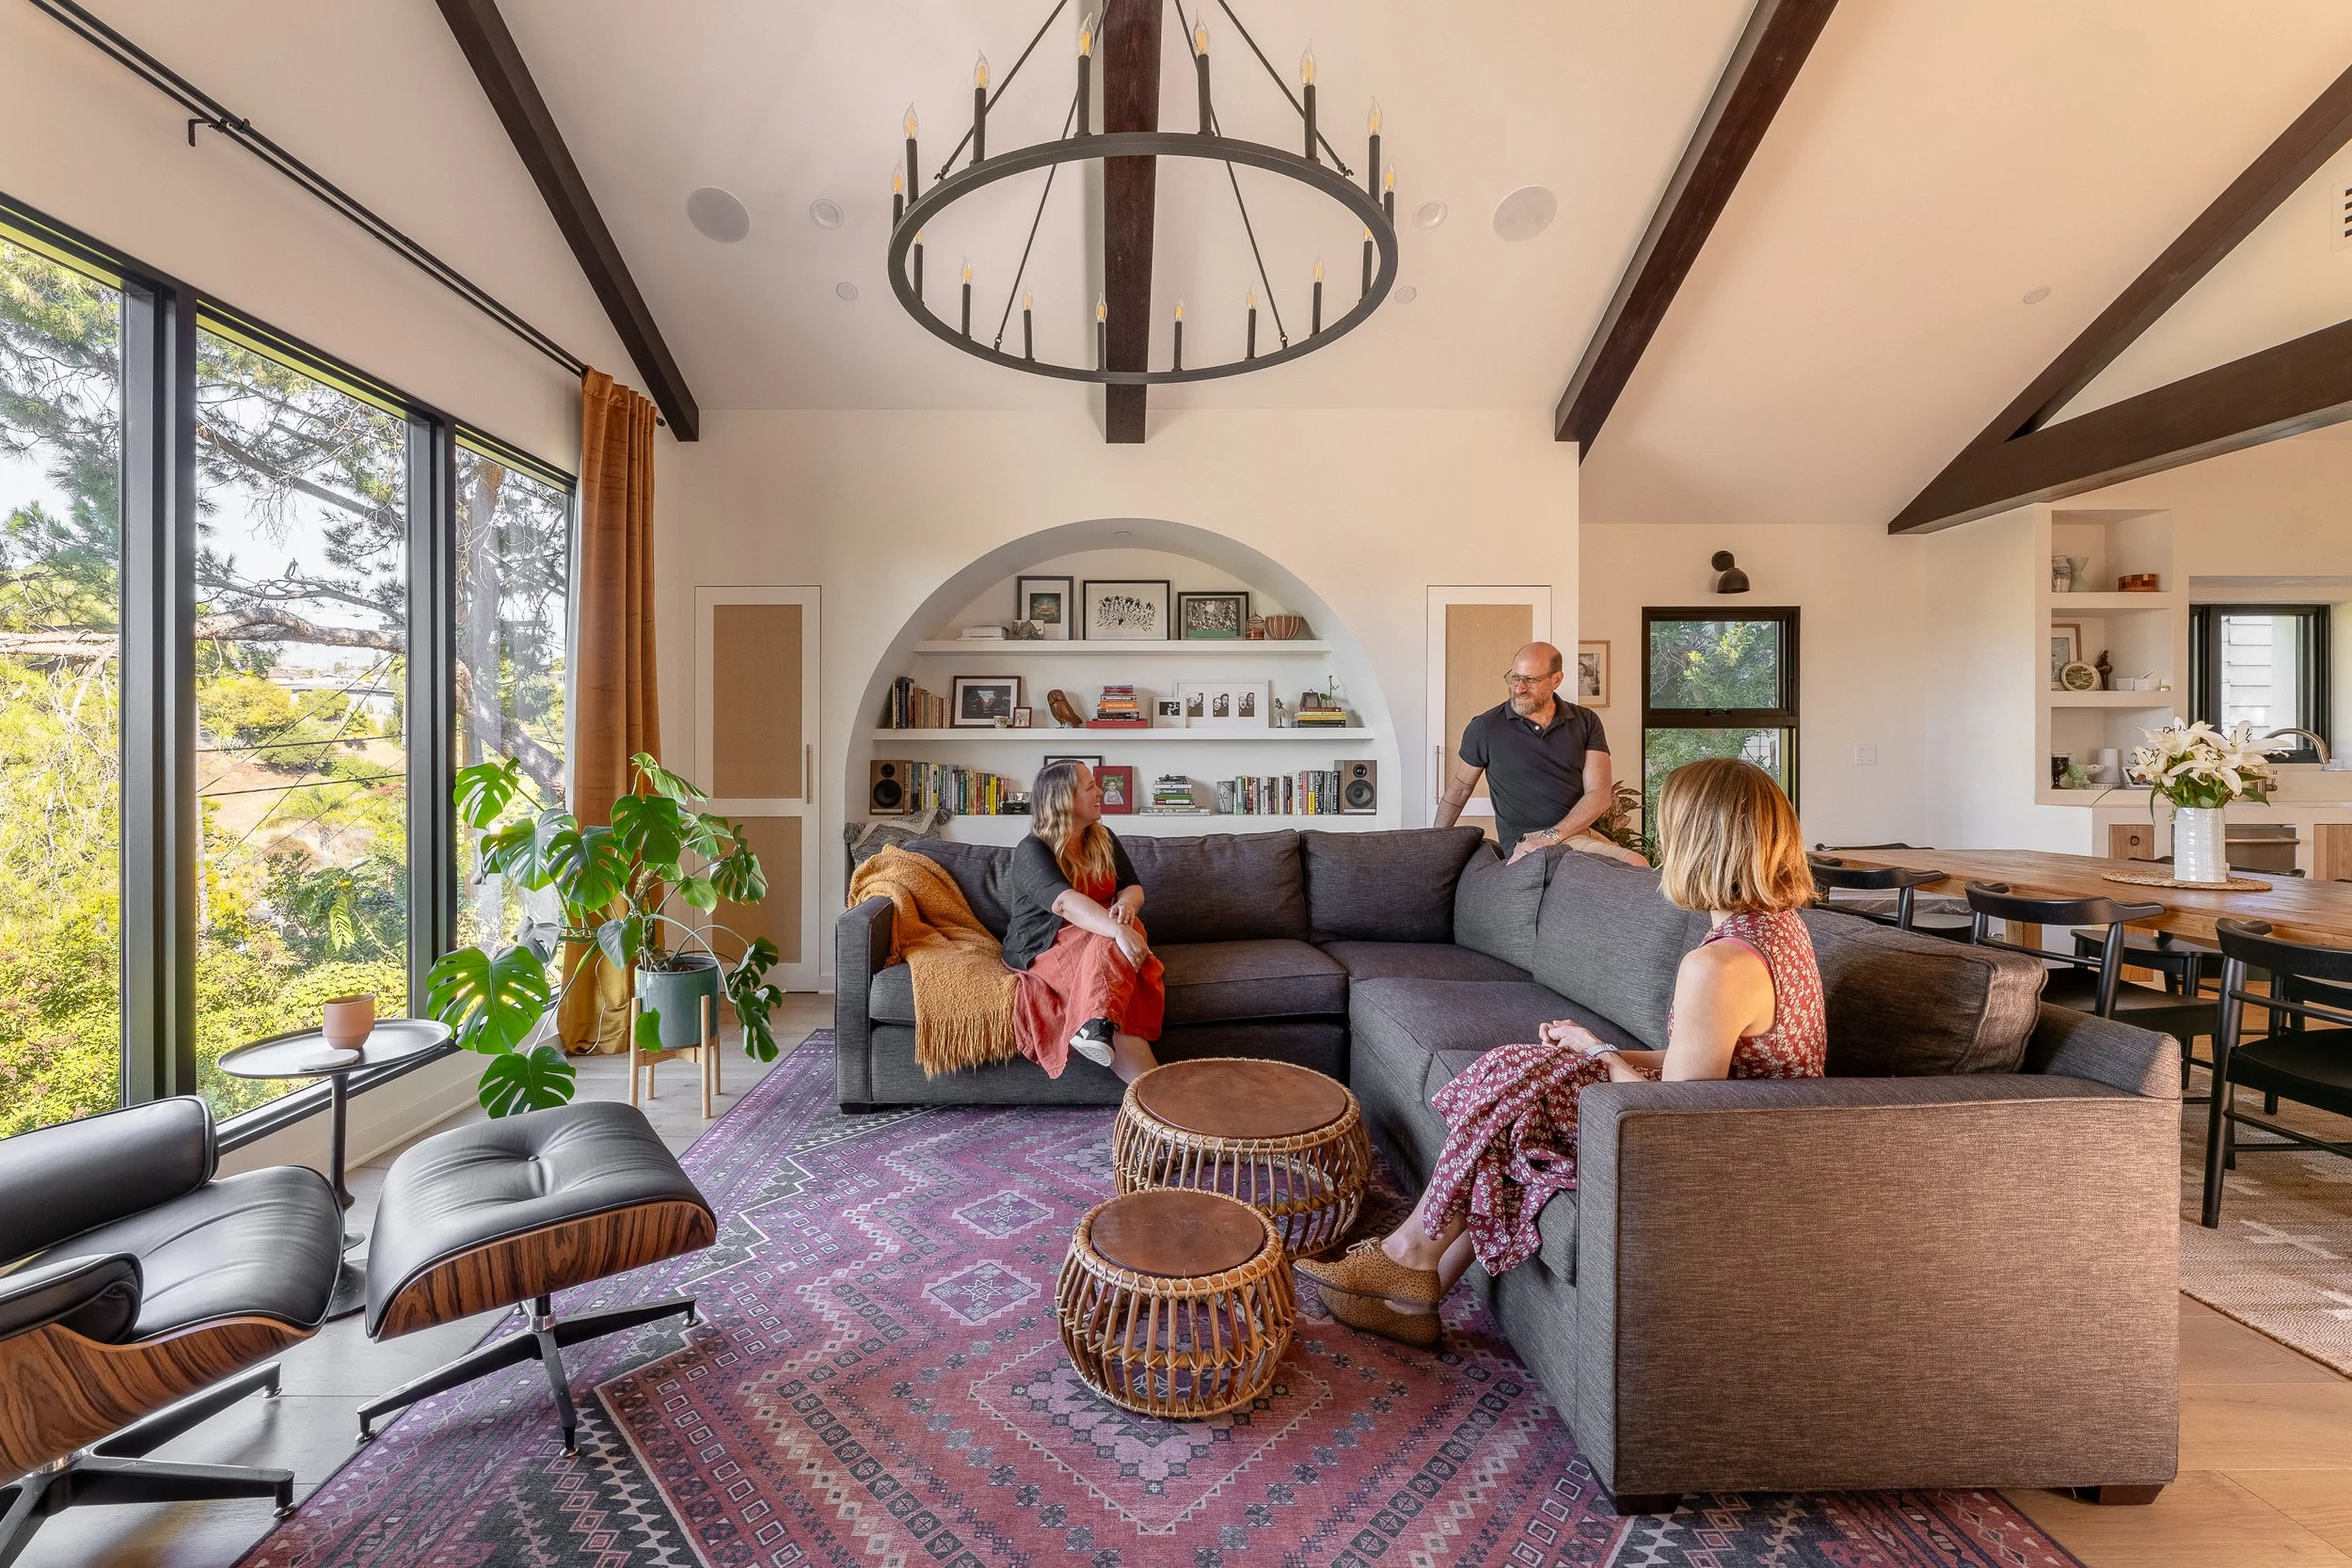
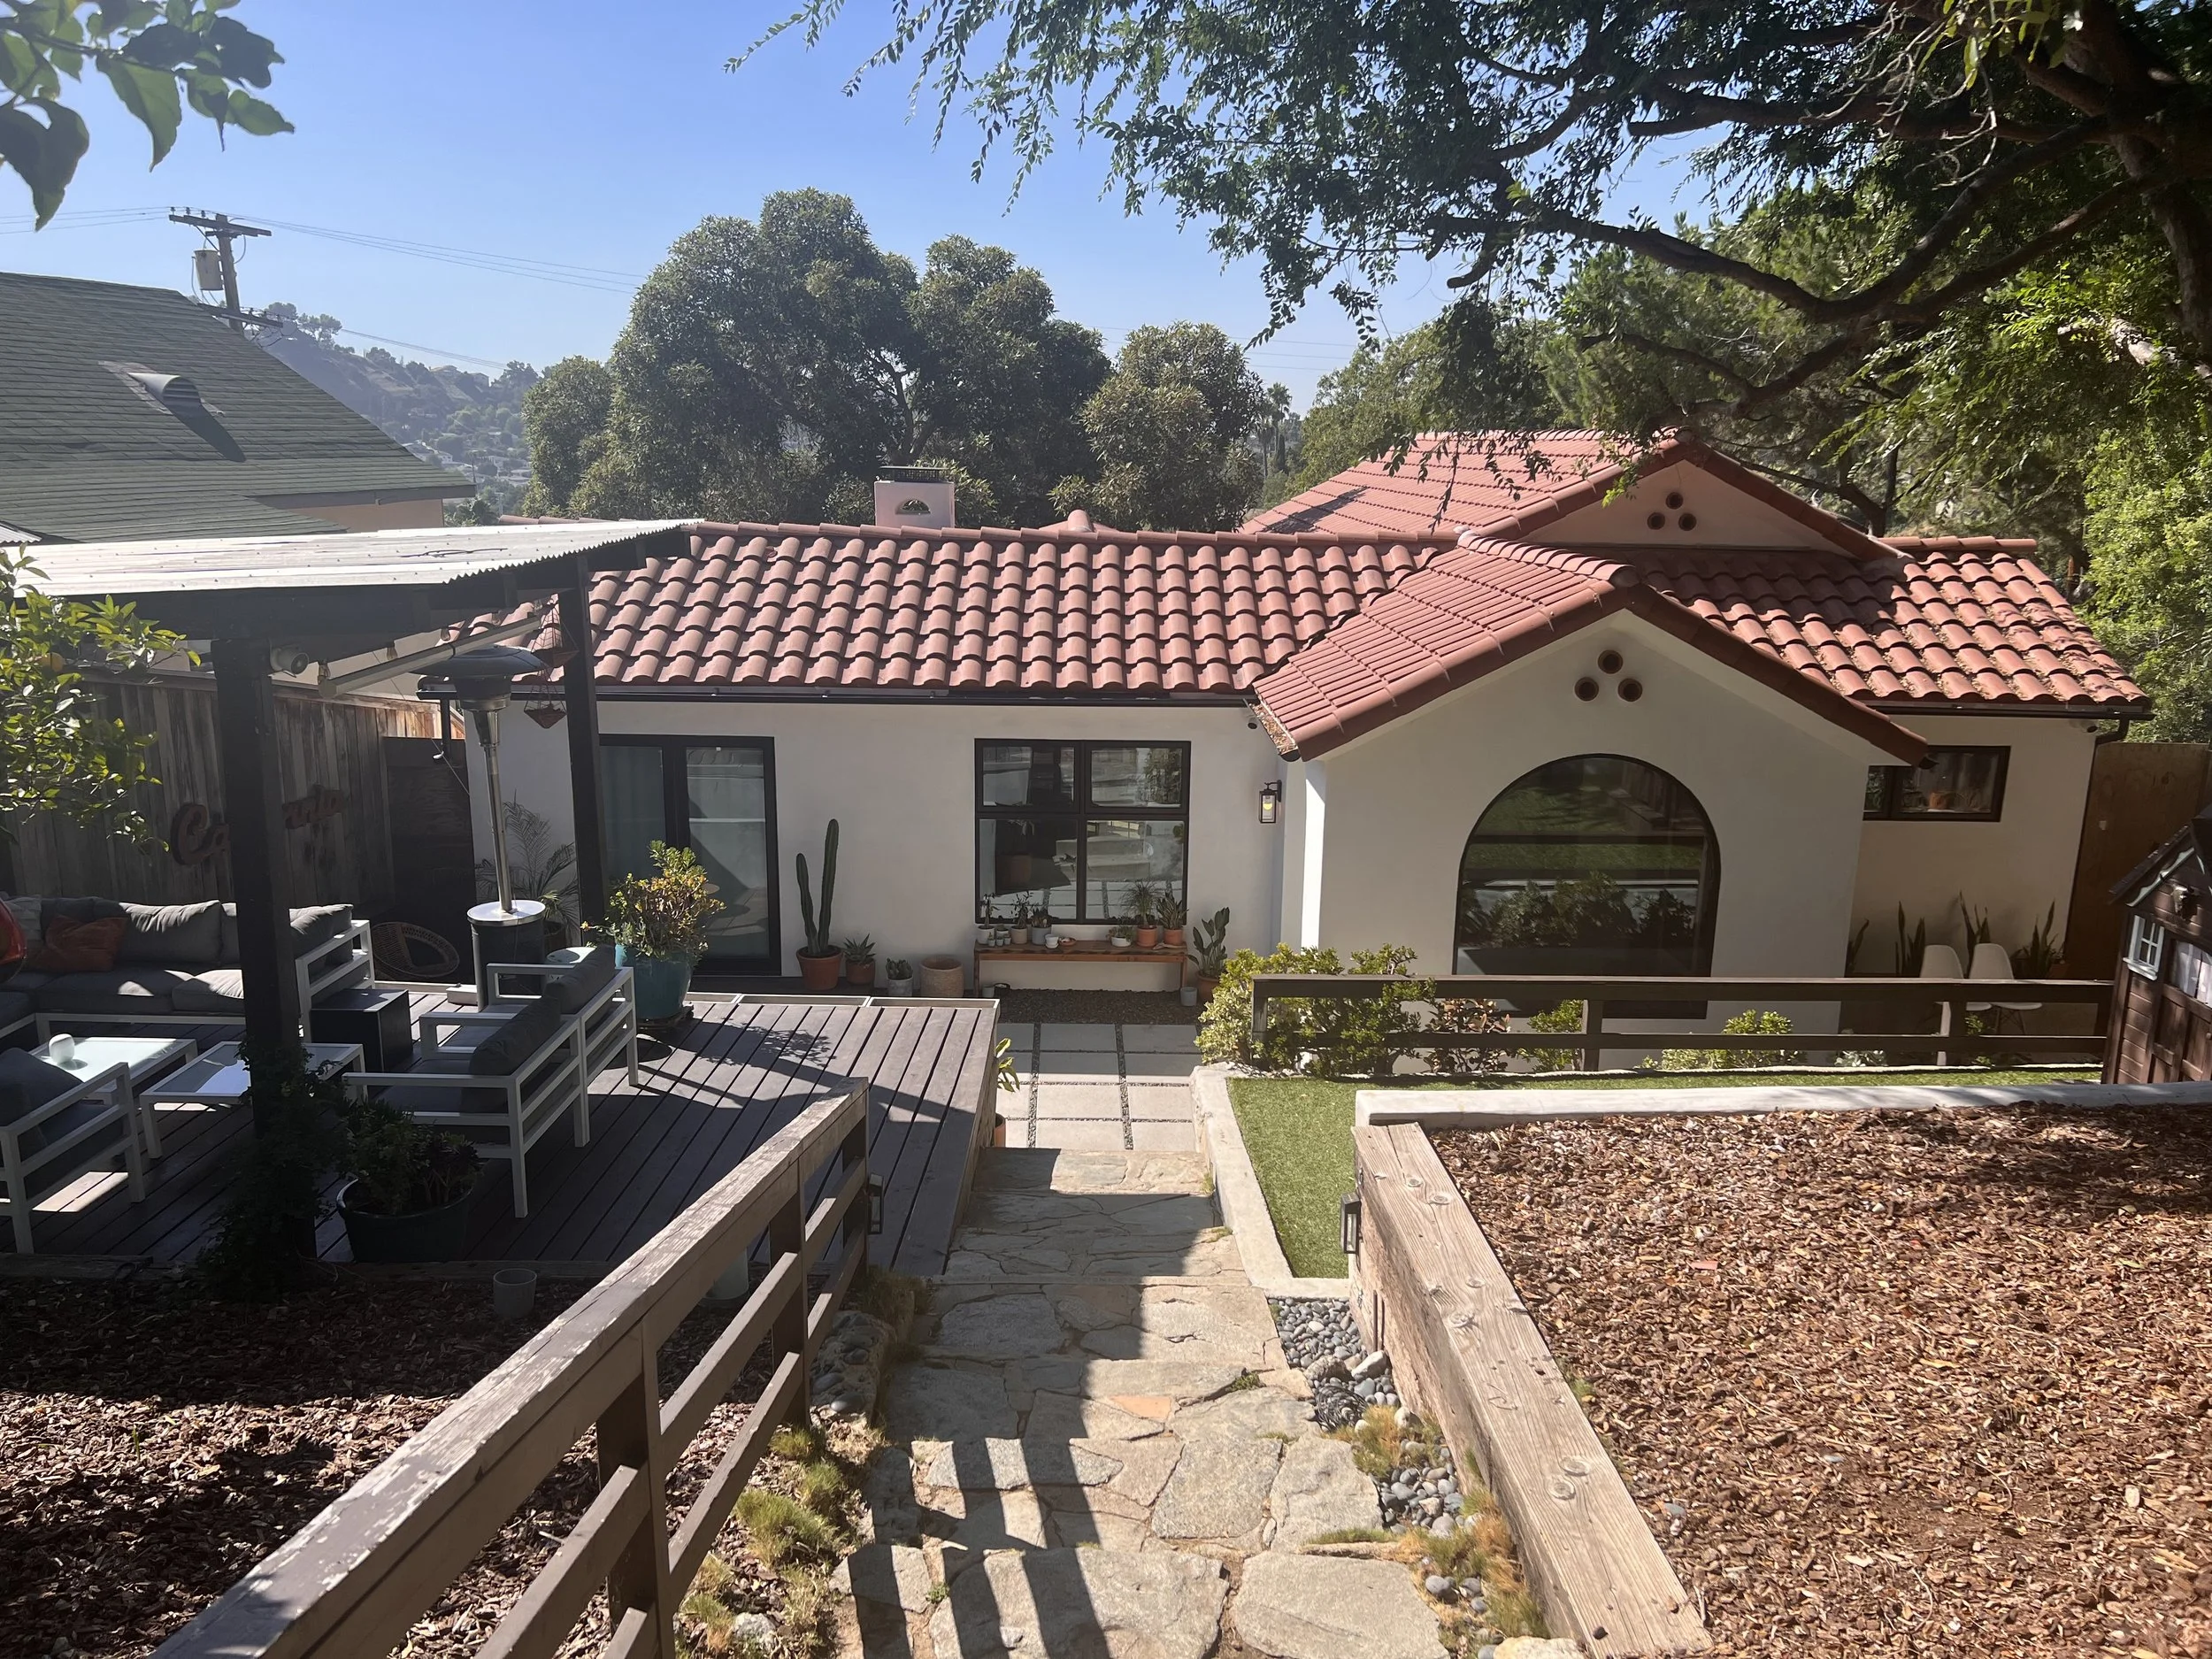
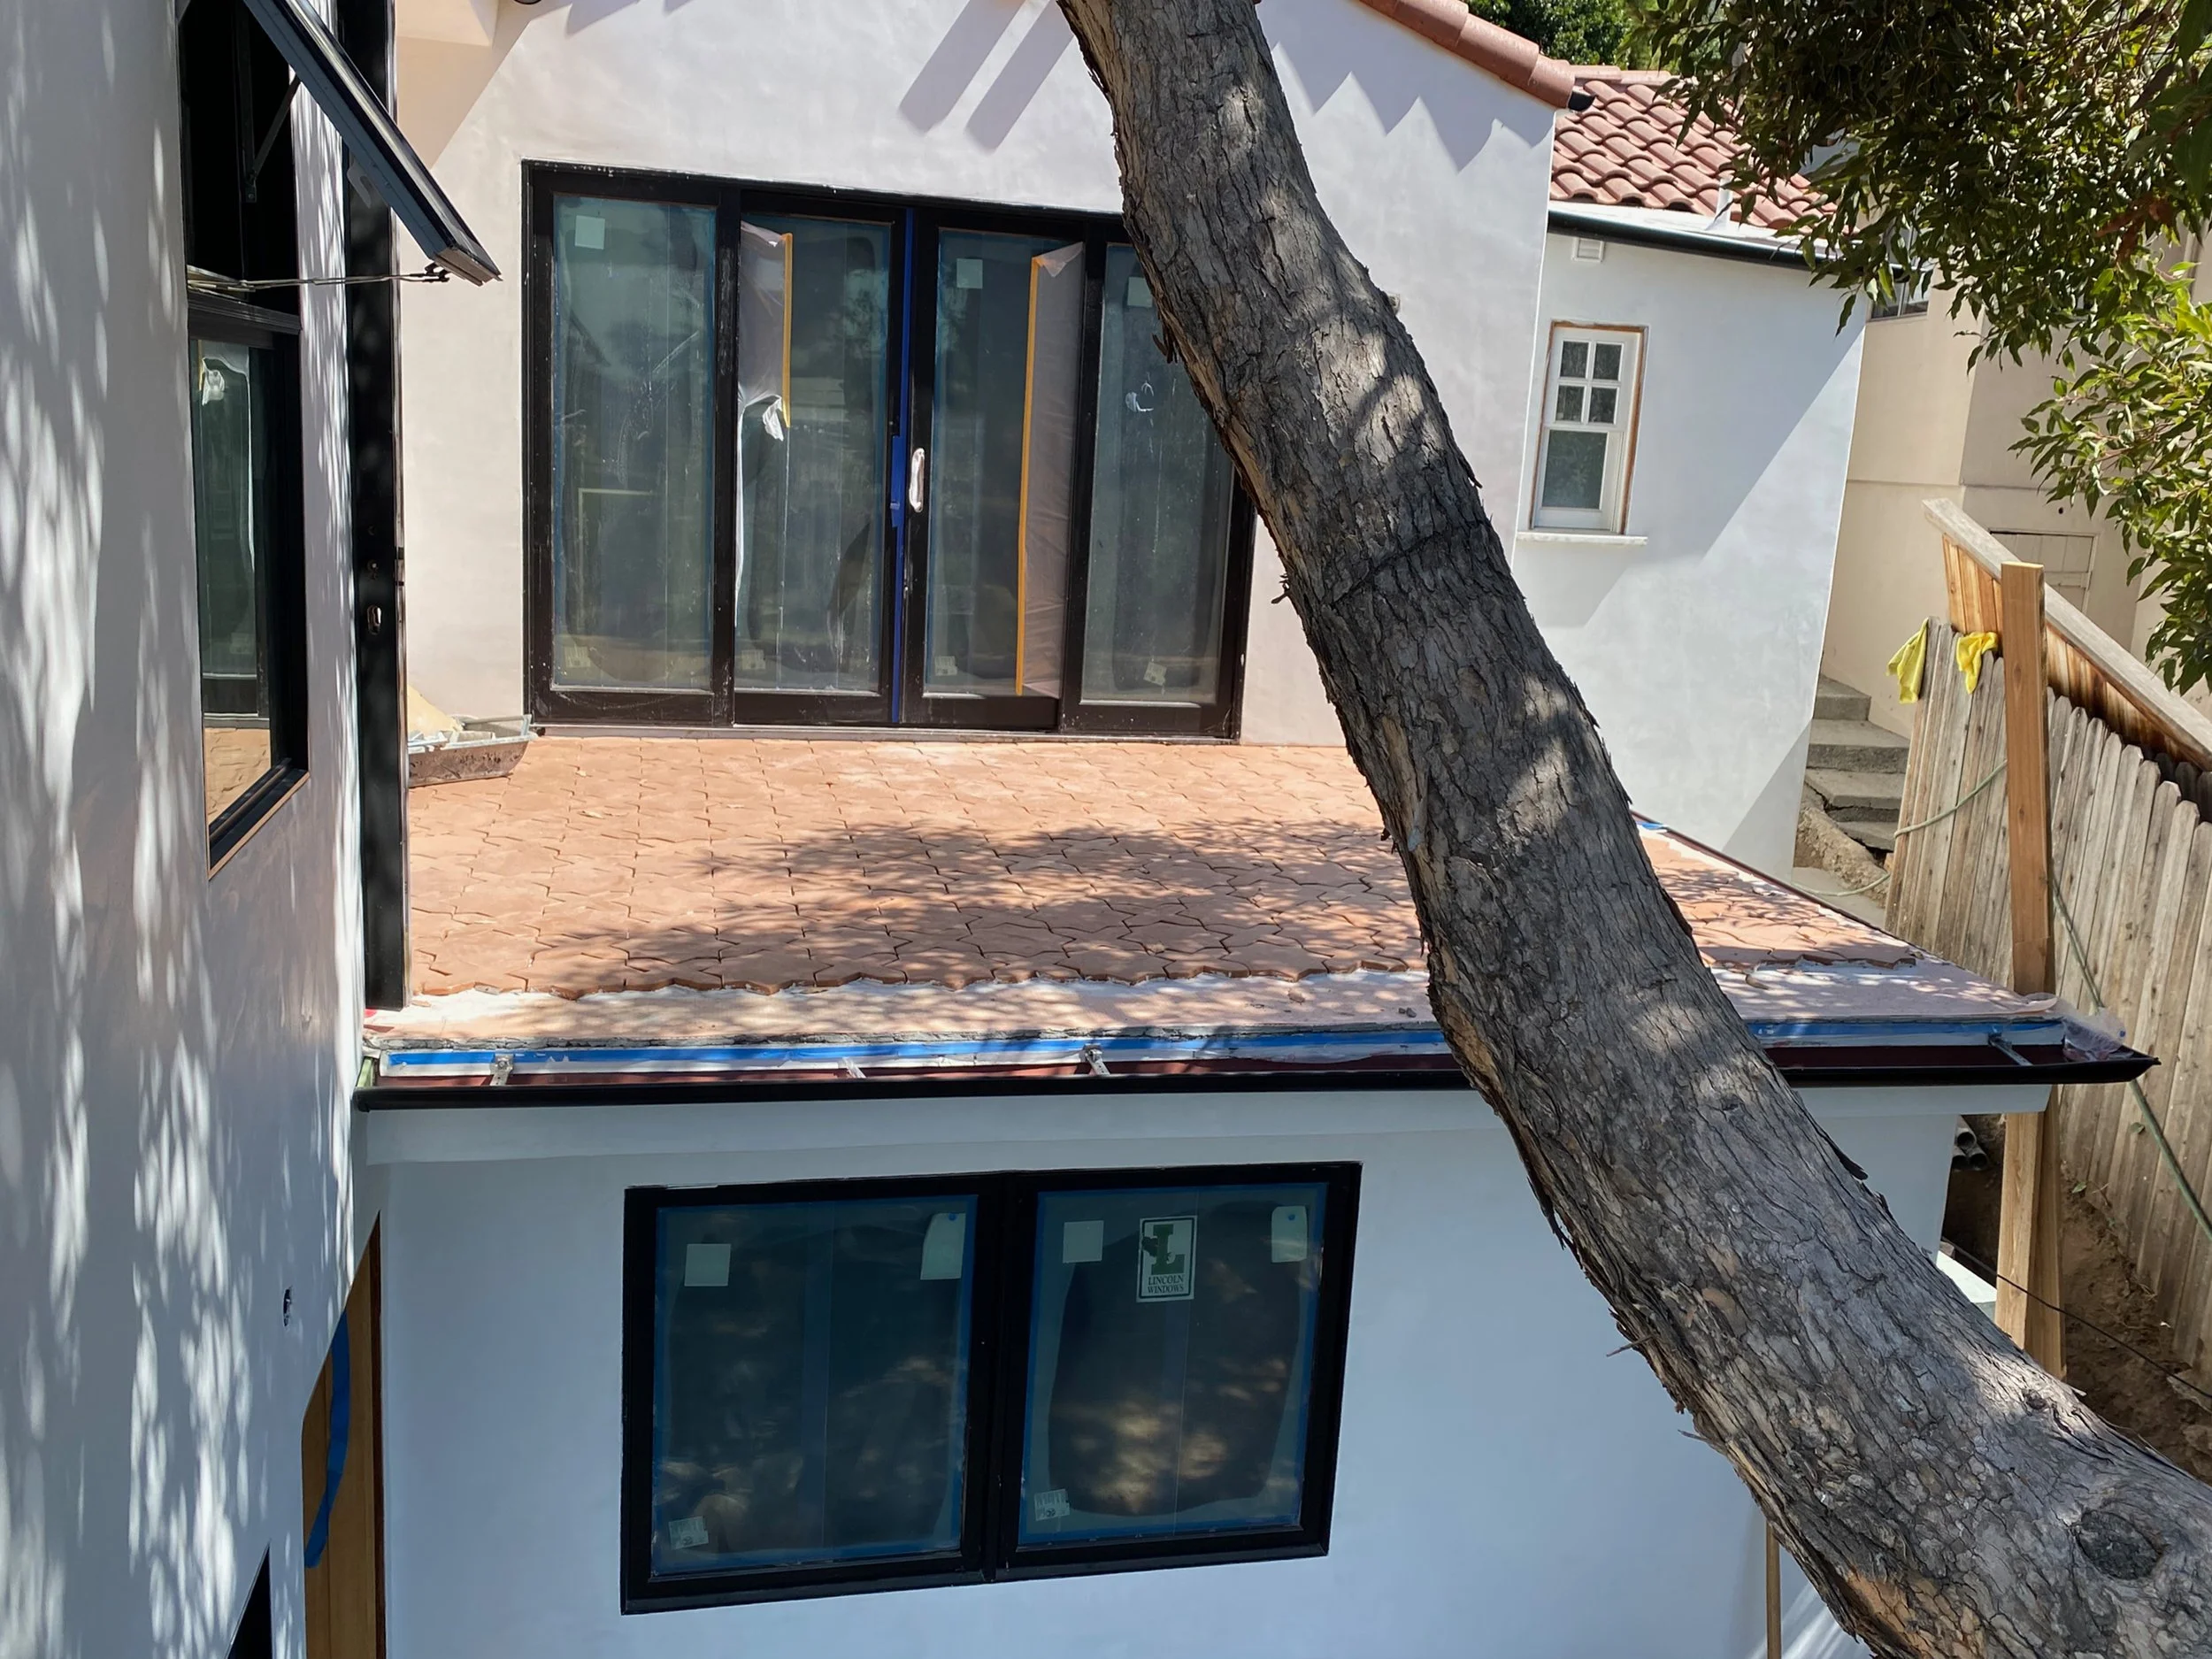
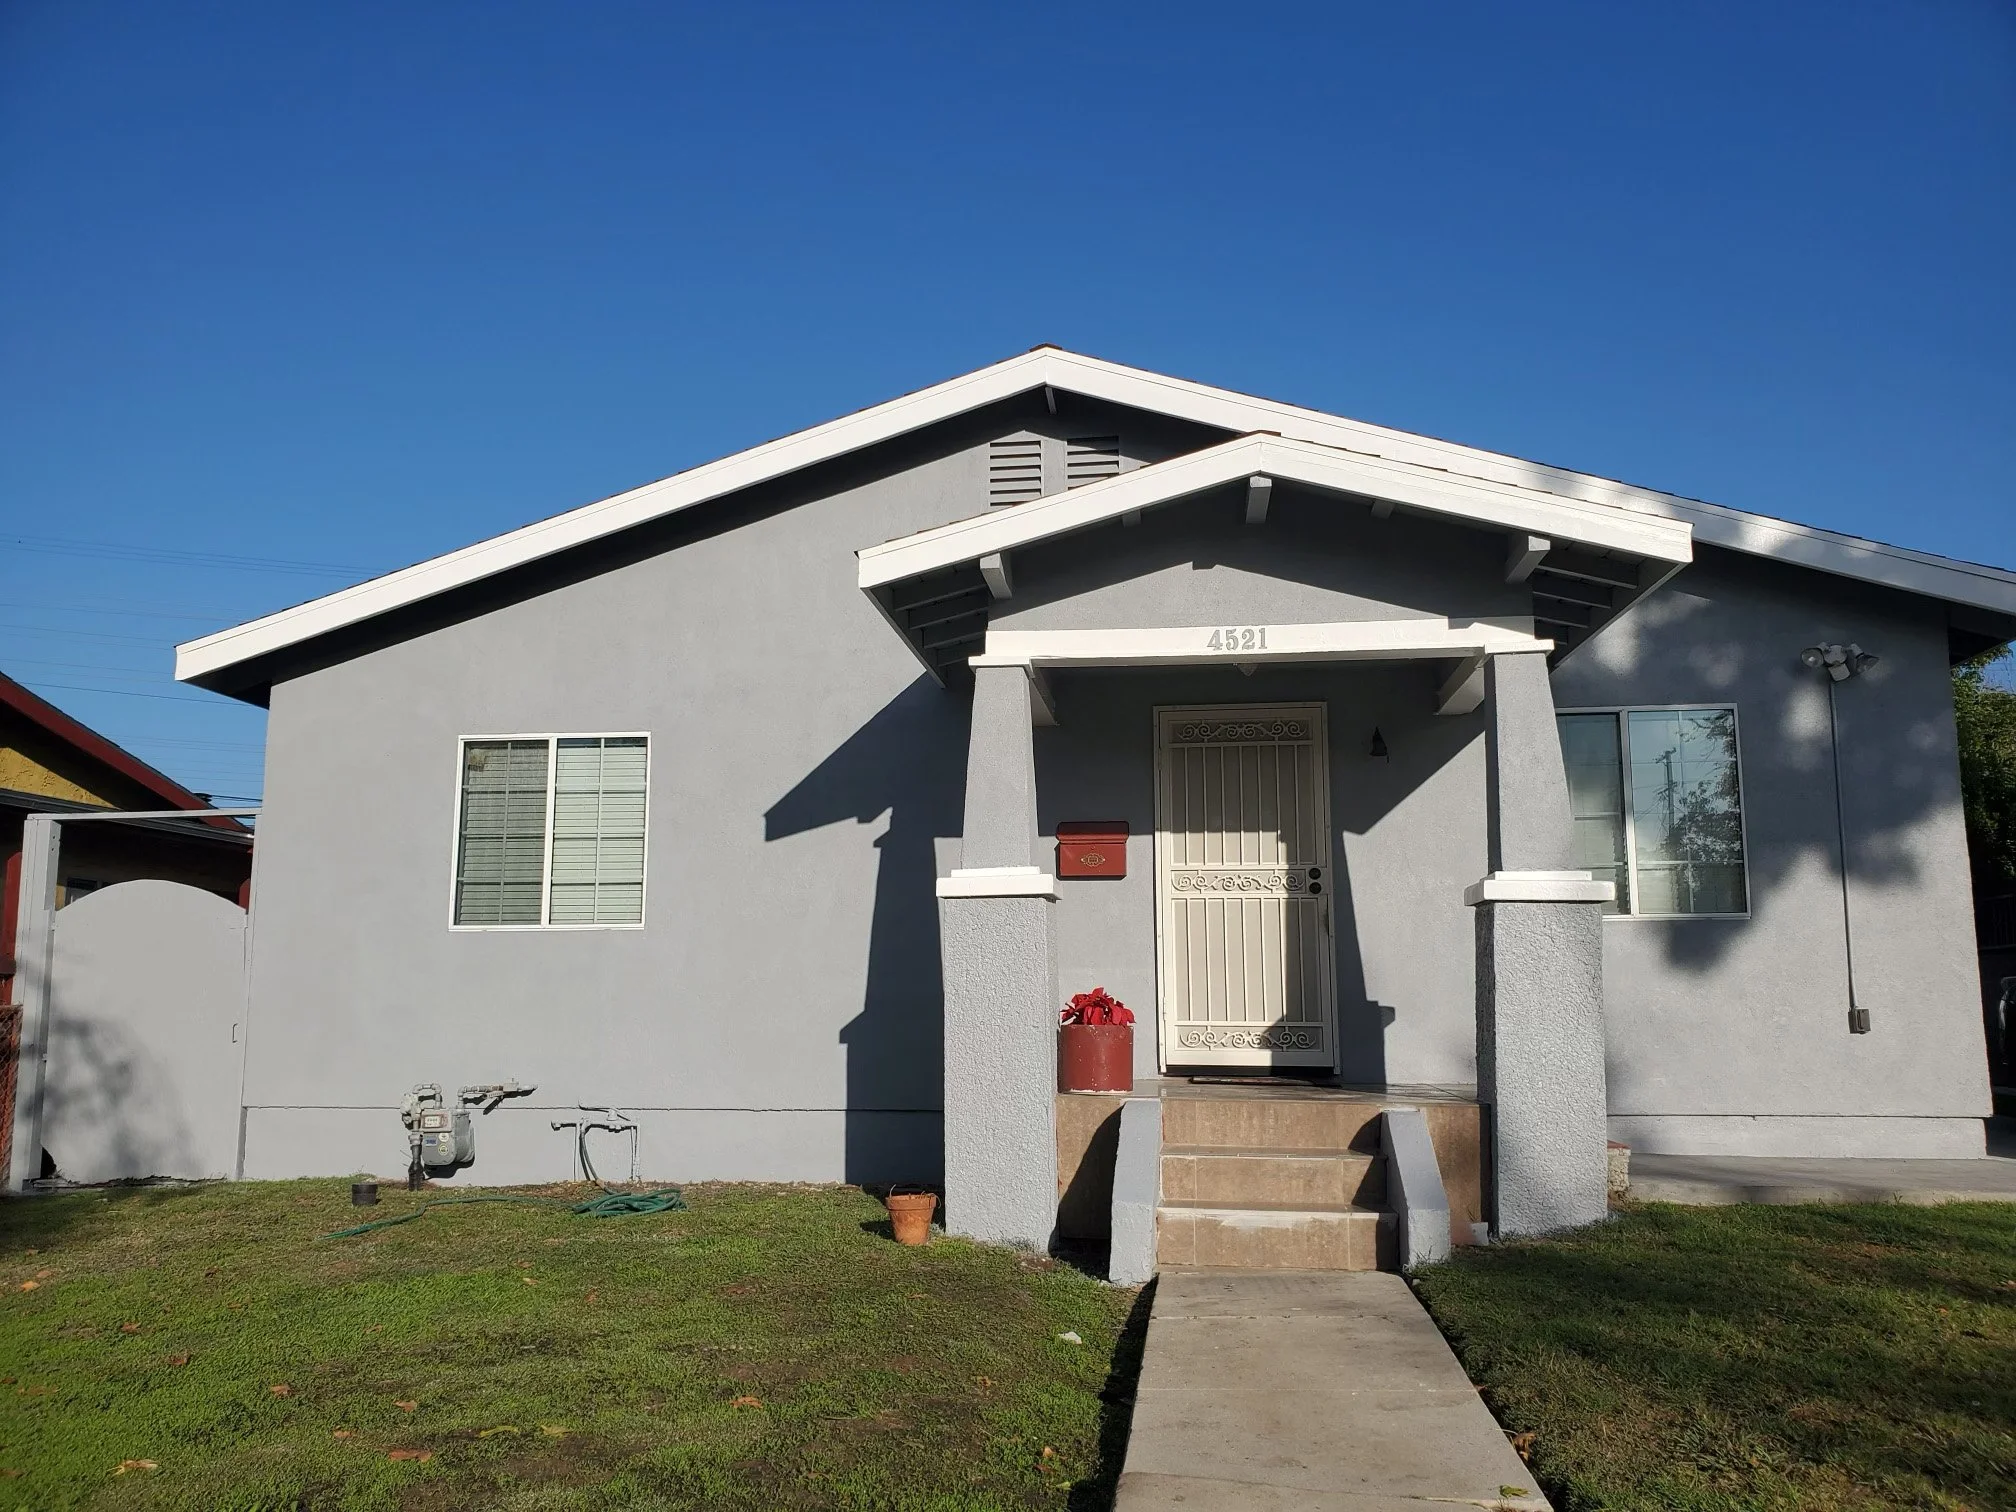
For my first blog post I would like to share a project that is very near and dear to me - the renovation and addition to our 1926 Eagle Rock, California home. My wife Rachel and I acted as our own interior designers and I basically took over the contracting duties once the foundation and framing were completed. Here’s a little peek into how our open floor plan living / dining / kitchen spaces came together.
We were on a very tight budget and had a whole lot to do. As much as we would have loved to have had teams of world class artisans and designers running all over the place, it was up to us to design with frugality in mind. Everything we dreamed up had to be accomplished economically. Ikea hacks and DIY videos were more commonly employed than skilled tradespeople.
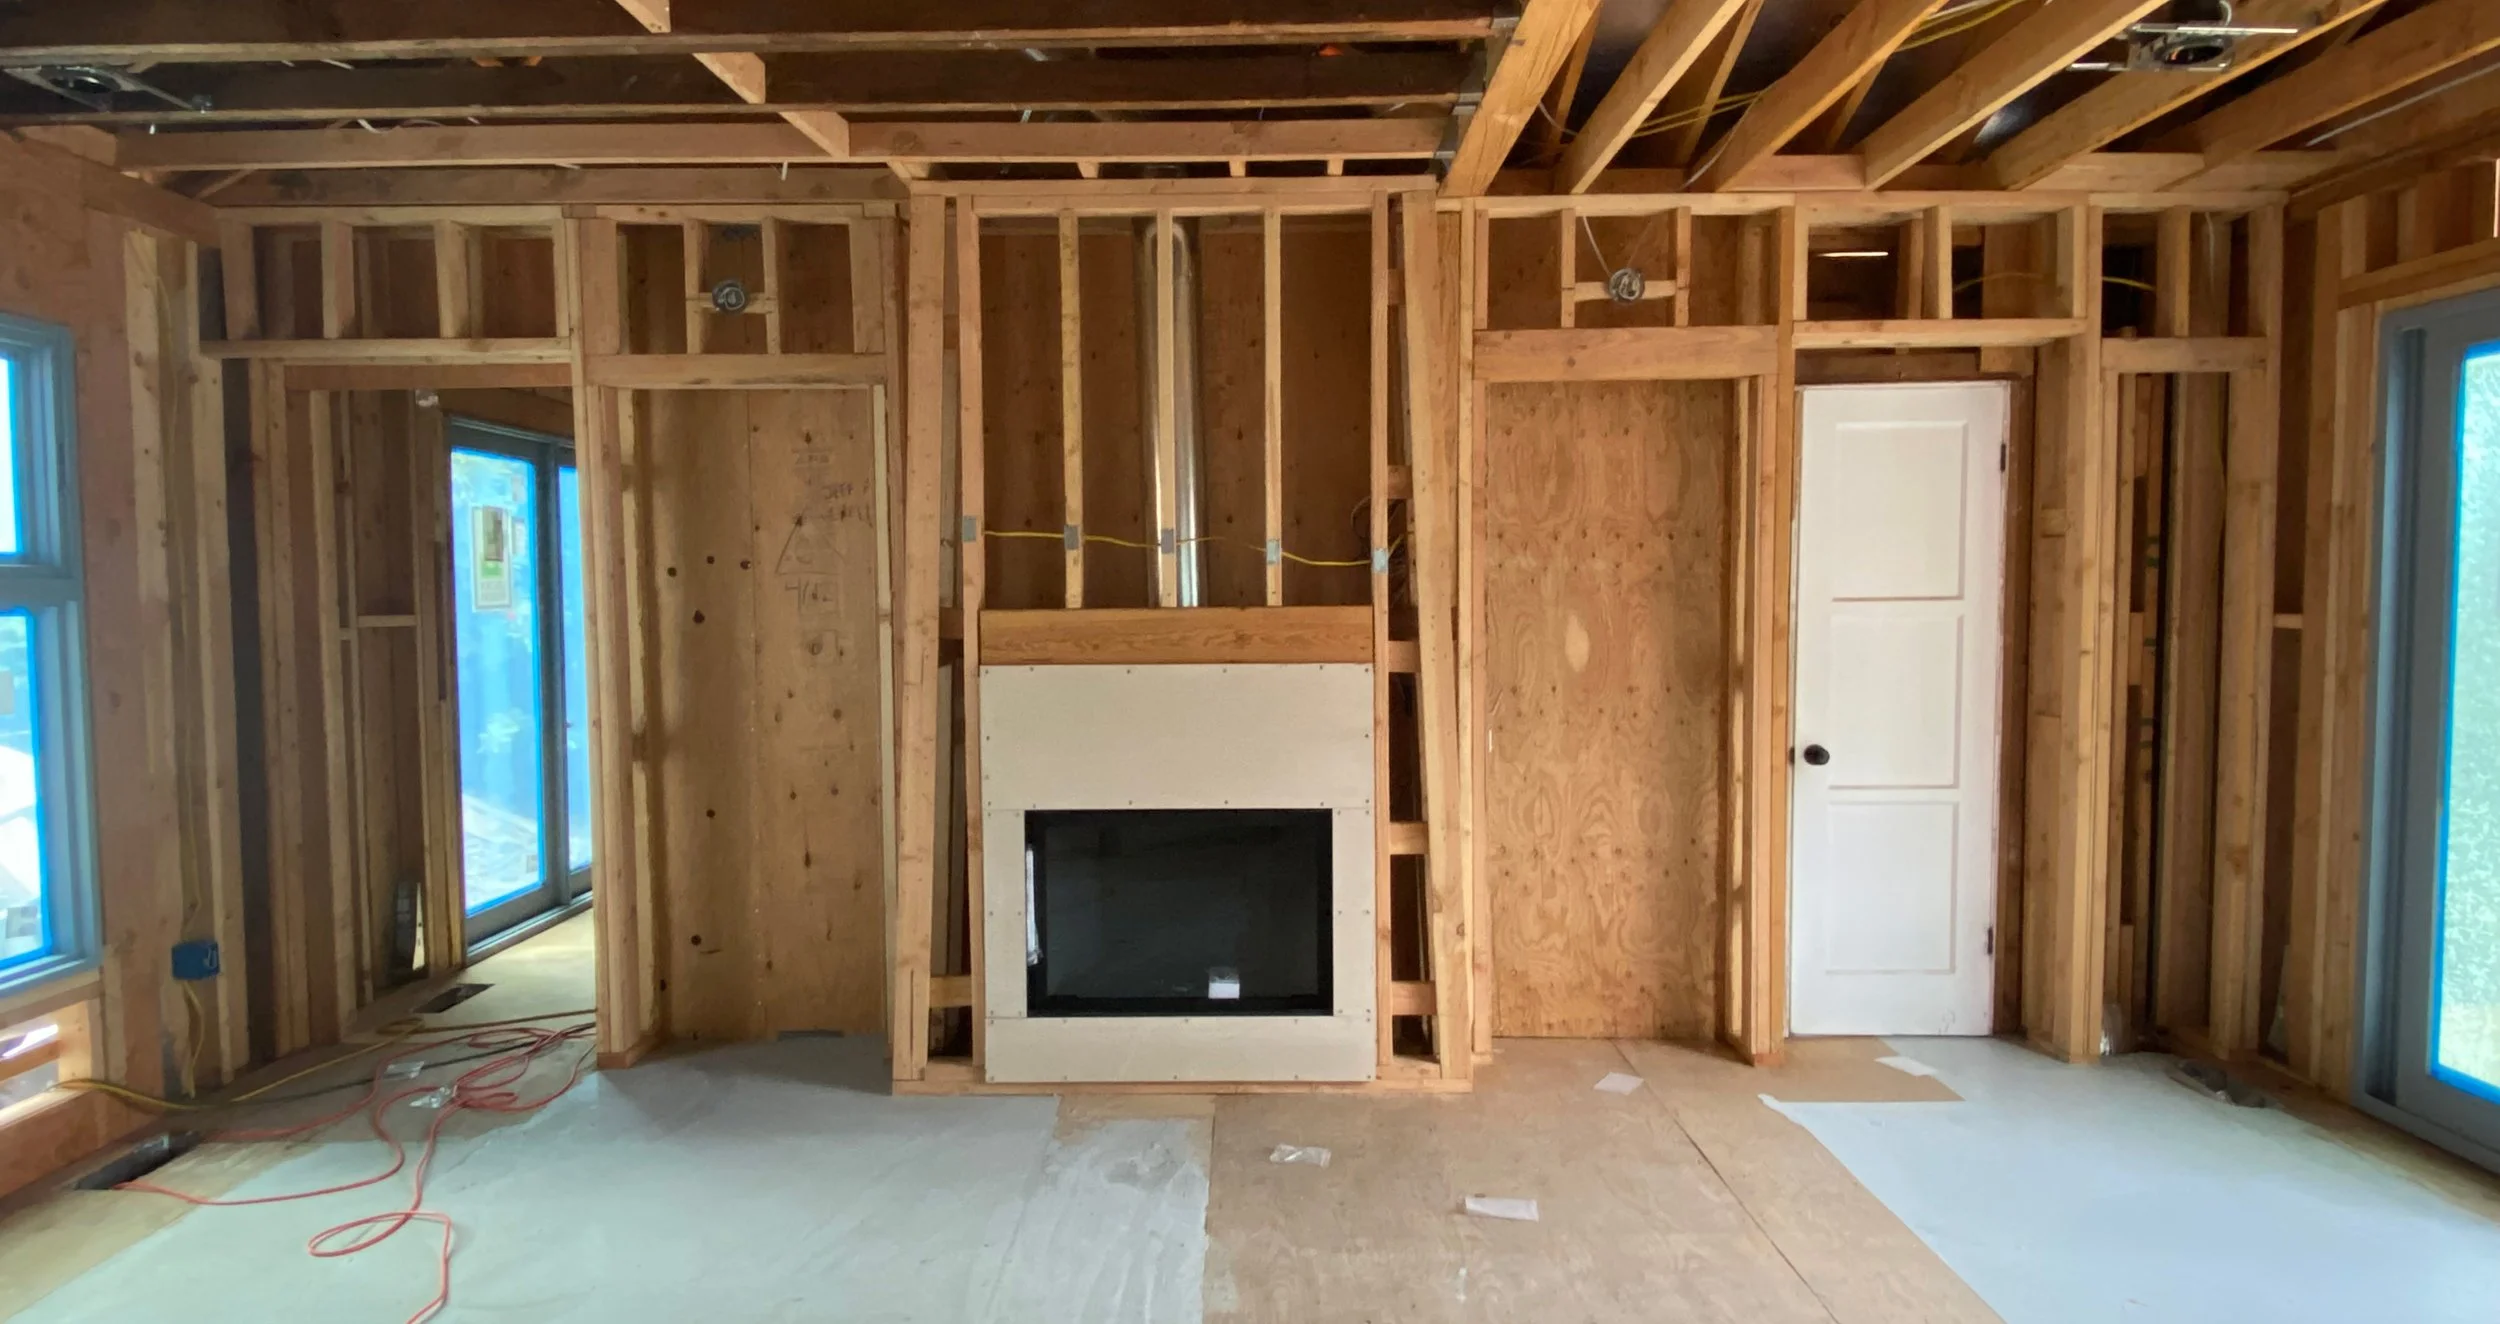
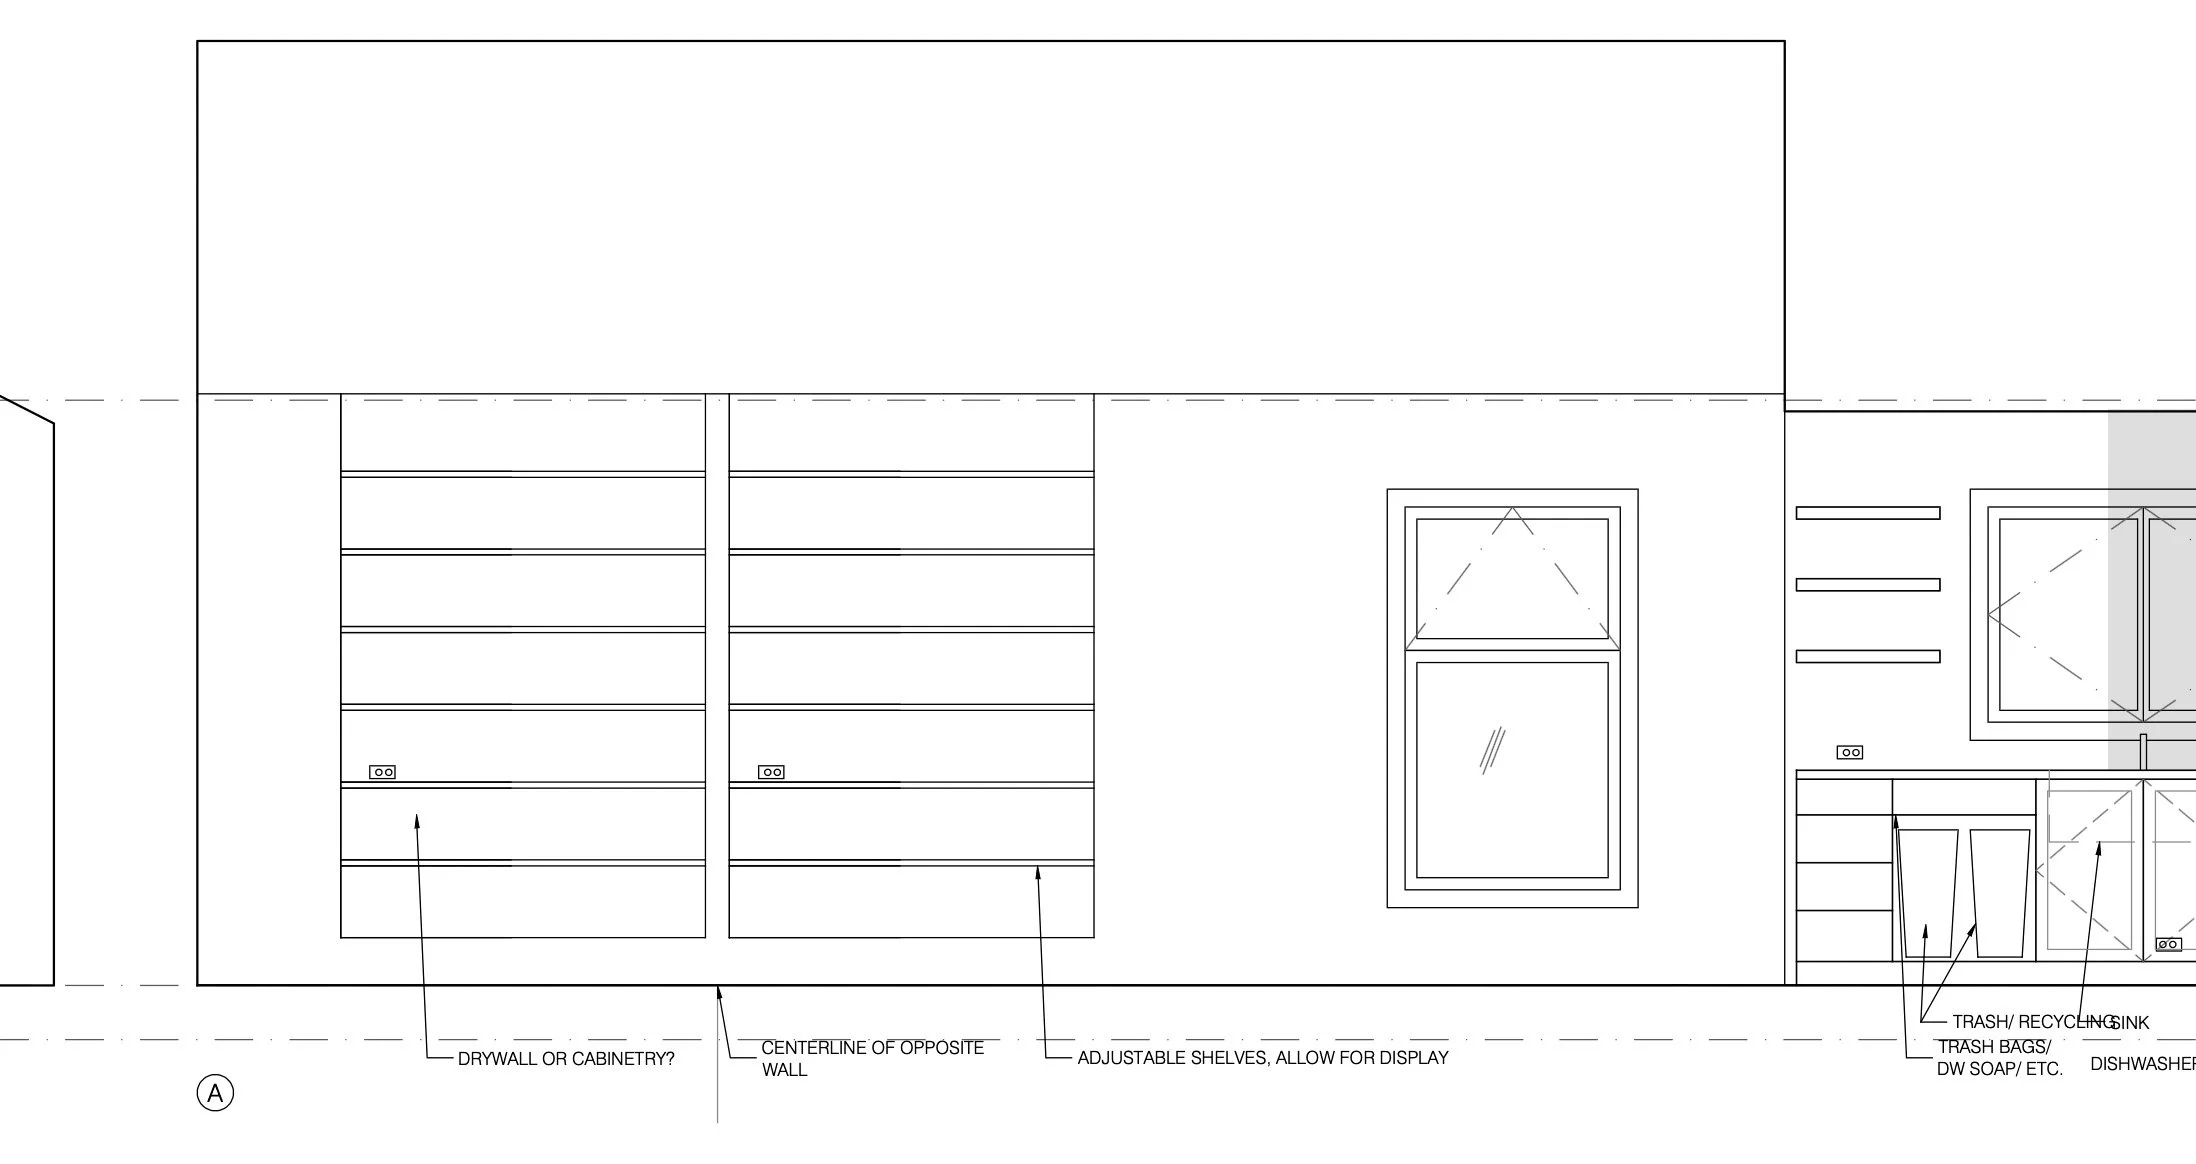
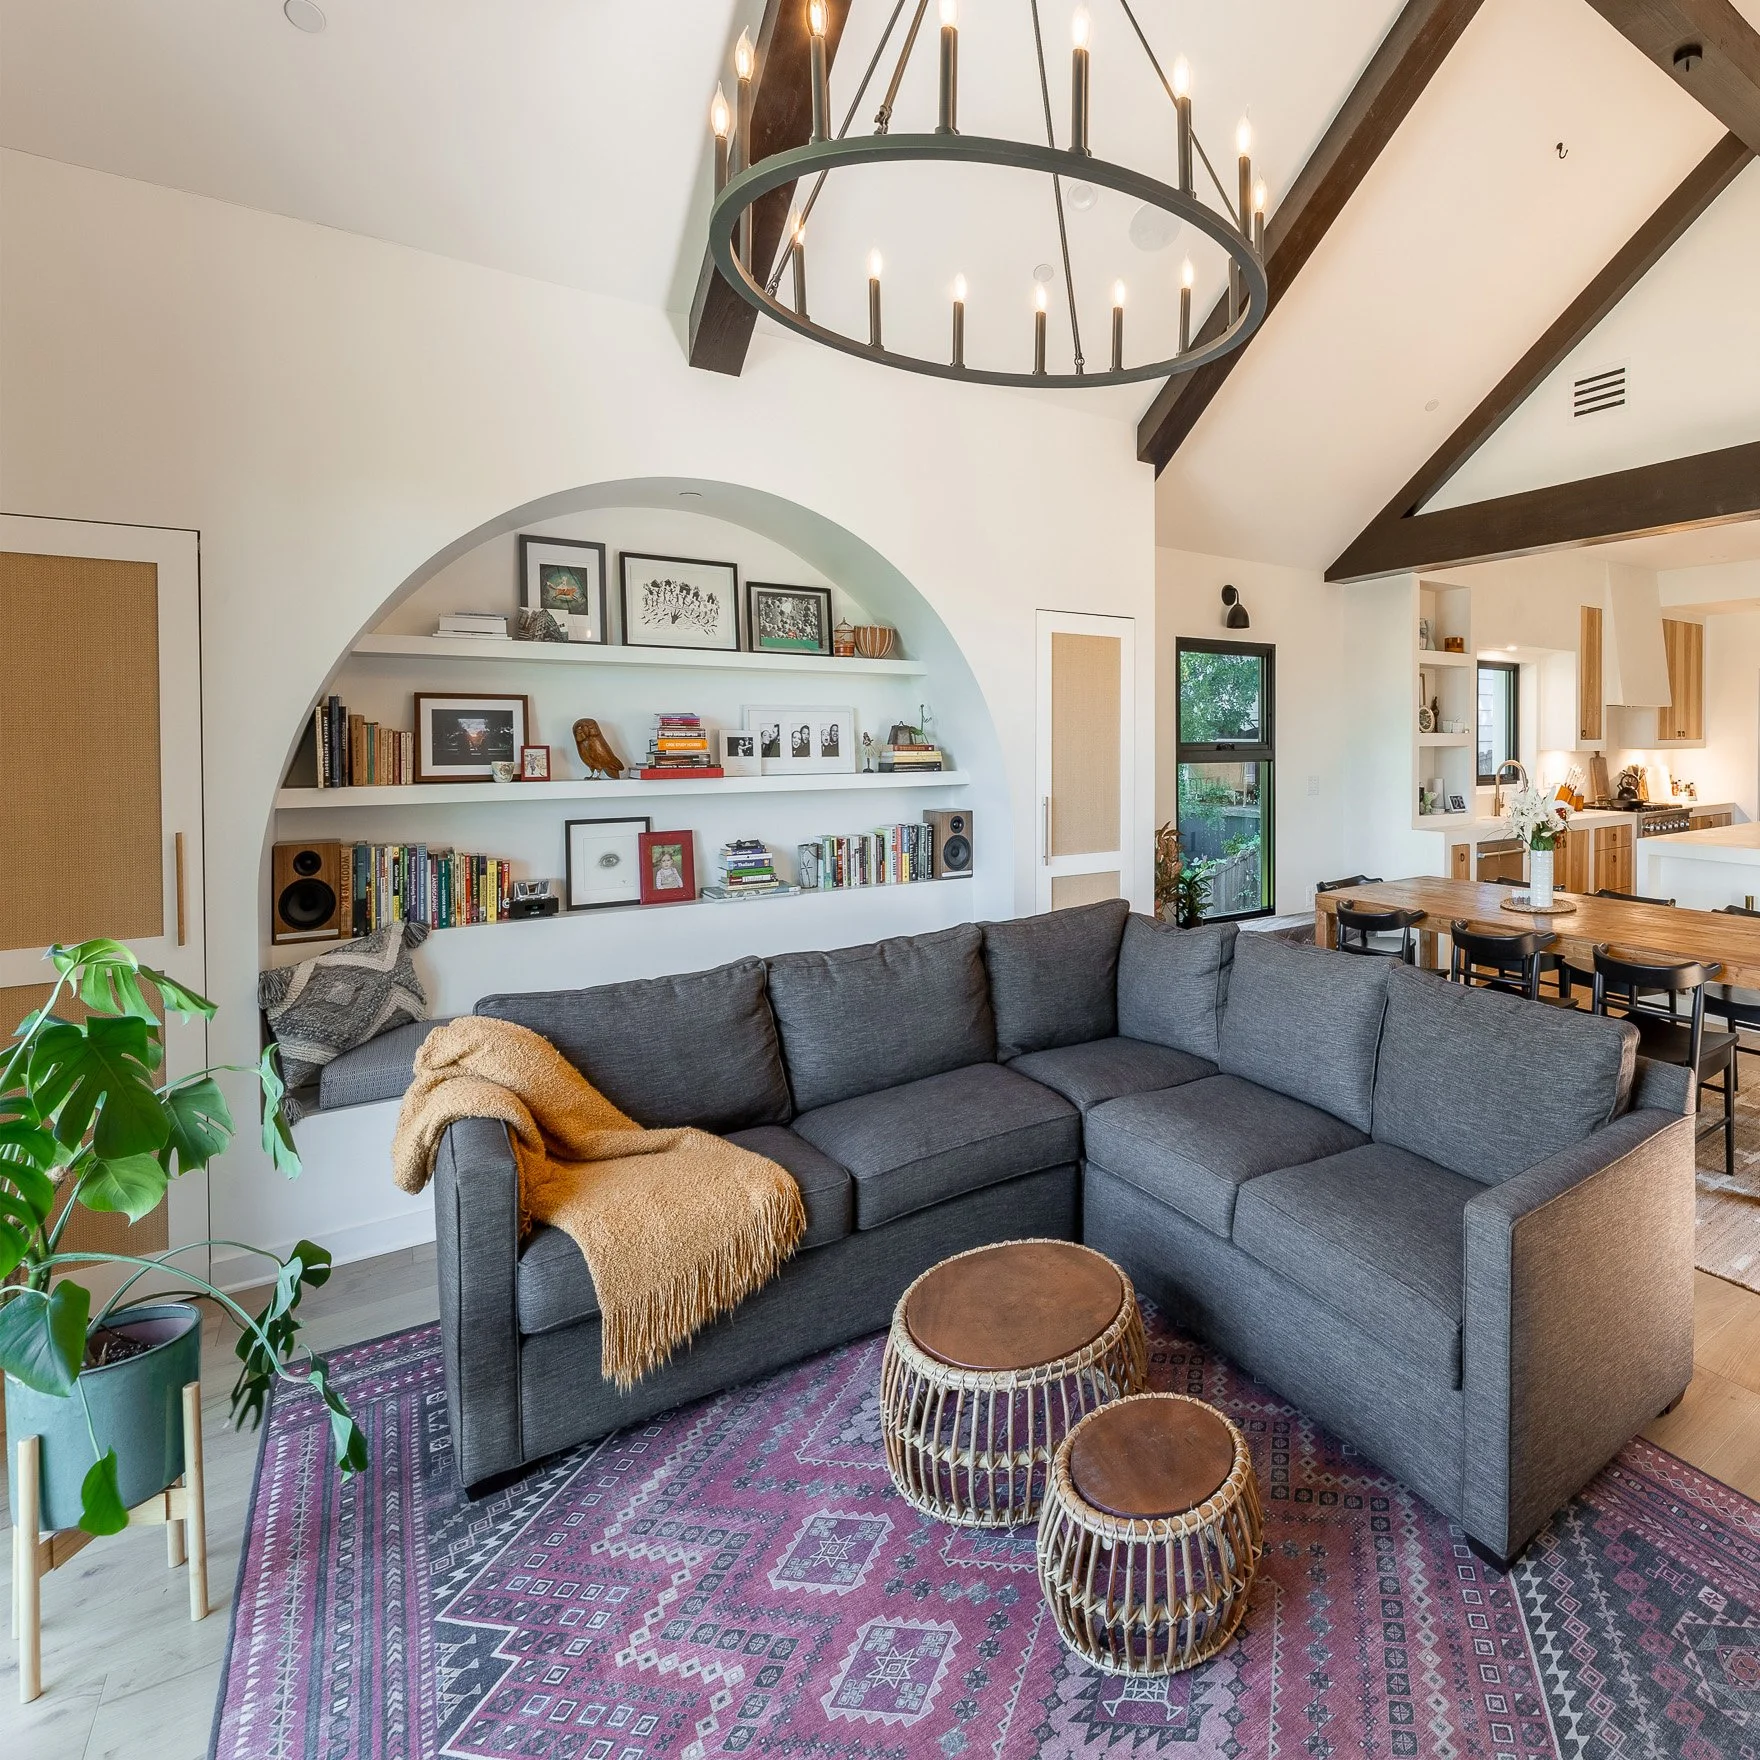
One example is the family room arch bookcase and storage. We wanted a prominent bookshelf to offset the prominent TV on the other side of the room (guess which one gets used more often lol). We also needed closed storage for our home theater and tech, as well as for family games and puzzles and the like. Were money no object we would have hired a carpenter to build us a wall of fine hardwood shelves and cabinets, but that was not in our budget. Instead we came up with this quirky, high bang-for-your-buck DIY design. Our reno design transformed our nondescript exterior into a Spanish modern home, and this arch opening would help bring some of that inside. Best of all the project called for little more than a few days of framing, drywall, and paint.
The doors are custom but made by us, constructed of simple wood trim pieces sandwiching woven speaker cabinet fabric I found on Amazon. The oak and brass door pulls I found on Etsy. The results look high end, while doing their job of allowing airflow to the AV equipment hidden inside and the cost was far, far below that of custom cabinetry.
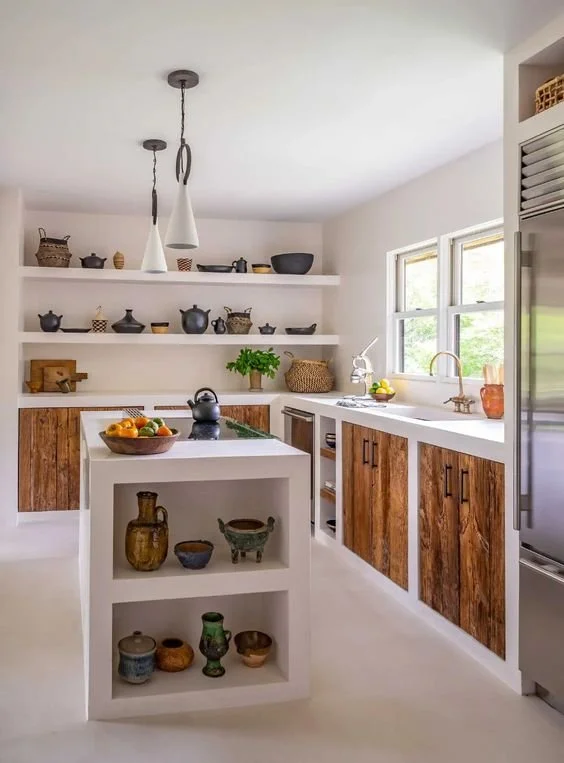
For our kitchen, we searched many months before discovering the unusual Mediterranean design below. Clean and modern, and at the same time handmade and rustic looking, it was the perfect fit for our homes new Spanish modern boho vibe. More importantly its earthen, almost adobe-like appearance suggested perhaps it could be done relatively cheaply.
After some detective work, I discovered the modern solution to this old-world kitchen: a hi-tech ultra-durable plaster-like product called “microcement”. Most commonly used in Europe for faux cement walls and floors, I found few examples of these “Ibiza style” kitchens online, but zero evidence of any ever being done in the U.S. However I was able to find a couple YouTube videos from industrious Europeans DIYer, and though it wasn’t much to go on, I was confident we could too could do it ourselves.
Our (hopefully) high end looking custom kitchen would turn out be little more than a rough framing job, built entirely with 2x4s, plywood and cement board. Only the white microcement finish and inset wood cabinetry would require calling in pricy cabinetmakers and craftspeople. I wish we could have supported more local trades and craftspeople with our project, but I am incredibly proud the work we did and how we were able to accomplish so much on such a very tight fixed budget.
With minimal finish carpentry and no need for stone countertops or tile backsplashes or their fabrication and installation, we achieved a truly unique, fully custom kitchen at a fraction of the typical cost.
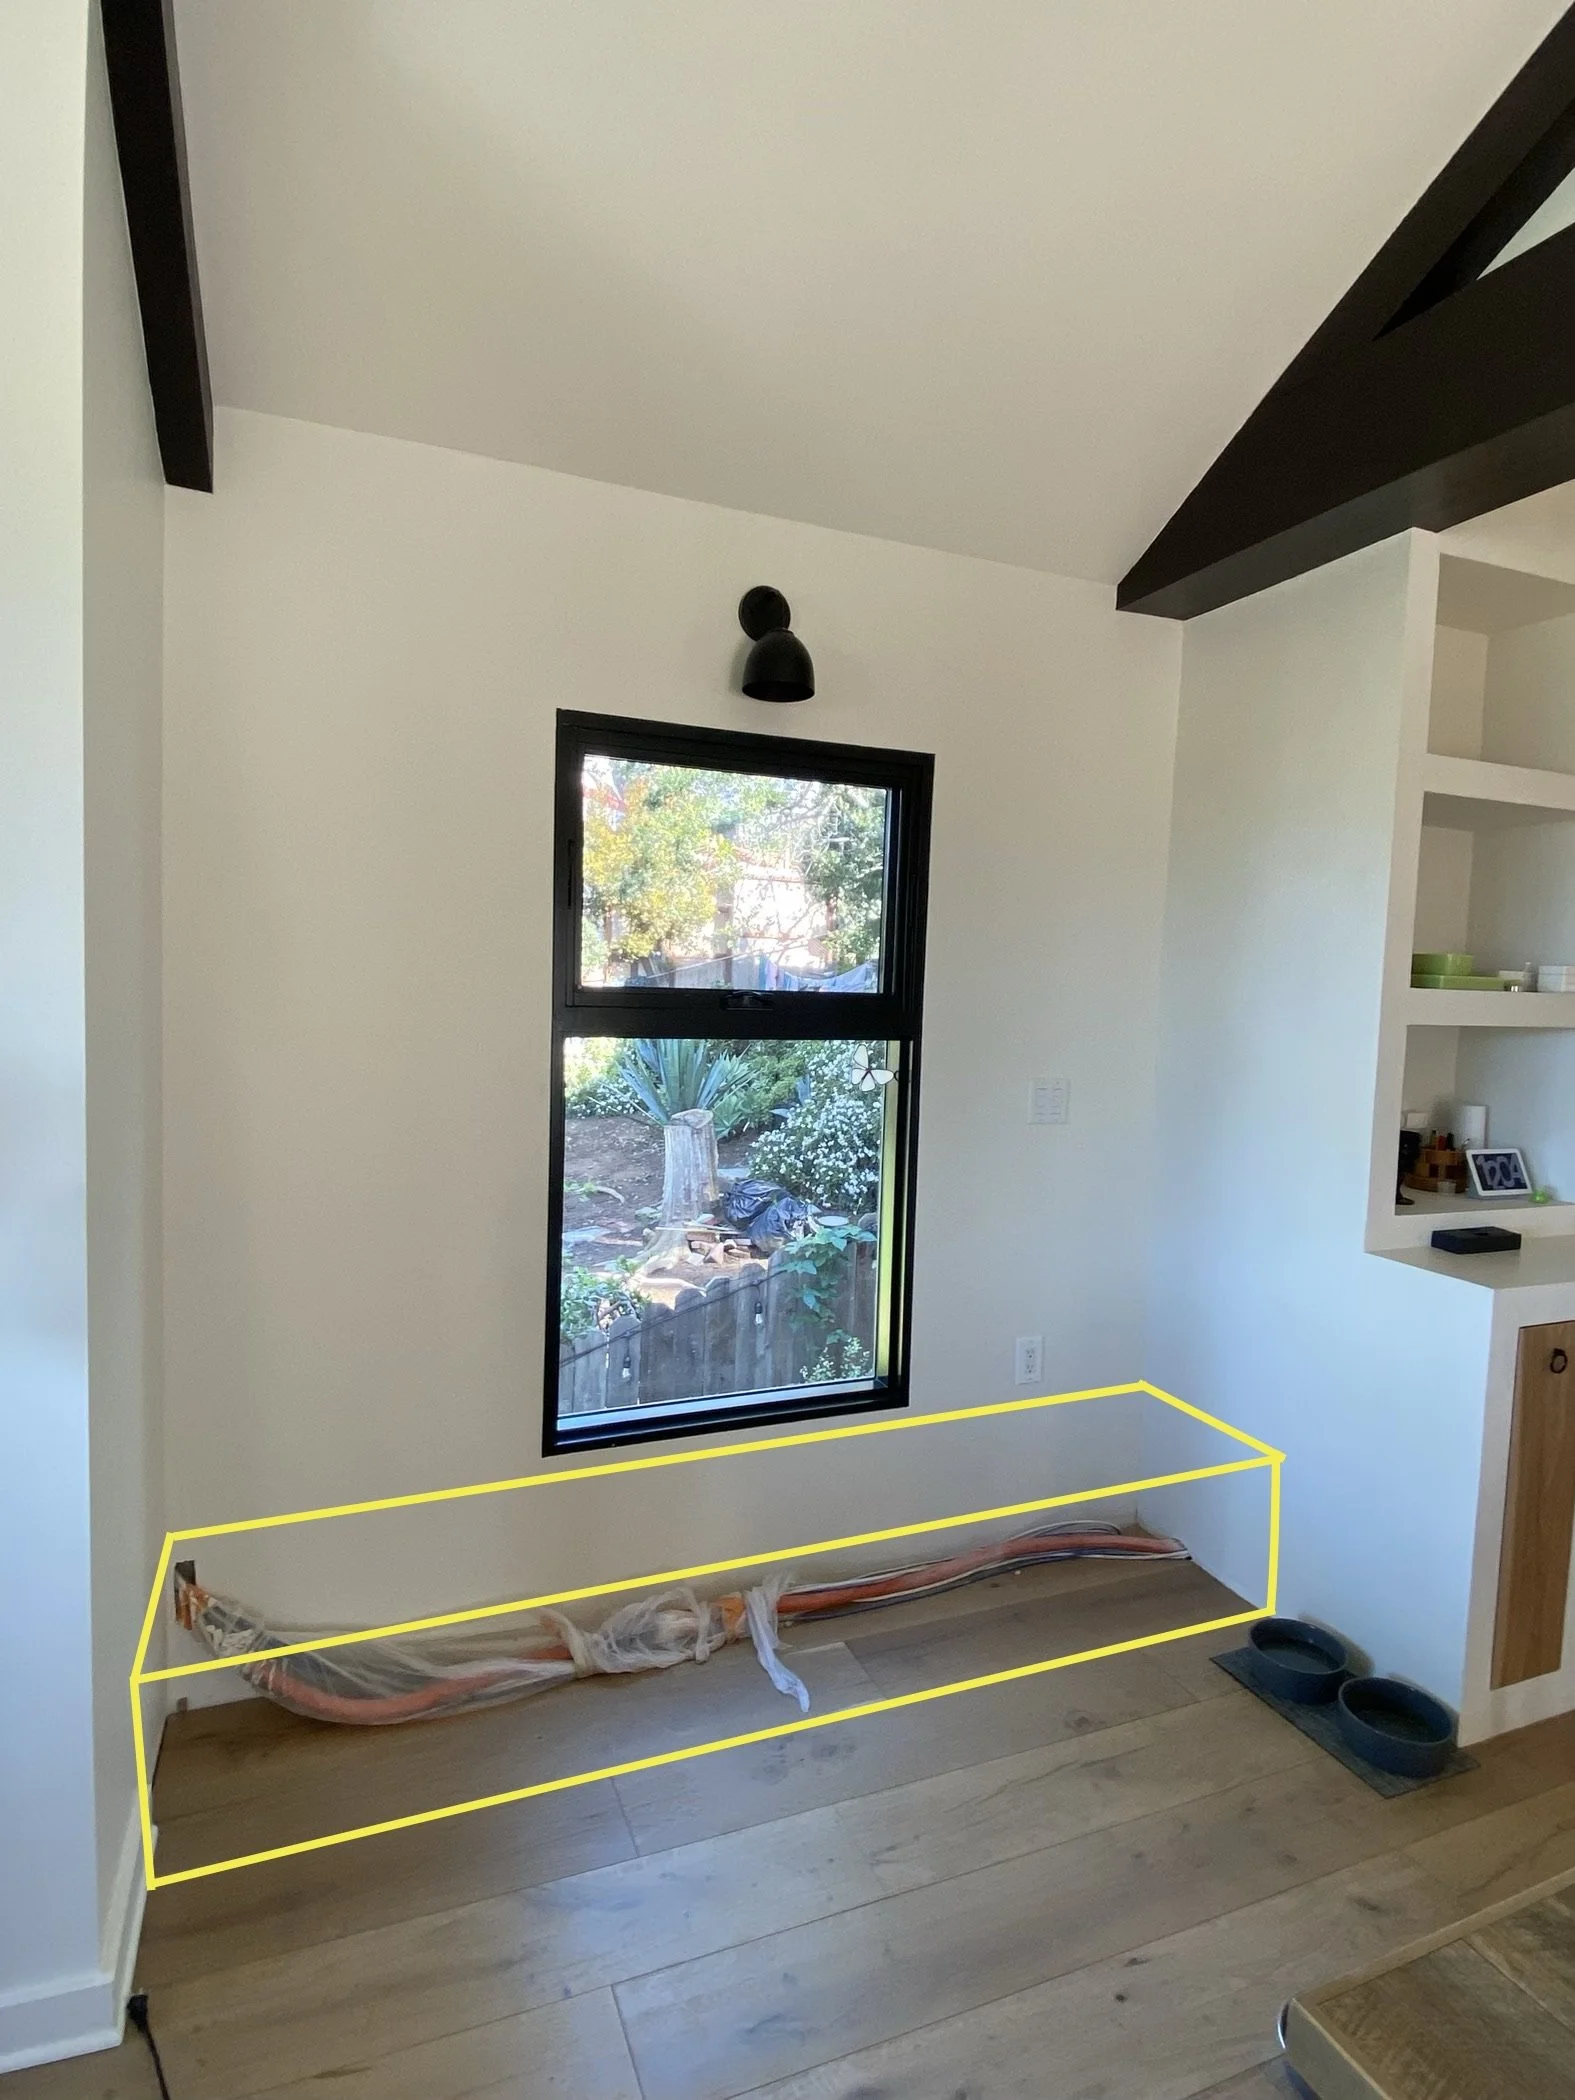
The dining area console was the very last project of our renovation and we had reached the end of our finances. The custom hardwood cabinetry we had imagined with doors and drawers was now out of reach. Had I not run cables externally assuming they’d get covered up later, we could have lived without anything there, but we now had to something…
I decided I would DIY something similar to this media console. I could frame a box with 2x4s, slap slatted panels on the front, and top it with a wood slab. Easy peasy. But then I found the walnut slats and top were not as budget friendly as I’d have liked. Also in the final analysis the wood top wasn’t ideal; we wanted a surface to put plants and hot dishes from the kitchen without worry of things like rings or burns. I remembered our architect’s portfolio offered up some really cool and unusual natural stone countertops.
We were big fans of this new breed of bold and beautiful natural stone being used in designer kitchens and bathrooms as of late, so maybe this was our chance to get some of that into our reno before it was all over? I went looking for more examples of these countertops but found something even more bolder… even more beautifuller…
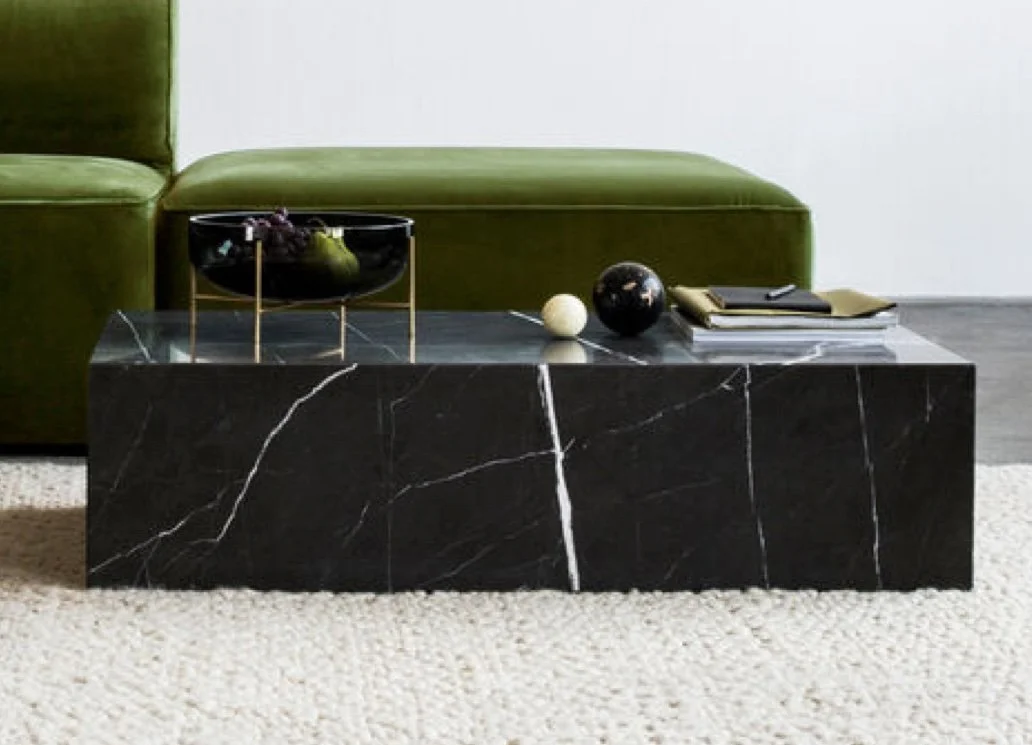
The wood slats were out and the monolith of natural stone was in. But while these stone plinth coffee tables and kitchen islands are beautiful, they certainly ain’t cheap. Luckily we had a couple things in our favor - one, since our block is boxed in, we needed just two pieces to get the complete look; and two, I had found a stone yard with tons of bargain countertop remnants on the lot. We chose this gorgeous slab at a great price and I went home and built a simple box structure.
A few days later they installed our funky stone monolith dining room console. It was a last minute Hail Mary that turned out to be one of our and our guests favorite features.
Every project comes together at this crossroads of desire, budget, and design. Let’s meet there and get your project moving forward on the right path today!
Brad Katz 818-653-3521
